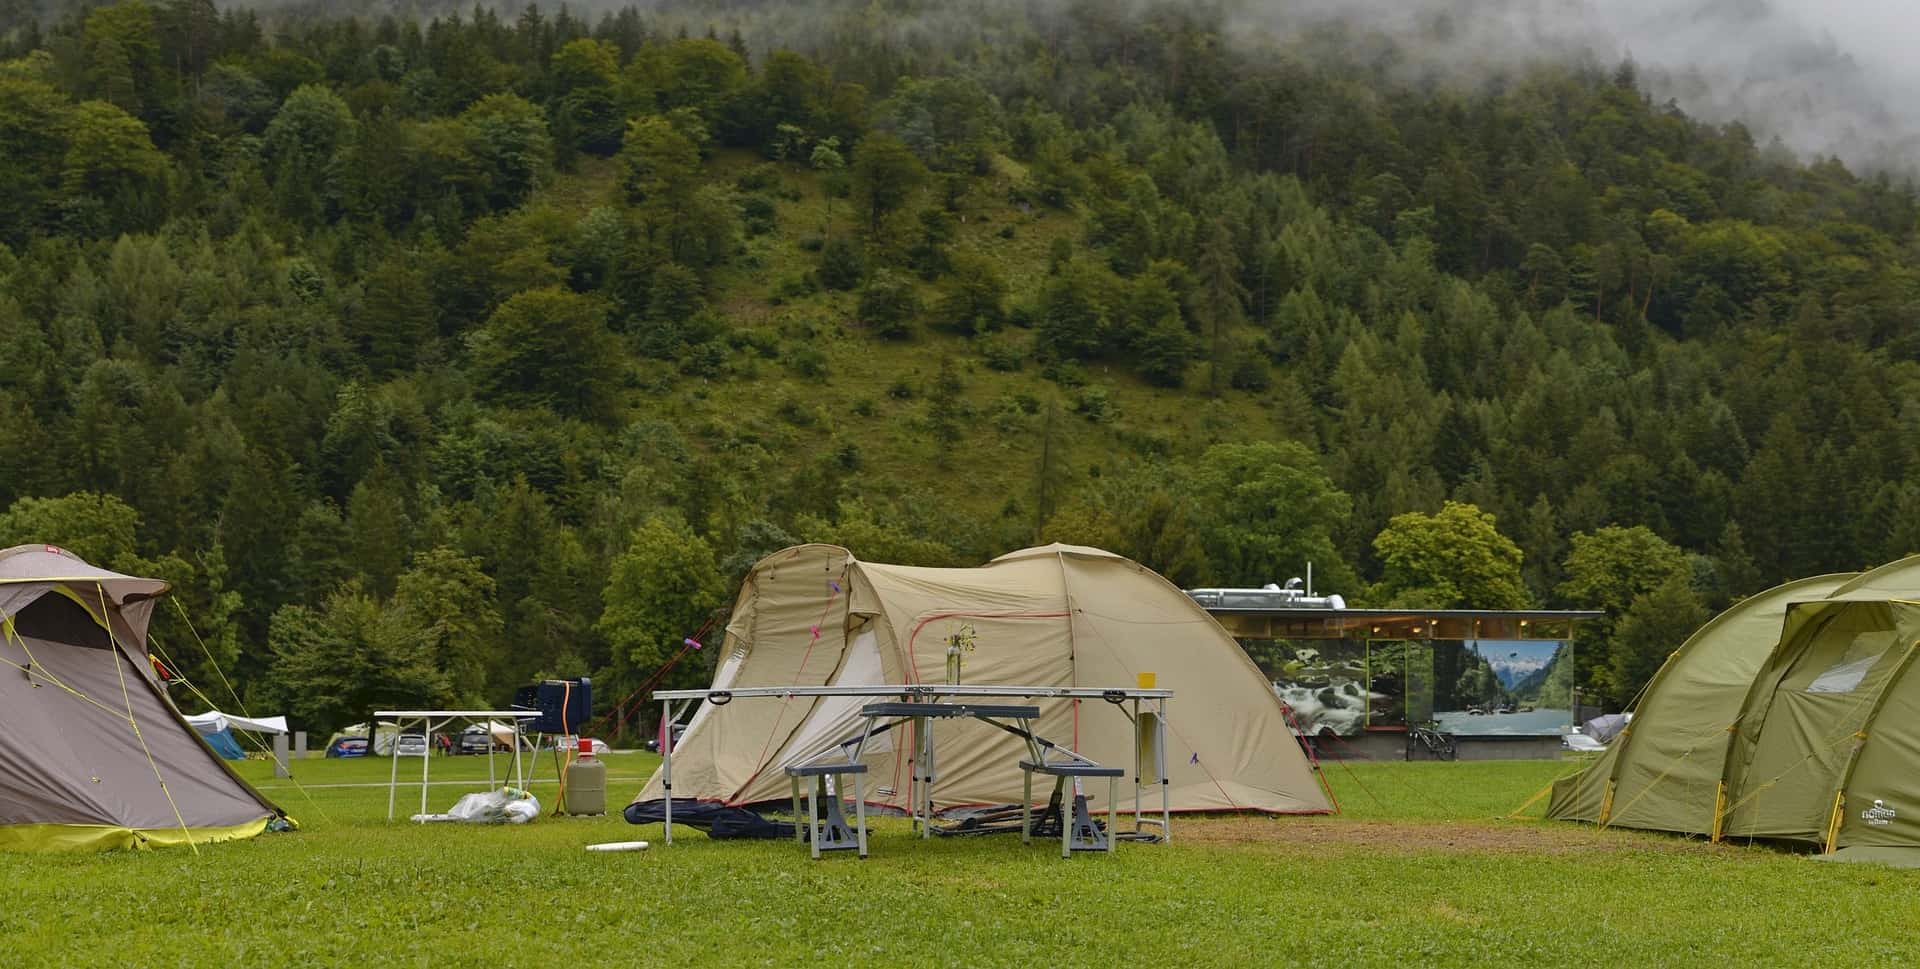
There are a few things that could ruin your camping experience – a leaking tent is definitely on top of the list. If you’ve pitched your tent and noticed water coming in around the floor seams, you’re probably wondering how to waterproof a tent floor.
Camping with a leaking tent floor is a disaster waiting to happen. Thankfully, there are 5 simple steps to waterproof a tent floor. Read on for insights.
Related: In the market for a waterproof tent? Check out our review of the best 6 person tent.
1. Seal the Tent Seams Using a Seam Sealer
Seams in a tent are where the tent fabric is stitched together in the walls and the floor. These seams are potential leak areas during water runoff, dew, or heavy rains.
Seam seals are either glue or tape applied to cover the leaky seams of a tent.
How to use a tent seam sealer:
- Set up your tent outside or indoors in a spacious, brightly lit room to see all the seams. The fly should be inside out so that the seams are visible.
- Ensure you remove all loose and damaged tape. Be cautious while doing this so as not to cause further damage.
- Wipe down all the seams with a cloth and rub alcohol. Let it dry.
- Apply your seam seal approximately a quarter-inch past the seam on either side of the seam.
- Test your tent for leaks by spraying the tent and examining for leaks.
2. Reapply the Urethane Coating to the Floor
Urethane is used in tent floors and fly sheets. It is prone to chemical degradation and can be observed when the urethane coating starts flaking off.
Subjecting your tent to rough treatment then develops leaks that can be eliminated by retreating your floor.
How to apply a urethane coating to a tent floor:
- Ensure you have a rag, rubbing alcohol, and your urethane sealant
- Lay your tent floor on a flat surface and remove the flaking gently using the rag and the rubbing alcohol.
- Apply the new sealant as directed in the product instructions
- Wash your hands thoroughly
- Leave the new coating to dry for a minimum of 24 hours.
3. Use a Tent Waterproofing Spray on the Outside
Waterproofing spray is a chemical application that makes rainproof gear water-resistant. These sprays make water bead up, then disperse, avoiding moisture accumulation on the surface of the tent.
The tent surface mustn’t be dumpy, making the tent colder.
Advantages of a Waterproofing Spray
- They are lightweight and don’t do much to change the surface texture of your gear.
- They keep long-term gear costs down by rejuvenating the gear.
- They repel water, meaning that your tent won’t feel clammy due to a saturated outer layer.
Disadvantages of a Waterproofing Spray
Some waterproofing sprays are toxic to the environment.
4. Bring a Tent Footprint for Extra Protection
A tent footprint or a groundsheet is a piece of material that lays below the tent’s floor as a protection against abrasion and tear from the ground cover. It also protects against moisture from soaking through the floor.
While not always necessary, it is a beautiful tradition to use a footprint to prolong the life of your tent floor against the ground cover.
Benefits of Using a Tent Footprint
- It protects your tent floor from damage.
- It keeps the bottom of your tent floor clean.
- It keeps the bottom of your tent floor dry.
- It is easier to clean.
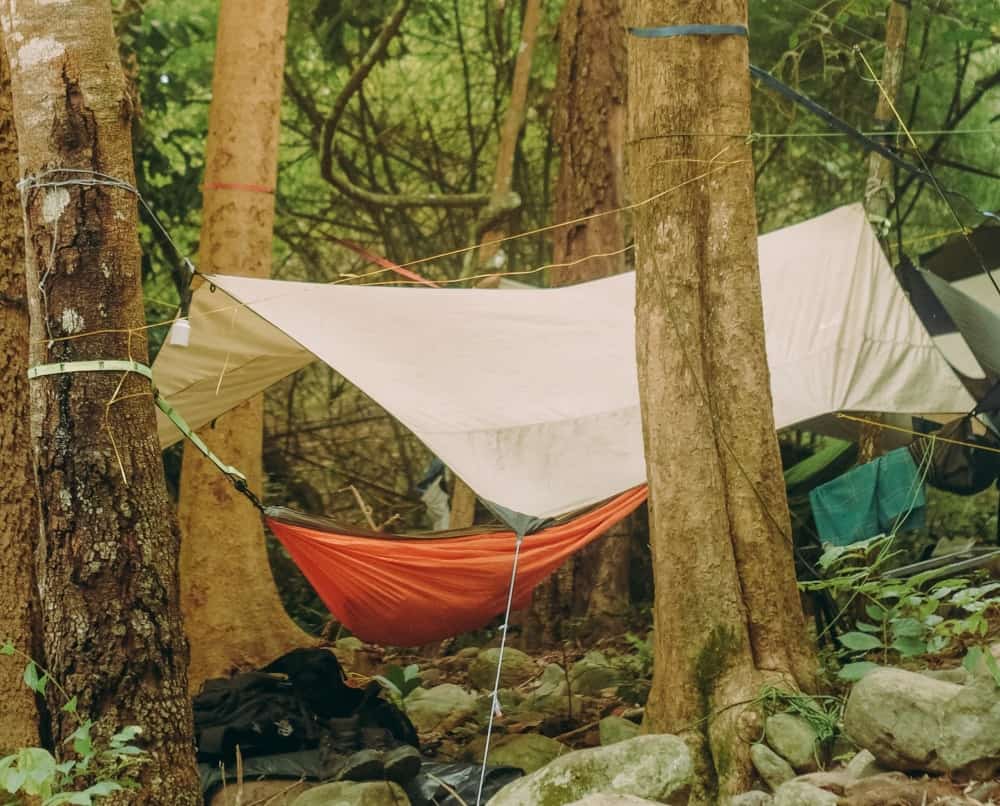
5. Use a Rainfly or Tarp to Reduce the Amount of Rain Falling on Your Tent
Attach a tarp above the tent, either mounted on poles or tied to trees, to provide additional protection from rain, falling debris, and other elements that can make your camping experience uncomfortable.
A heavy-duty tarp can also function as a rainfly. It is good to keep in mind that tarps are not only water-resistant. They are UV-treated to protect against damage from the sun.
Here’s How to Set Up a Tarp
- Create a ridgeline using two points, can be trees or poles. Let the line run through the intended entrance.
- Throw one corner of the tarp across the ridgeline attached to the two points and then secure the opposite corner to the ground using a peg.
- Pull the other corners of the tarp until taut, peg them to the ground to keep them in place.
When Do You Need to Waterproof Your Tent Floor?
When waterproofing your camping tent, it’s a good idea to create a schedule and abide by it. The more you use your tent in wet weather, the more you will need to waterproof it.
You will need to consider the given factors when determining how often you should waterproof your tent. While average use will require waterproofing every few years, the following may affect your waterproofing frequency:
- Type of tent: Polycotton or cotton canvas tents typically do not need to be reproofed as these materials are naturally waterproof and don’t usually come with a waterproof coating.
- Prevailing weather conditions: direct sunlight can affect the tent’s water resistance just as much as rain.
- Your tent’s waterproofing rating: The HH rating on your tent will let you know how waterproof it is. The higher this number, the longer you will be able to wait between waterproofing.
Next up: Looking to turn a camping trip into a date night? Check out our romantic camping ideas and activities for couples.