“Why isn’t my down sleeping bag as warm as it used to be? Why does it smell like that? And most of all, where’s all its beautiful fluffiness gone?”
Had questions like this? It sounds like you need some advice on how to wash a down sleeping bag.
Yes, washing down gear can be daunting if you’ve not done it before, but fear not: it is doable.
Indeed, keeping your down sleeping bag clean will not only solve all of the above problems; it’ll also ensure that the bag stays effective for longer – saving you vast sums of money from having to replace this important piece of kit.
Washing down equipment is a time-consuming process, though, and can’t be rushed. It’ll take about 24 hours between the first time you submerge your down sleeping bag in the bath and the moment when you gaze upon its fluffy and gloriously replenished baffles — but it’s worth it.
In this article we’ll cover what you need, give you a step-by-step guide of how to wash a down sleeping bag / quilt, how to maintain your sleeping bag when you’re not using it, and explain why you shouldn’t use a washing machine to wash a down sleeping bag.
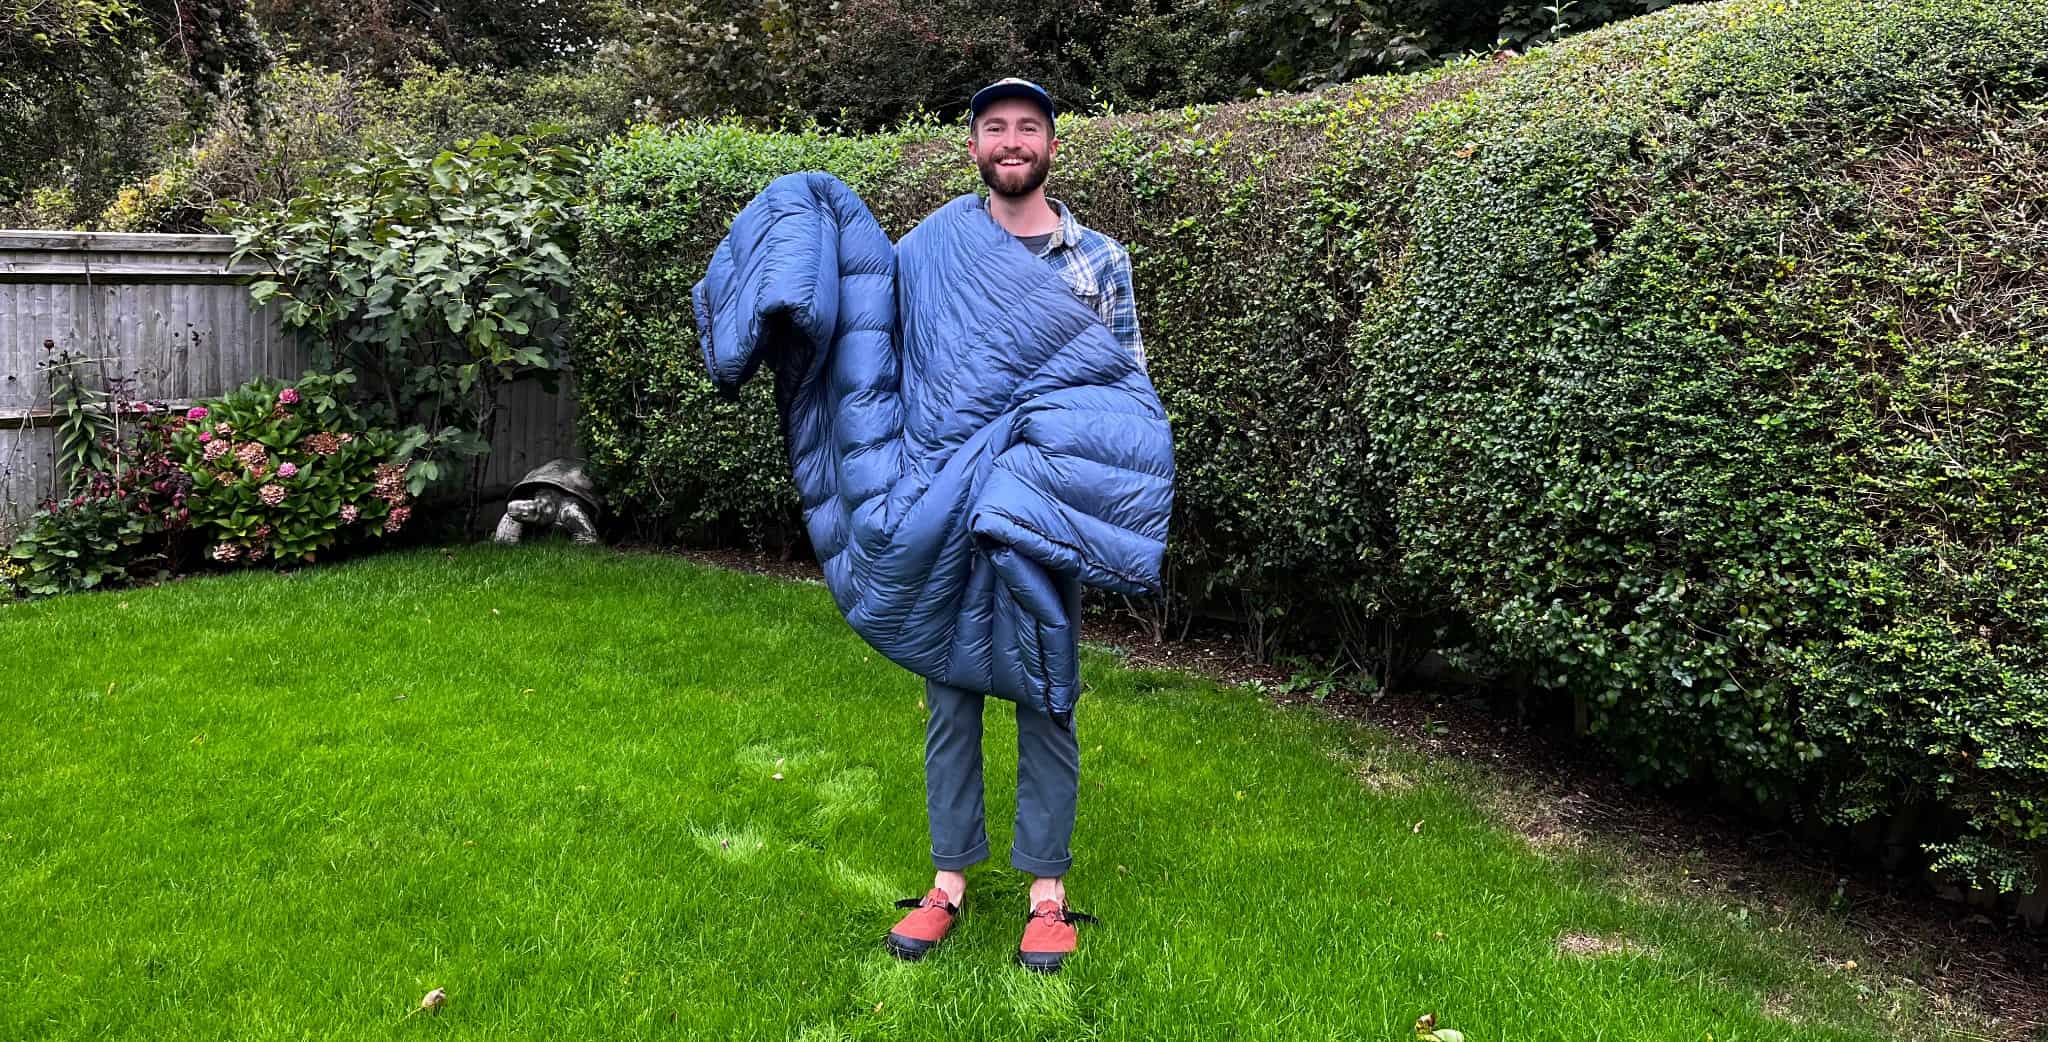
Just in case you’re wondering, this same exact process can also be applied to down quilts. For the purposes of this article, I washed my Katabatic Gear Flex 15 quilt.
What You’ll Need
- Time: about 24 hours to complete the washing and drying process
- Down-specific detergent (I used Grangers Down Wash, and highly recommend it, but Nikwax Down Wash is another great option).
- Access to a bathtub/something large enough in which to submerge your down sleeping bag
- A large, impermeable plastic box in which to carry your down sleeping bag from the bath to the dryer
- Access to a tumble-dryer with a low heat/very delicate setting
- Somewhere to air-dry your down sleeping bag (i.e. a washing line or an airing cupboard)
The Washing Process
Step 1: Fill bathtub with lukewarm water and submerge
Alrighty, it’s time. No turning back now.
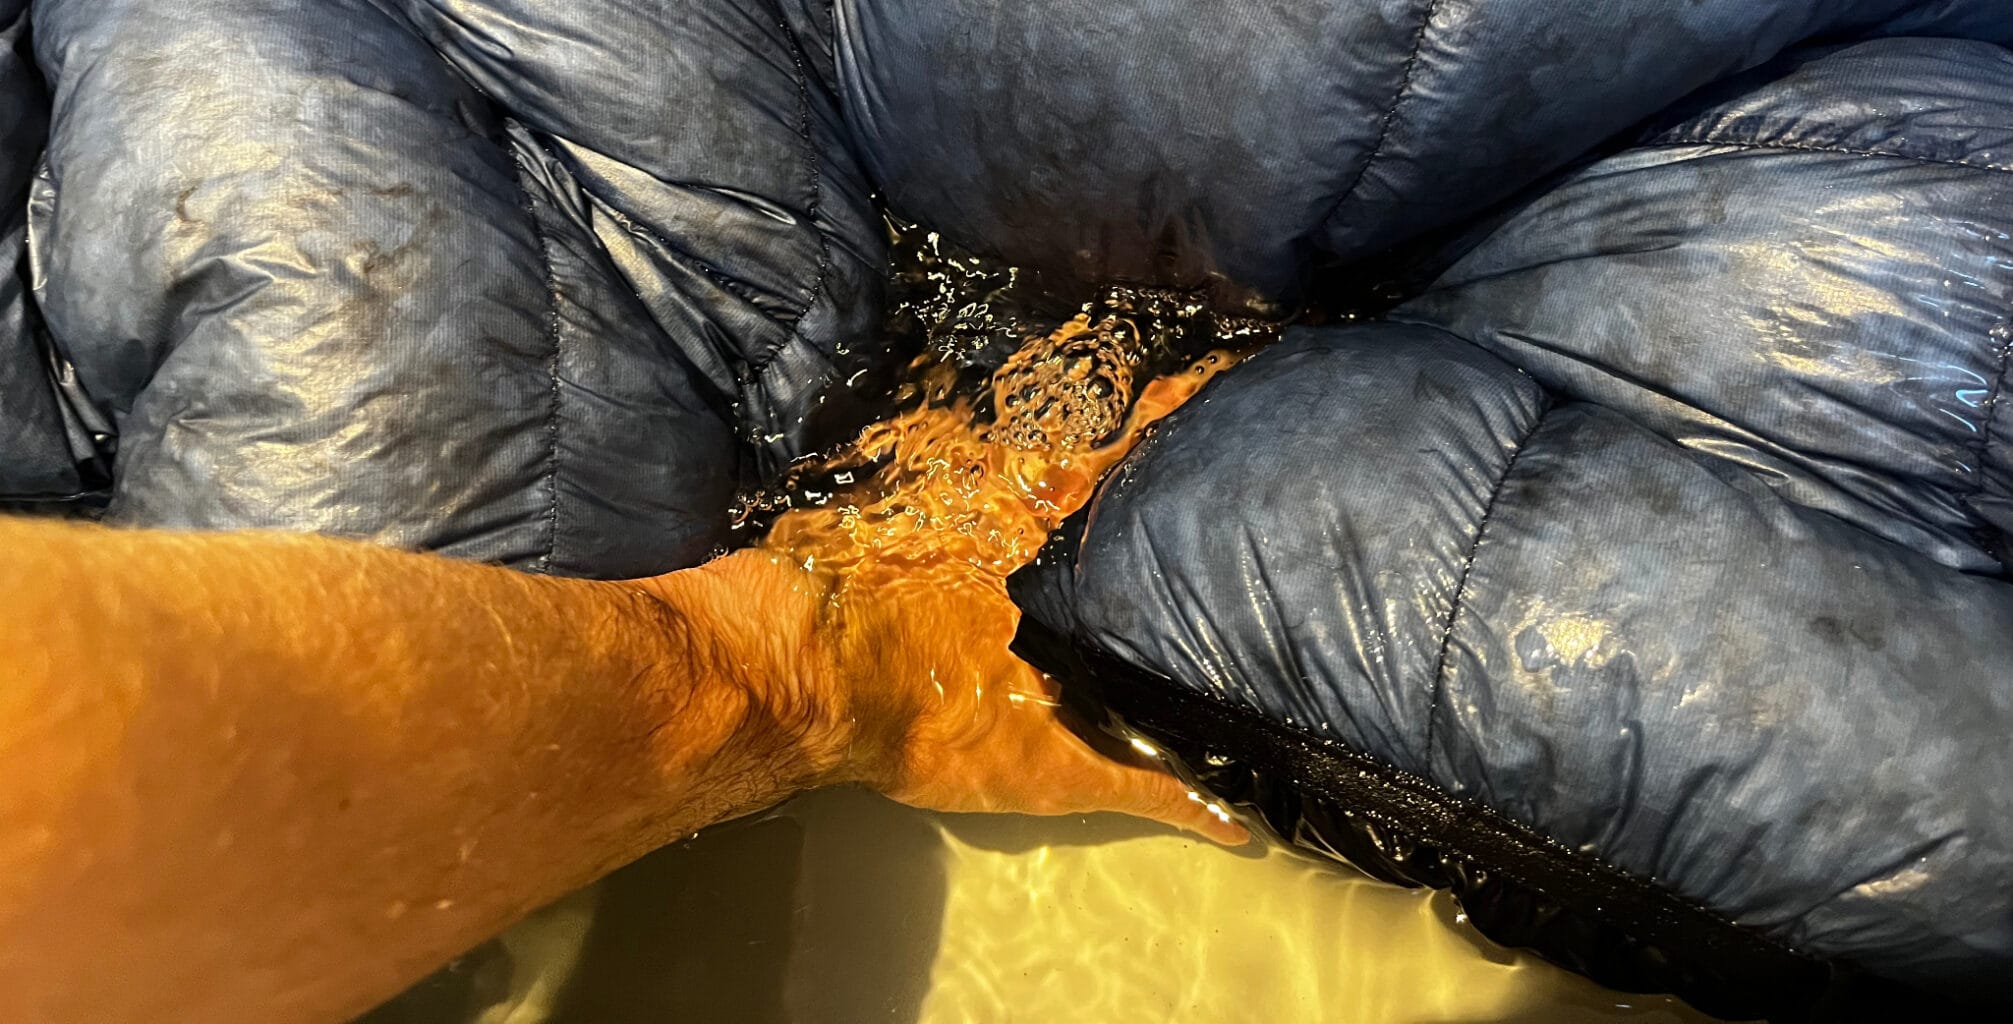
Once you’ve filled the bathtub with enough water in which to submerge your down sleeping bag, put the recommended amount of down-specific detergent into the water (I used 50 ml of Grangers Down Wash), followed by the sleeping bag itself.
The key objective here is for all of the down to take on water — but don’t force the whole sleeping bag underneath at once. That’ll put too much pressure on the baffles, and may cause the seams between them to rip.
Instead, push gently down on smaller areas of the sleeping bag, gently massaging the baffles underneath the water and holding them there for a few seconds at a time.
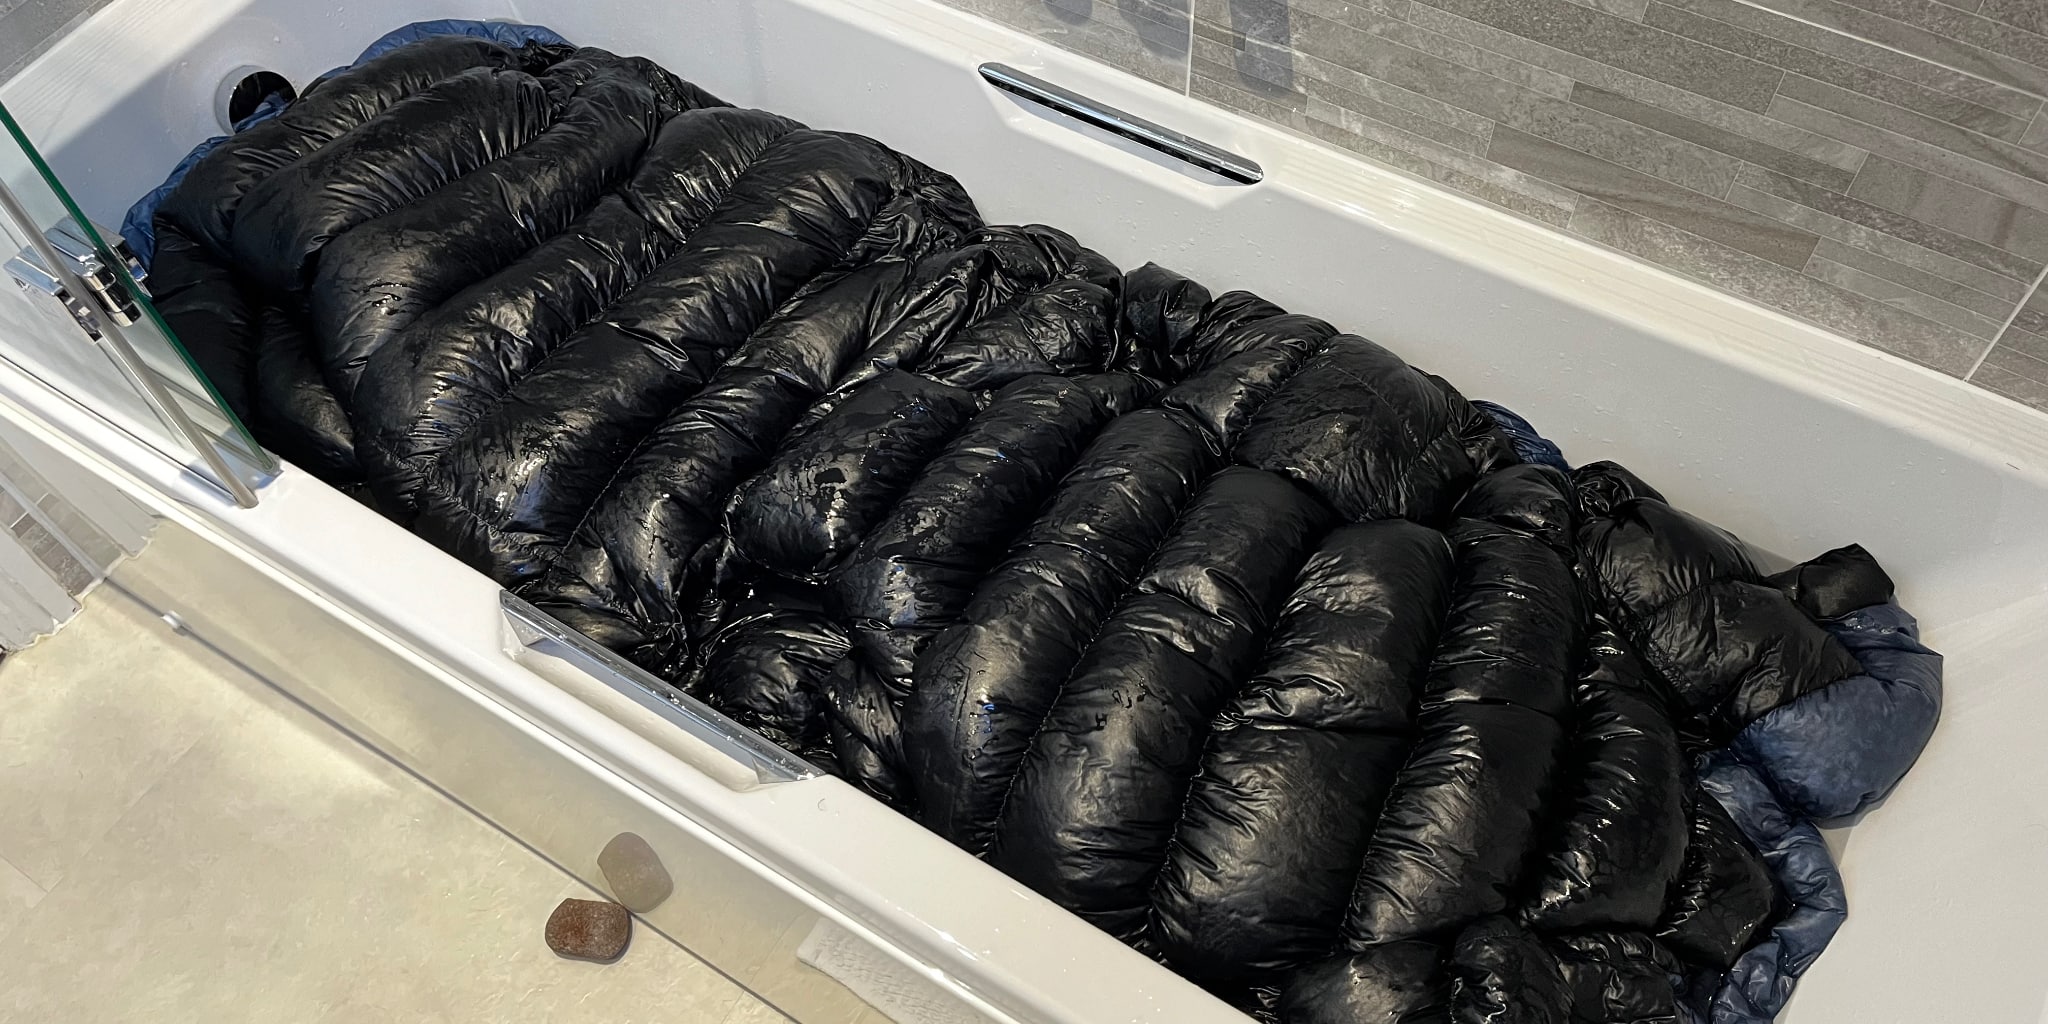
At this point, you might start to notice the down clumping up inside the individual baffles — this is normal. If anything, it’s a good sign — as it’s showing that the down inside your sleeping bag is taking on the water (and, accordingly, the down-cleaning detergent you put in it). Don’t worry about trying to separate the clumps of down at this stage — that comes amidst the drying process.
To ensure that all of the down in your sleeping bag comes into contact with the water, I do recommend turning it over at least once.
To turn my down quilt over in the bath I folded it baffle-by-baffle, pulling the far end of the quilt gently toward me with my right hand as my left pushed the near side of the quilt underneath. I repeated this process along the length of the quilt, until the whole thing had eventually turned over in the water — then massaged the quilt delicately underneath as before.
Another option of getting all of the down in your sleeping bag waterlogged is to put the whole bag inside a stuff sack, submerge that, then pull the sleeping bag out of the stuff sack whilst it’s submerged. This allegedly prevents massive air pockets from forming inside the baffles. I’ve tried it this way before, though, and the baffles still got all puffy. Whatever works for you.
No matter which way you choose to put your down sleeping bag in the water, though, the key thing to remember is to be very careful when moving it about. Down sleeping bags are often made of very delicate materials and these can tear easily when put under pressure.
2. Empty and refill bathtub with clean water
Once you’ve finished the massaging process, drain the entire bathtub and refill it with clean water. This may be easier said than done, as by this point, your sleeping bag will have taken on so much water that it’ll be quite heavy to move.
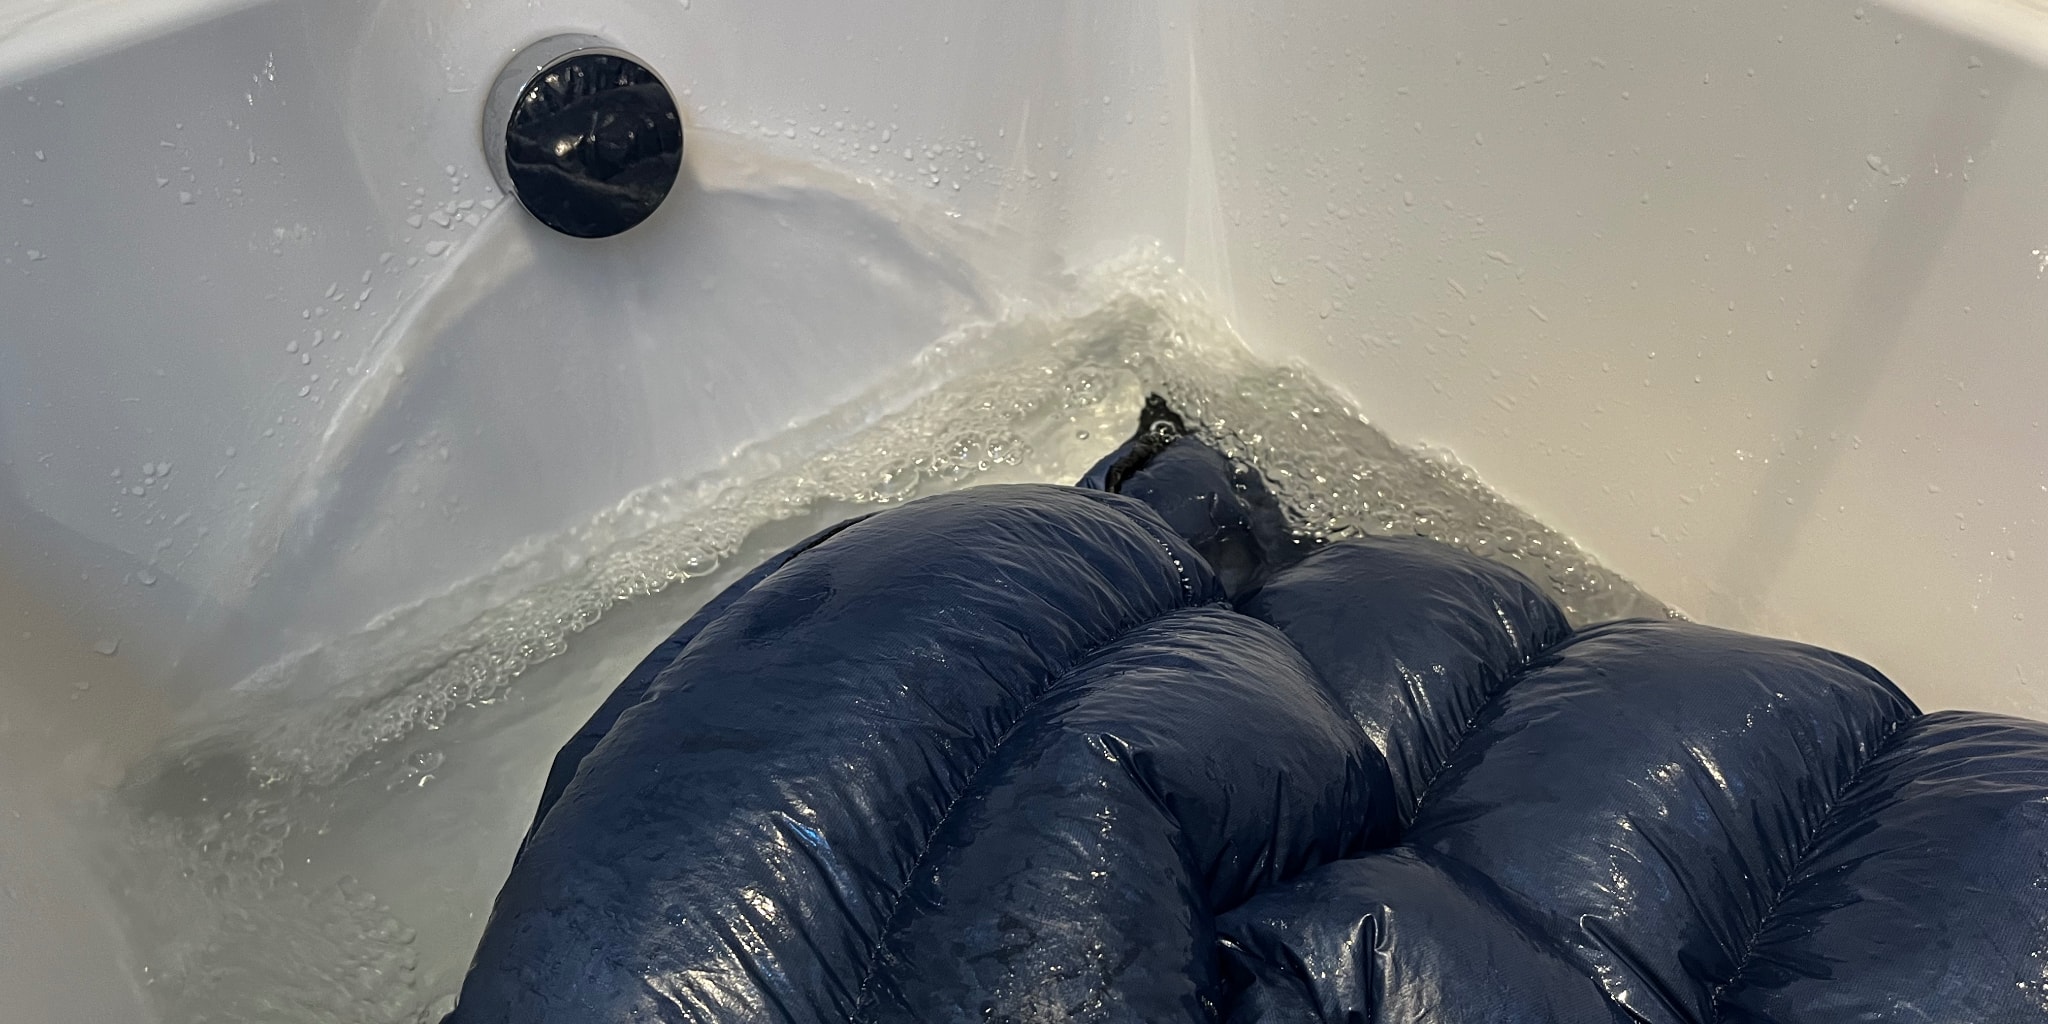
Try to get as much water out of the bathtub without squeezing the down in your sleeping bag (this’ll only tighten the clumps of down and make them a nightmare to separate in the drying process), then refill the bathtub with clean water. This will help get rid of any remaining detergent on the down and the sleeping bag itself (you may need to do this a couple of times).
Once the bathtub is refilled with clean, lukewarm water, I’d recommend leaving it there for about 45 mins or so before draining the water again.
Step 3: Transfer sleeping bag into receptacle to carry it elsewhere
With all of its feathers now completely waterlogged, your prized down sleeping bag/quilt will be shockingly heavy when you come to take it out of the now-empty bathtub — and it’ll be dripping everywhere.
Before its first round (of many, I might add) in the tumble-dryer, then, you’ll want to transfer it into some kind of other receptacle so it doesn’t flood your bathroom (and wherever else you’re going to have to walk through to bring your sleeping bag to the tumble-dryer). This will not only make it a lot easier to carry, but it’ll spread the pressure out over the baffles.
I used an IKEA bag to do this — but next time I’d probably go for a large plastic box, as Sweden’s finest wasn’t exactly as waterproof as I thought it might be.
The Drying Process
4. The first tumble dry
I would not recommend that you hang your sleeping bag on a washing line directly after taking it out of the water – it’s going to be very heavy, and hanging it up might not only damage the washing line but may also put too much strain on the bag’s outer material (where it’s hanging from) and rip it.
Instead, put the sleeping bag in a large tumble-dryer on a very low heat/delicate setting (no more than 50 celsius/125 fahrenheit). Sustained levels of high heat will melt the delicate fabric of your down sleeping bag, rendering it unusable.
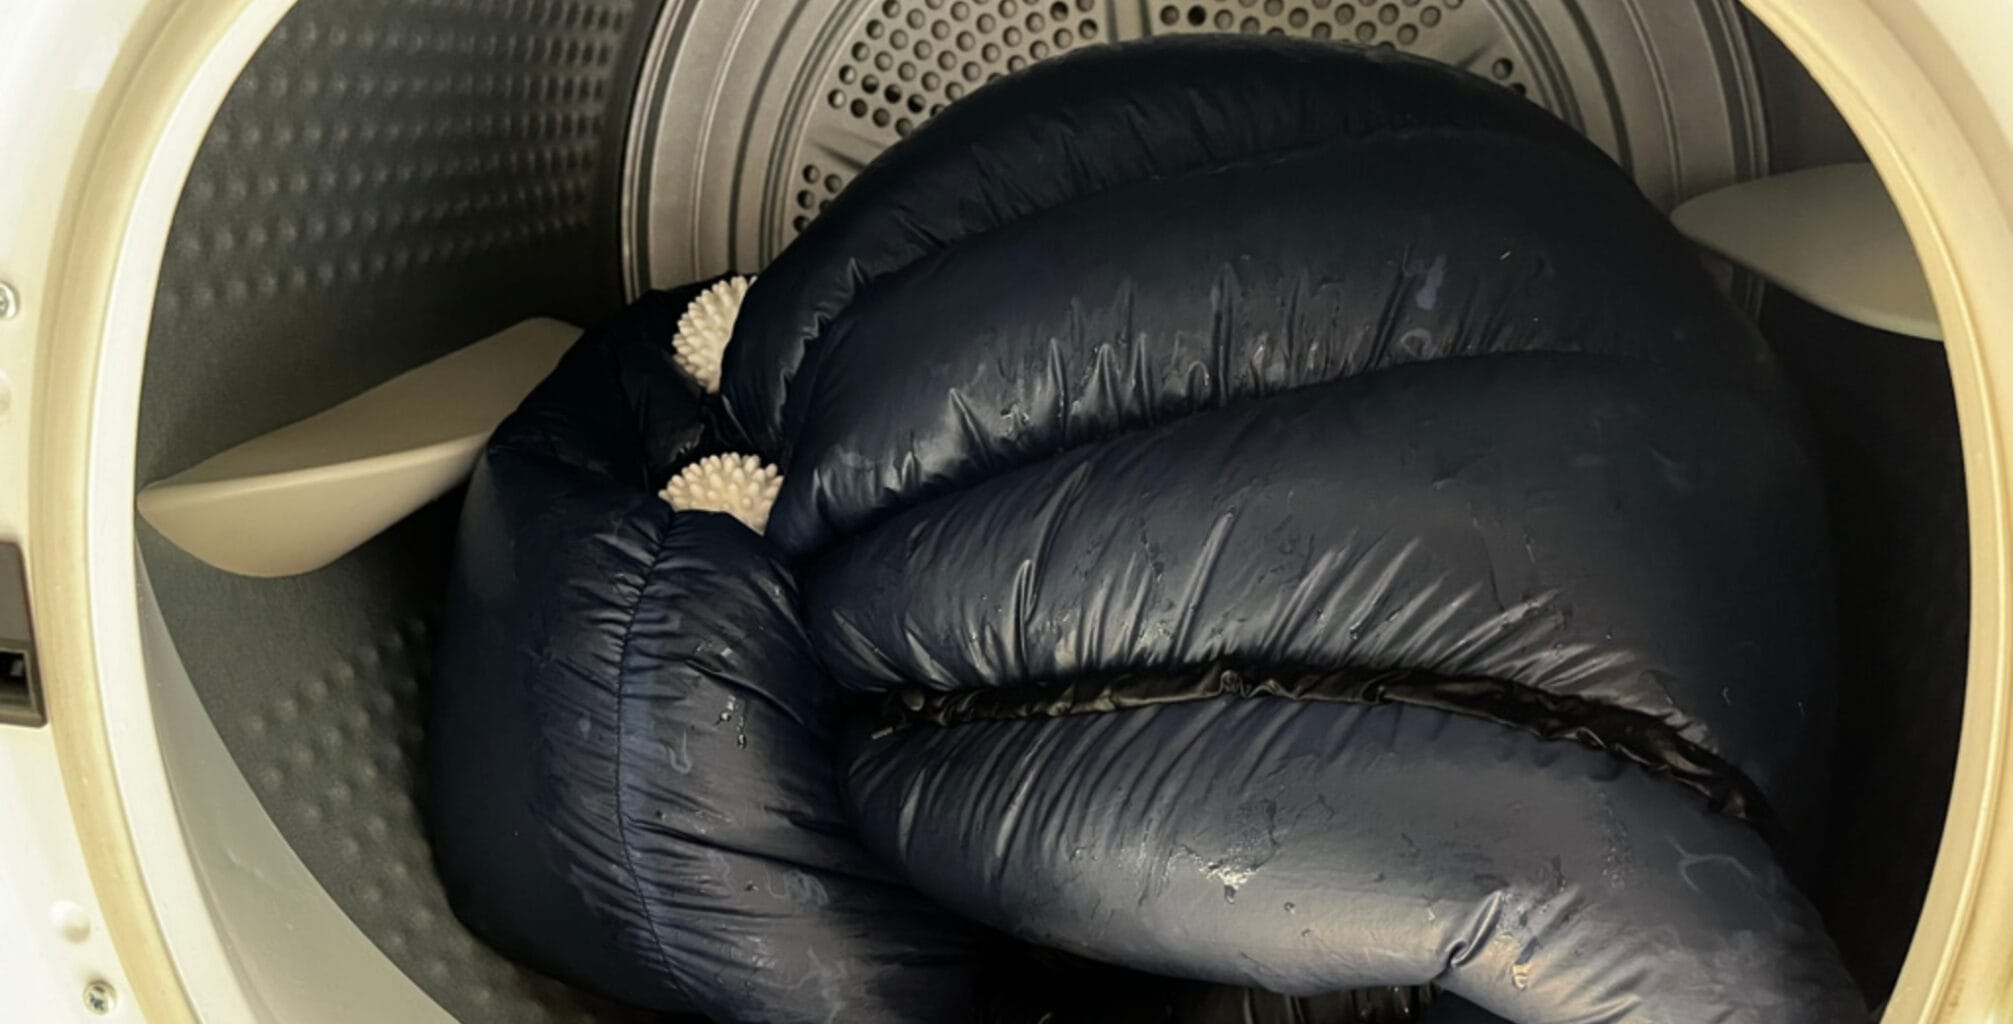
Along with the sleeping bag itself, put three clean tennis balls and some drying balls (the latter comes included with the Grangers Down Wash Kit I used) into the tumble dryer – this will help the drying process.
Tip: However many times you need to use the tumble dryer, remember to empty the water tray each time. This will not only ensure that the machine stays in good condition, but also allows you to track how much moisture you’ve lost from the sleeping bag after each cycle.
5. De-clump
You’ll have noticed that the down inside each baffle, after taking on the water from the bath, will have curled up into tight clumps.
After its first cycle in the tumble dryer, then, take your sleeping bag out, lie it down on a clean piece of ground (I’d recommend putting some kind of tarp down to prevent getting your nice clean sleeping bag dirty again), and get ready to start gently separating these sections.
To separate the clumps of down in your sleeping bag, just pull the clumps very gently apart with both hands. I tend to find it’s easier to do this with one hand on either side of the baffle, but this depends on the sleeping bag and the size of the baffles.
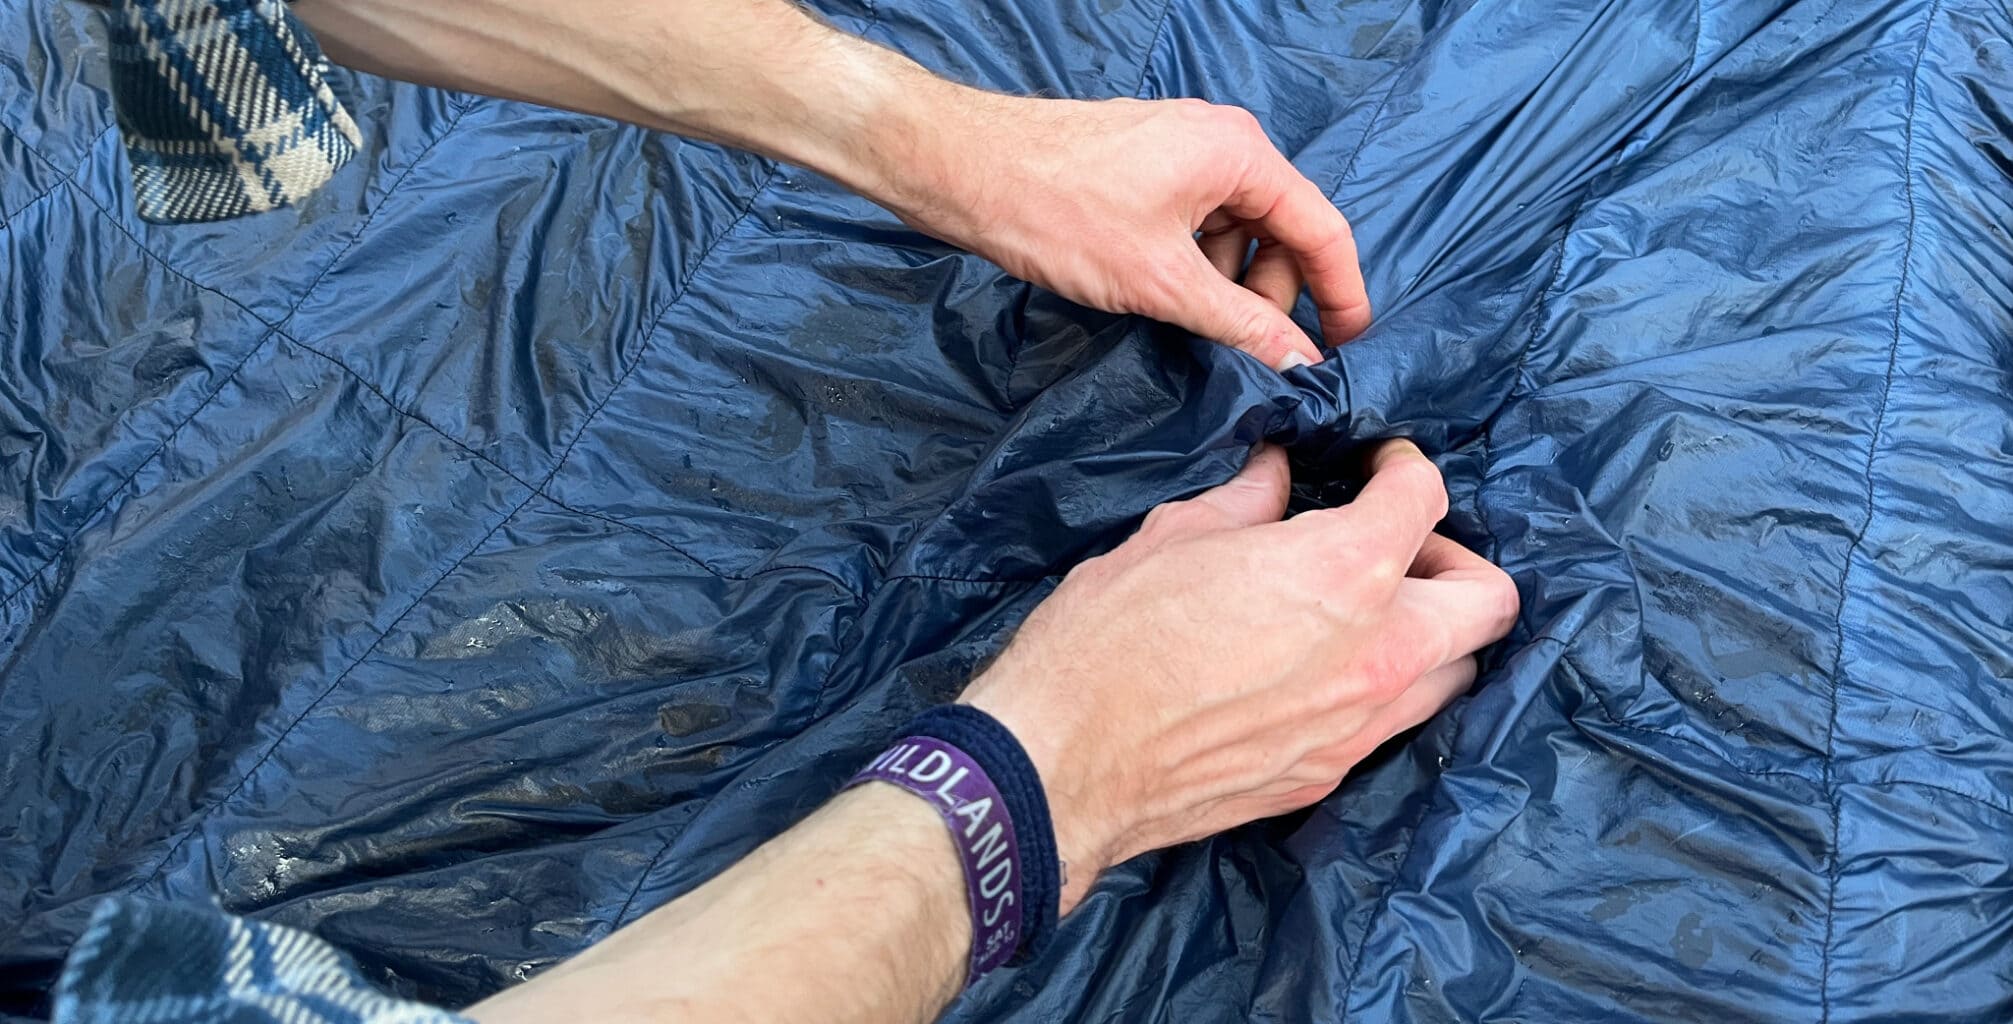
Don’t worry about trying to meticulously separate every single feather; you just want to get most of the clumps a little bit more opened up so that the tumble dryer has more chance of getting its warm air in between the feathers – thus drying them out and allowing them to fluff up again.
Tip: In the de-clumping process, be very careful to avoid grabbing the material inside the sleeping bag that separates the baffles. This fabric is extremely thin, so make sure that what you’re about to pull about is a clump of down, not your sleeping bag.
6. Repeat drying and de-clumping process
After your first round of de-clumping, put the sleeping bag back in the tumble-dryer (on the very low heat/delicate setting, remember!), and wait until the cycle’s over.
When it’s done, de-clump some more – and repeat the process.
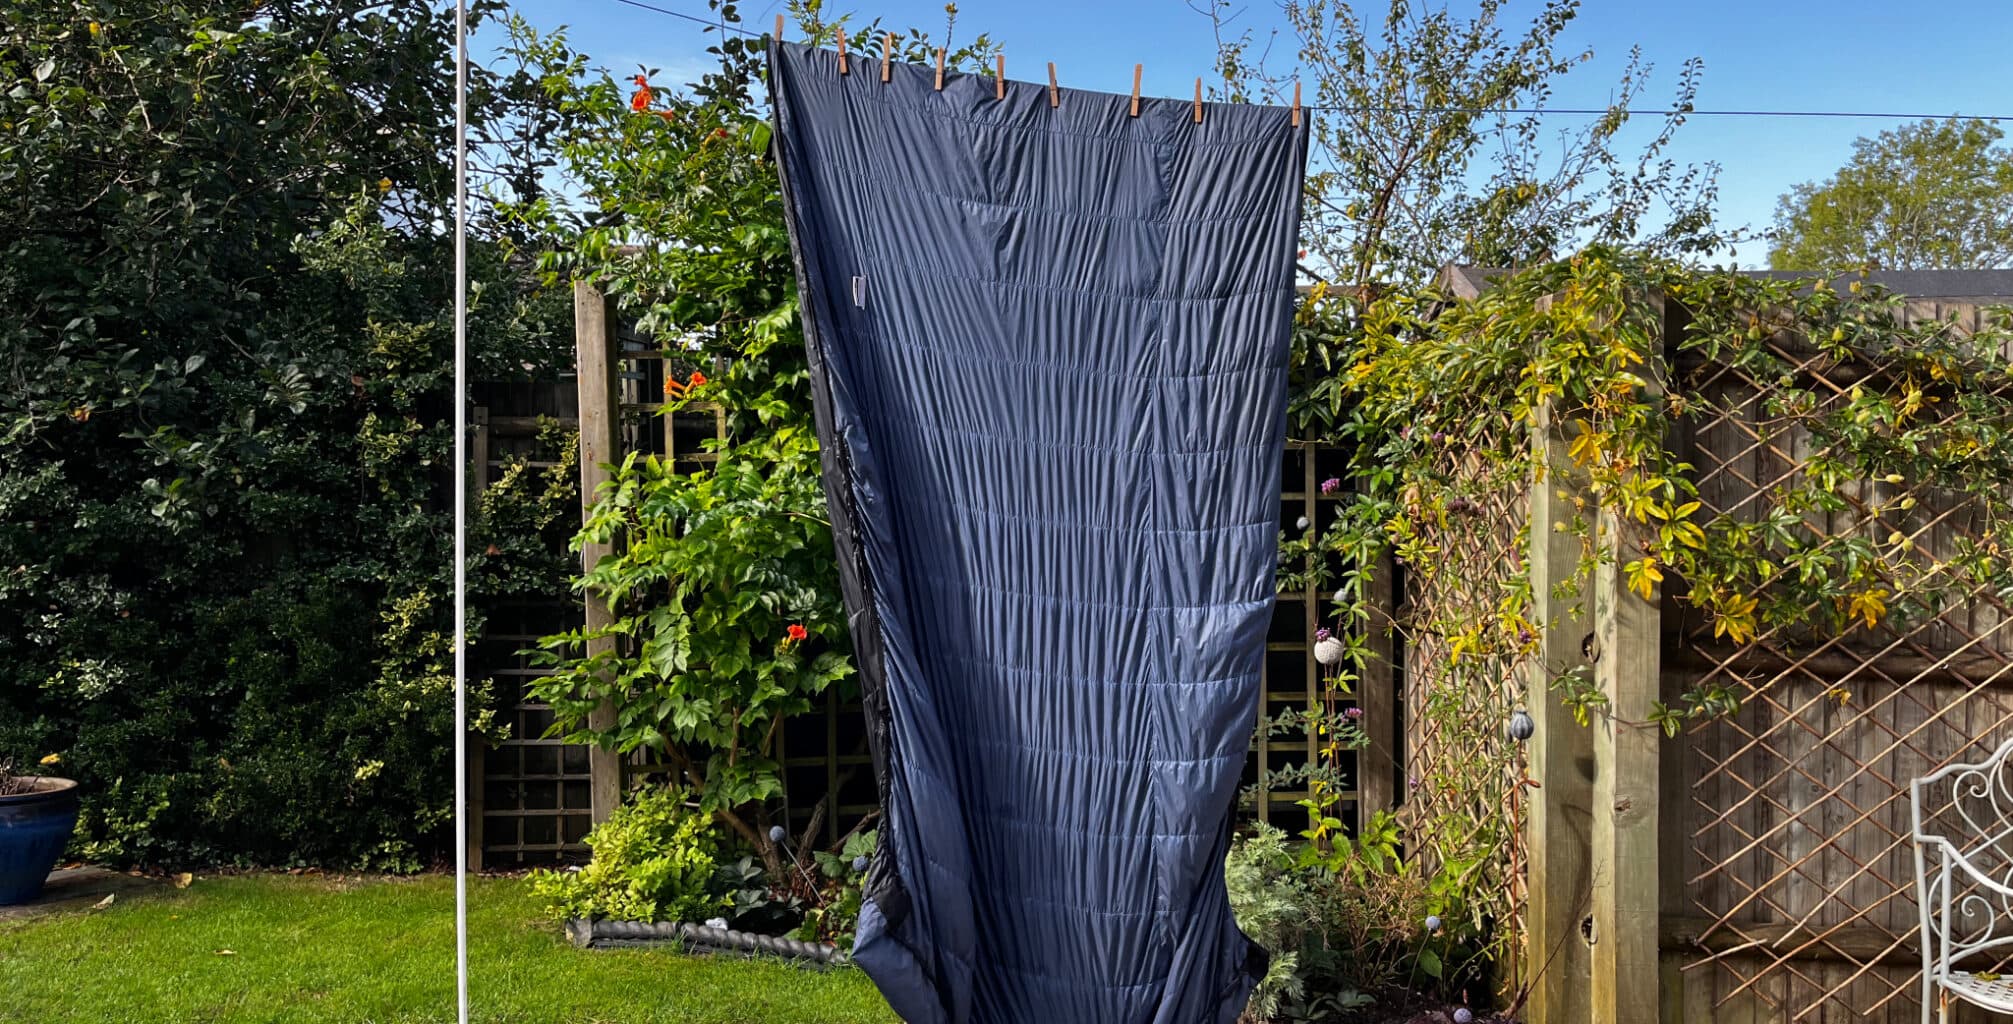
After a couple of times in the tumble dryer, I hung my sleeping bag up on a washing line to air-dry it, and did some light de-clumping while it was up there before putting it back in the tumble dryer for another cycle.
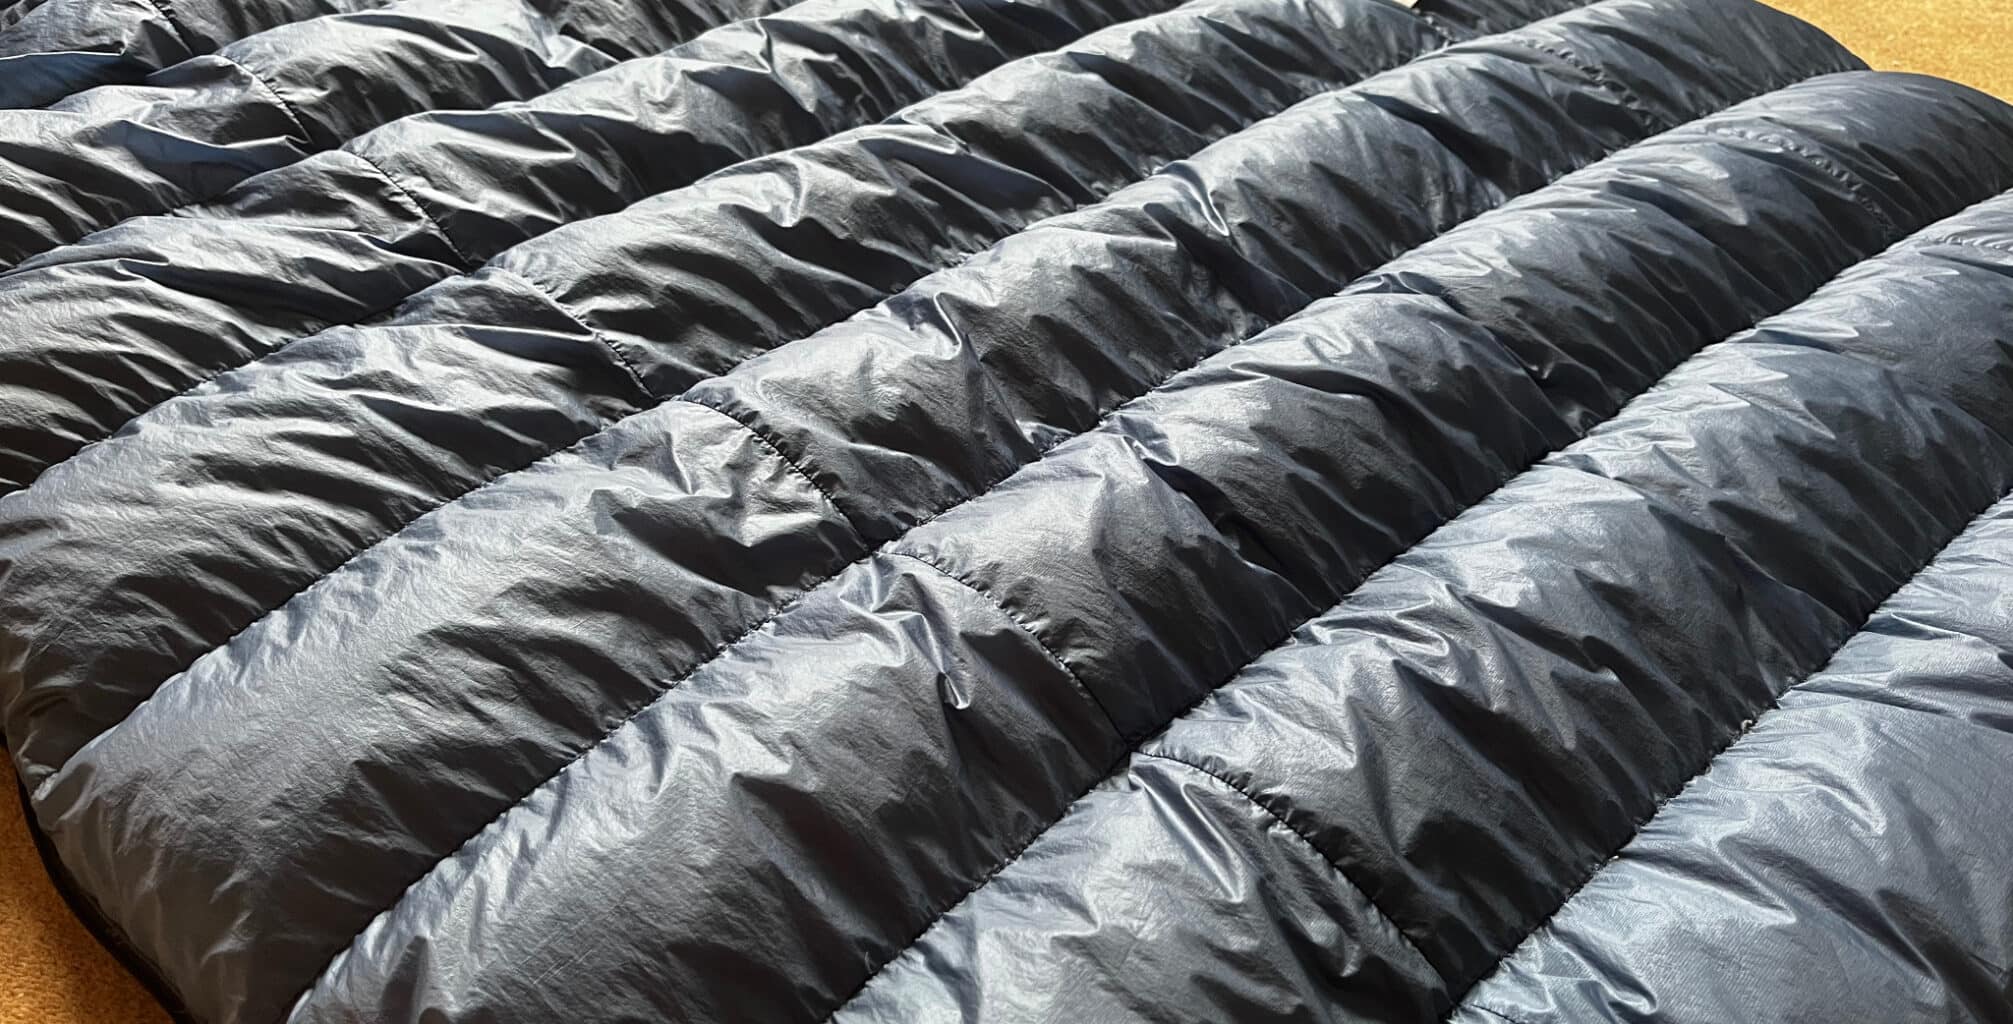
Overall, I spent about two and a half hours separating the clumps of down in my sleeping bag (I actually found this quite therapeutic), and the sleeping bag went through the tumble dryer five times before it was completely dry.
Now that it’s clean, the baffles are full, fluffy and warm again, and ready for the next adventure.
If you’ve got any other questions about how to clean a down sleeping bag, let us know in the comments section below and we’ll do our best to help!
How to prolong the life of your down sleeping bag
- Wear socks and leggings whilst sleeping in your down sleeping bag to help protect the materials against dust and oils/sunscreen
- Use a sleeping bag liner as an additional liner against dirt (this’ll also help keep you warmer)
- Don’t compress your sleeping bag when you’re not using it – hang it up on a hanger or put it in a large, breathable cloth bag (don’t put it in a closed plastic tub, as this can lead to mould).
FAQs
Can I put my down sleeping bag in the washing machine?
I would not recommend putting your sleeping bag in a washing machine.
As mentioned earlier, the weight of down when it takes on water puts great stress on the baffles of the sleeping bag, and any sudden movements or strain could lead to rips.
Can I dry clean my down sleeping bag?
No.
Dry cleaners use solvents and detergents that will strip your sleeping bag of its natural insulative properties, rendering it useless.
I’ve only got normal detergent — can’t I just use that?
No.
Normal detergent is not designed to wash down, and can strip the down of its natural insulative properties. Using regular detergent to wash your down sleeping bag would drastically decrease its warmth rating and, therefore, render it completely ineffective.
How often should I wash my down sleeping bag/quilt?
Keeping your down equipment clean is important to maintain its effectiveness, but overdoing the washing will put unnecessary strain on the materials and may lead to the outer material wearing out sooner – especially thanks to the use of the tumble dryer.
I tend to go hiking for about three months every summer, so use my down quilt extensively – and I wash it once every year. I’ve owned my Katabatic Flex 15 since June 2022, have slept in it for over 150 nights, and it’s still just as warm now as it was when I bought it.