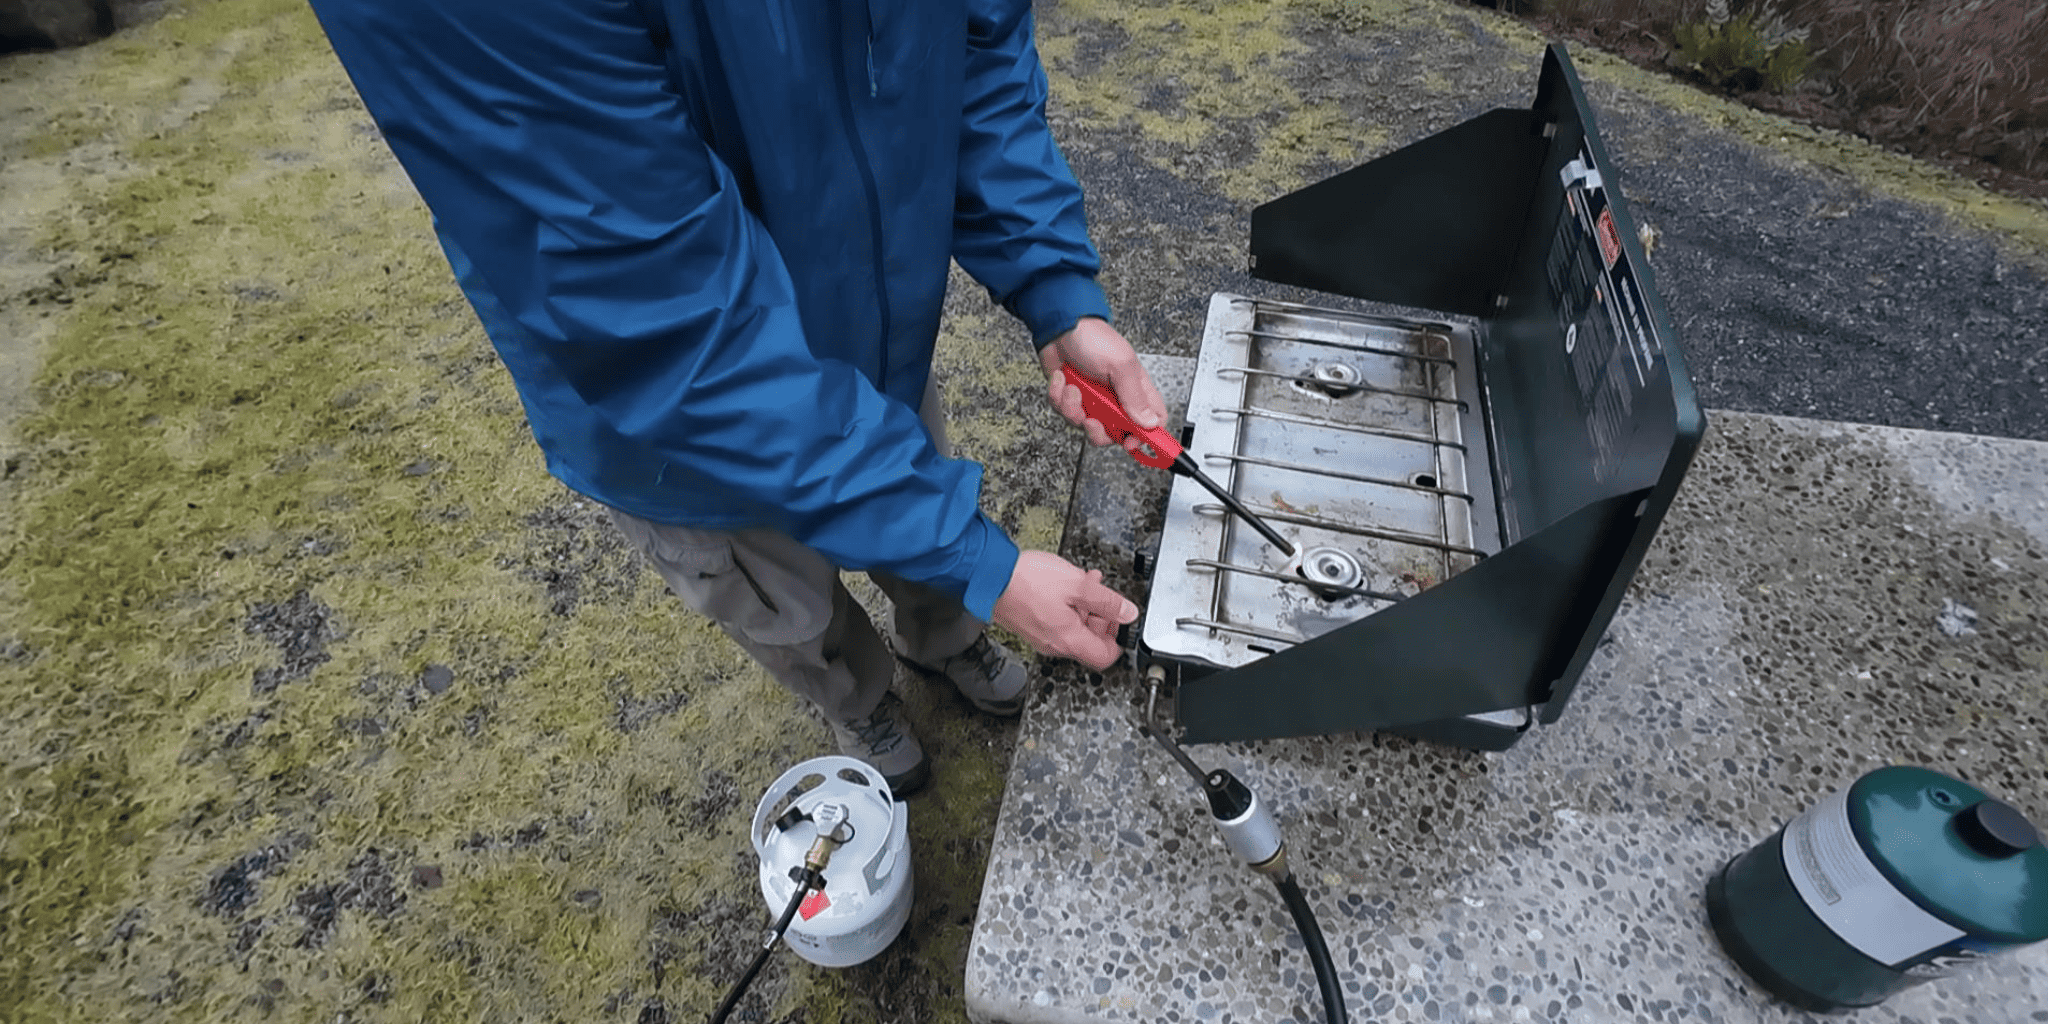
If you’re car camping, chances are you’ll be doing most of your cooking on a two-burner camp stove that uses pressurized gas. In this post, we’ll show you how to safely set-up and light a typical two-burner propane stove.
Key Points
- Set up your stove on an even surface
- Make sure the burners are in the ‘OFF’ position
- Connect the regulator to the stove
- Connect your fuel supply to the regulator
- Ignite your stove using the inbuilt igniter or a match/lighter
- When done cooking shut the stove off and get ready for the next use
Step 1: Stove set-up
Place your stove on a flat, even surface, like a picnic table, and open the stove.
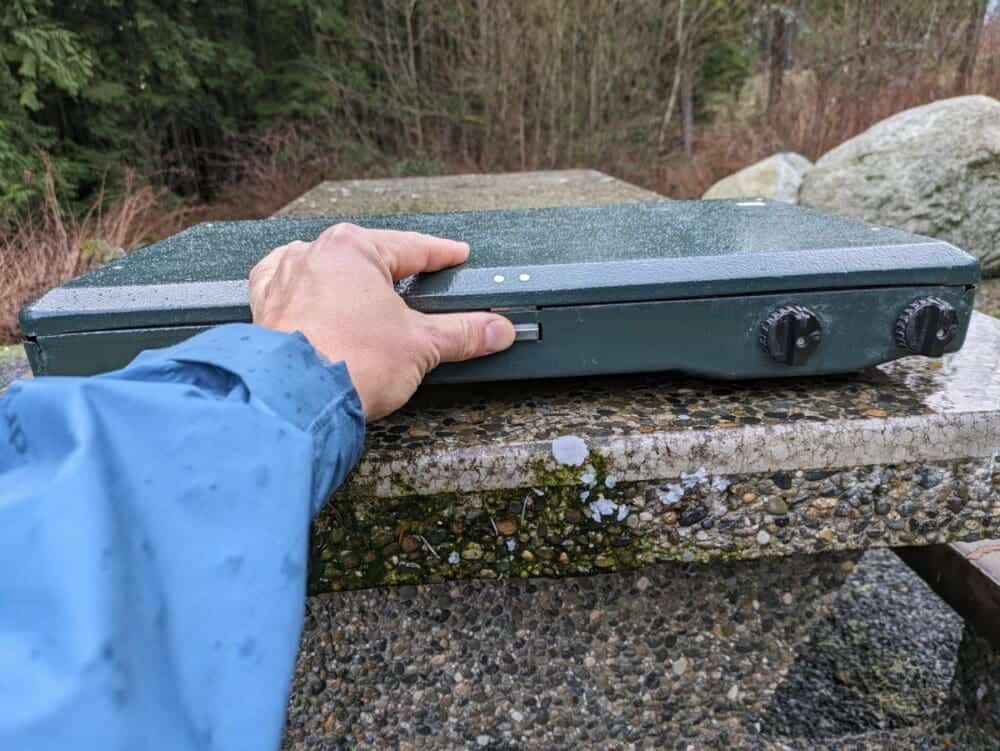
Step 2: Ensure the burners are off
The flow of fuel to the burners is controlled by knobs on the front of the stove. Make sure these are turned to the OFF position (on our Coleman stove, this is done by turning them clockwise).
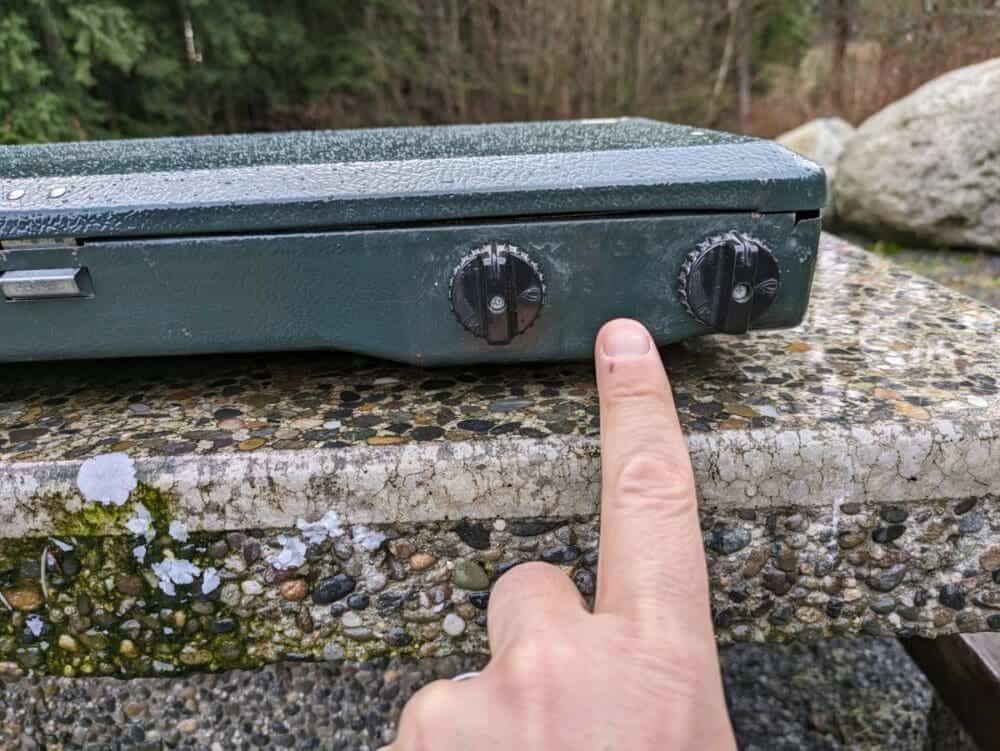
Step 3: Connect the regulator to the stove
The regulator is a flexible or rigid line that connects the fuel supply to the stove as well as regulating the fuel pressure delivered to the stove. In some stoves, the regulator is permanently attached to the stove. On our Coleman stove, the regulator is stored inside the stove when not in use.
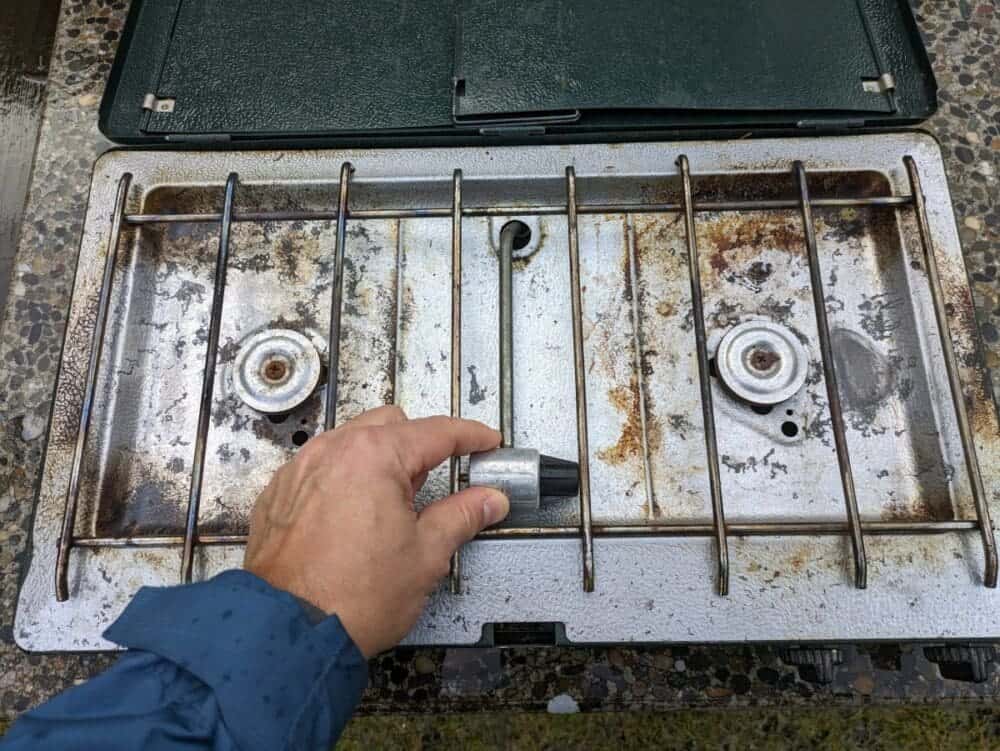
If your regulator is detachable, locate the port that the regulator connects to. On many stoves, this is located on the side of the stove. Screw the regulator into the port and hand-tighten only.
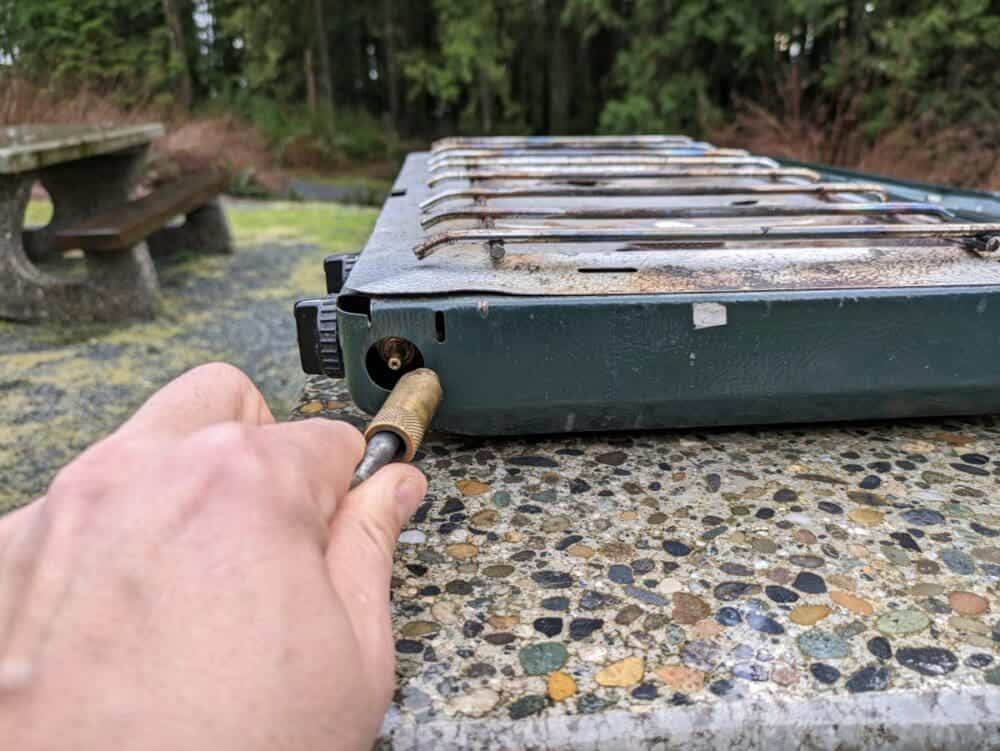
Step 4: Connect the fuel supply to the regulator
If your stove runs on propane, you’ll have several fuel supply options – the most common of which is a 1L single-use propane canister that threads directly onto the regulator.
To connect a 1L propane canister to the regulator, remove the protective cap from the canister, ensure that the threads on the canister and regulator are free from debris, and screw the canister into the regulator in a clockwise direction. Hand-tighten only.
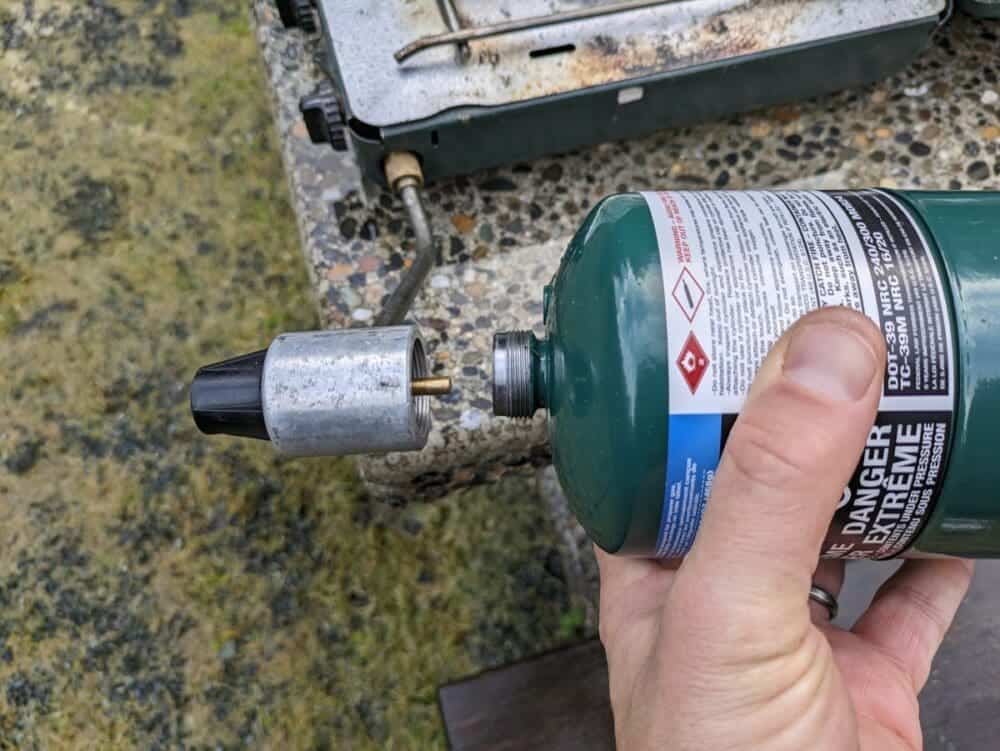
Once attached, position the canister so that the regulator is higher than the bottom of the canister. Positioning the canister with the regulator down will deplete your fuel more rapidly and make your stove less efficient.
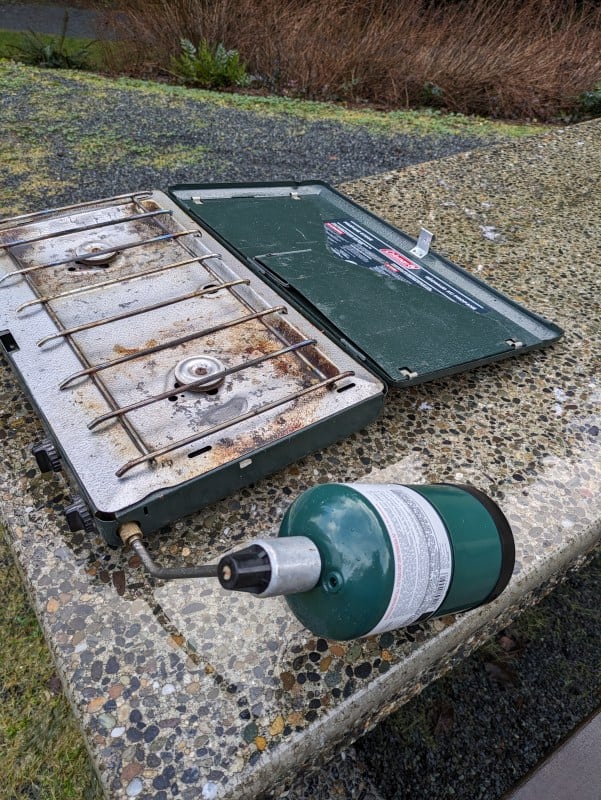
Pro tip: if your canister is almost empty, tuning it upside down will help you get the last bit of fuel out to your stove!
To connect a refillable propane tank to the regulator, an adapter hose is required. Screw one end of the hose into the propane tank and the other into the regulator.
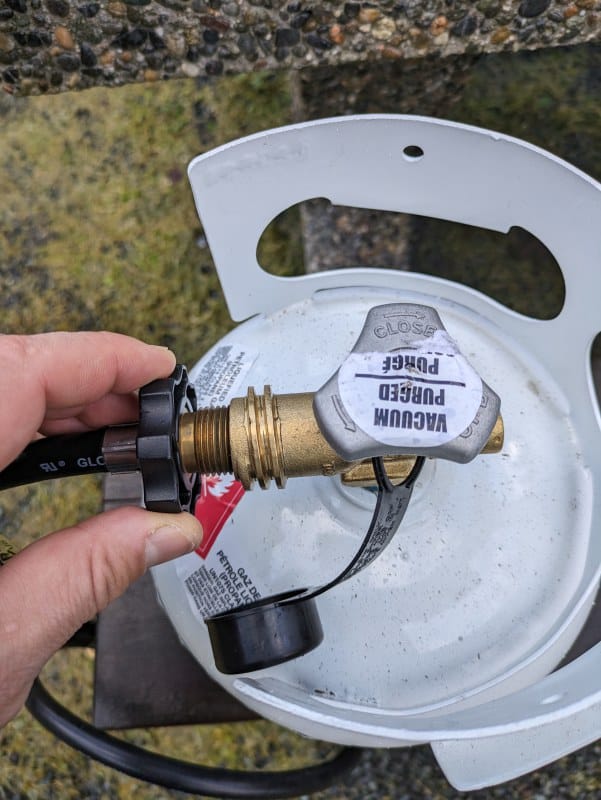
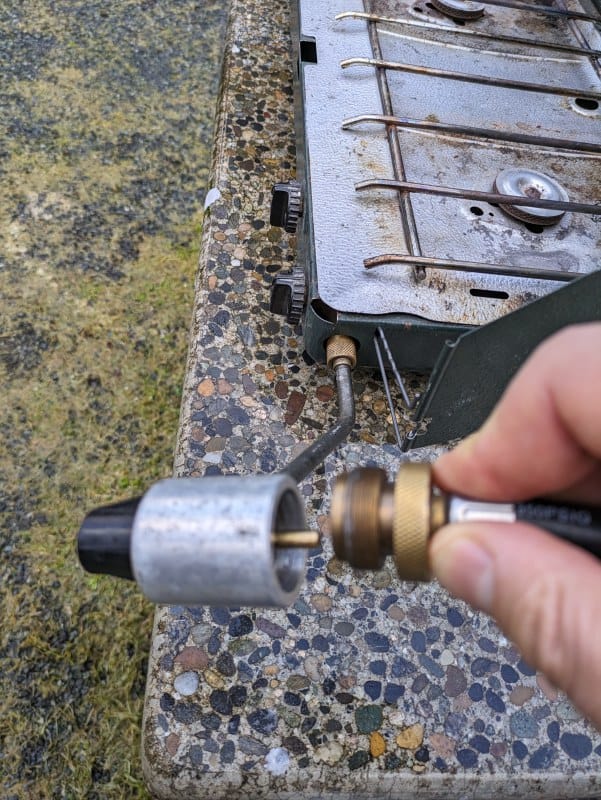
Note that many propane tanks are threaded opposite to what you’d expect and tighten in a counterclockwise direction.
Step 5: Lighting the stove
Before lighting the stove:
- Ensure that all your connections are secure and that the burners are in the ‘OFF’ position.
- If you smell gas, do not proceed. Instead, you can moisten the outside of each connection with a dilute solution of soapy water and look for bubbles, which indicate a leak and potential equipment failure.
- If you are using an external propane tank, turn the valve on the top of the tank to the ‘Open’ position (typically by turning counterclockwise)
- Open the lid of your stove and secure any windscreen flaps that may exist.
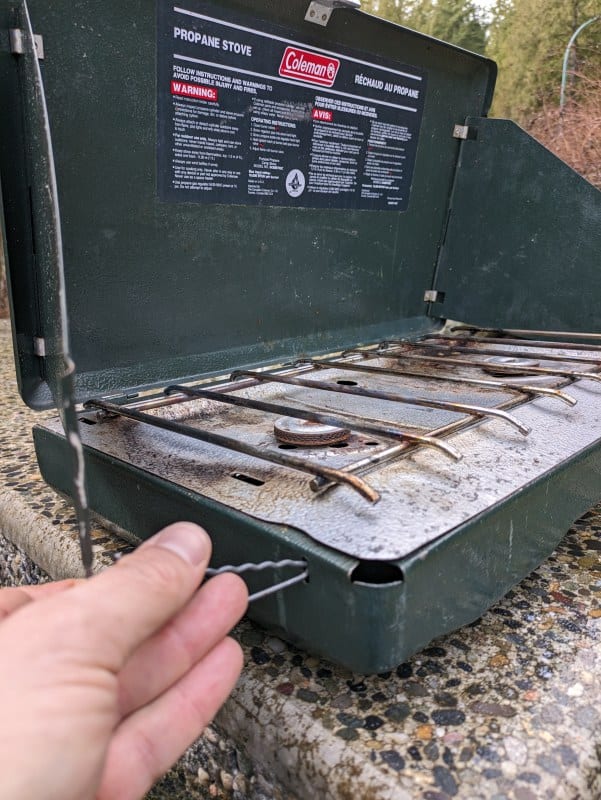
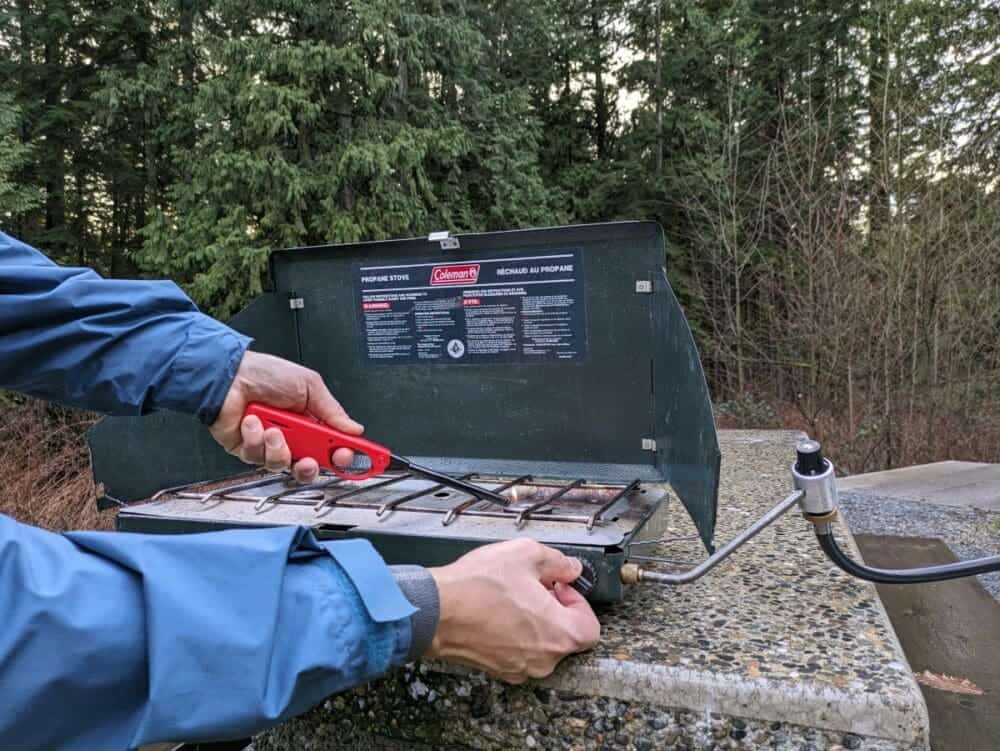
Lighting stoves with a built-in igniter
If your stove has a built-in igniter (typically a red push-button or dial), the steps to light your stove are as follows.
- Turn the burner knob closest to the regulator to the ‘ON’ position
- Press the ignitor / turn the ignitor knob to create a spark that will light the stove. You may need to do this a few times.
- If the stove does not light within a few seconds, turn the burner knob to the ‘OFF’ position and wait 30 seconds for propane gas to disperse – then try again.
- If you are still unable to light the stove after trying this a few times, your igniter may have failed (a common issue with stoves that have igniters). If that happens, light the stove following the instructions for stoves without igniters.
- Use the same process to light the second burner if needed.
Lighting stoves that don’t have a built-in igniter:
- Light a match or lighter and put the flame to the base of the burner closest to the regulator
- Turn the burner knob closest to the regulator to the ‘ON’ position.The burner should light immediately.
- If the stove does not light within a few seconds, turn the burner knob to the ‘OFF’ position and wait 30 seconds for propane gas to disperse
- Repeat the process to light the second burner if needed.
Step 6: Turn off and secure the stove for next use
When you are done cooking, here’s how to turn the stove off and prepare it for the next use:
- Turn all burners to the ‘OFF’ position.
- Turn the propane tank (if applicable) to the ‘OFF’ position
- Allow the stove to cool
- Close the lid
If you are camping in excessive heat and your set-up is in direct sunlight, it would be prudent to disconnect the fuel source and store it in a shady area.
FAQs
Can I use a single-use propane canister?
You can, but single-use propane canisters have 3 major draw-backs:
- More limited cooking time (~2h on high, less in cold temperatures)
- They are more expensive than refillable propane canisters
- They are not designed to be re-used and may not always be recyclable
A better option if you are going to camp and cook often on your stove is to secure a refillable propane tank, just like you would use on your BBQ. Refillable propane tanks come in many sizes, with 5L, 10L, and 20L options being the most common.
