One person’s favorite hammock knot is another person’s worst. The truth is that each known method has its pros and cons. The trick is establishing your priorities and choosing knots you feel confident in tying. No point using the “best method” if it’s only going to leave you in knots.
There is not a singular hammock knot but several suitable methods. The easiest is the bowline knot, which is straightforward to tie and untie, even after holding a load. The taunt line hitch and the falconer’s knot are also popular. If knot-shy, use hammock straps or built-in carabiners.
Knots are useful for all kinds of camping situations, even if you don’t use a hammock. For example, the trucker’s hitch is perfect when you want to strap down a kayak to the top of your car. But if you only have time to memorize one knot, it’s the bowline.
If you’re wondering how to tie a hammock knot, read on!
Bowline: Best Beginner Friendly Hammock Knot
The bowline is a classic knot, at least centuries old, if not thousands. It is a beloved maritime knot, but it has many other practical uses, especially for camping:
- Hanging a hammock
- Attaching a guyline to a tent
- Setting up a tarp shelter
- Tying up a bear bag
- Creating the bow for starting a fire
The bowline’s advantages are that it is easy to tie and untie, even after bearing considerable weight. In short, you won’t have to break out the pocket knife to take your hammock down at the end of your trip.
The bowline does have a disadvantage: it loosens when it isn’t bearing weight. Thus, before you hop into your hammock each night, you might find you need to readjust it first.
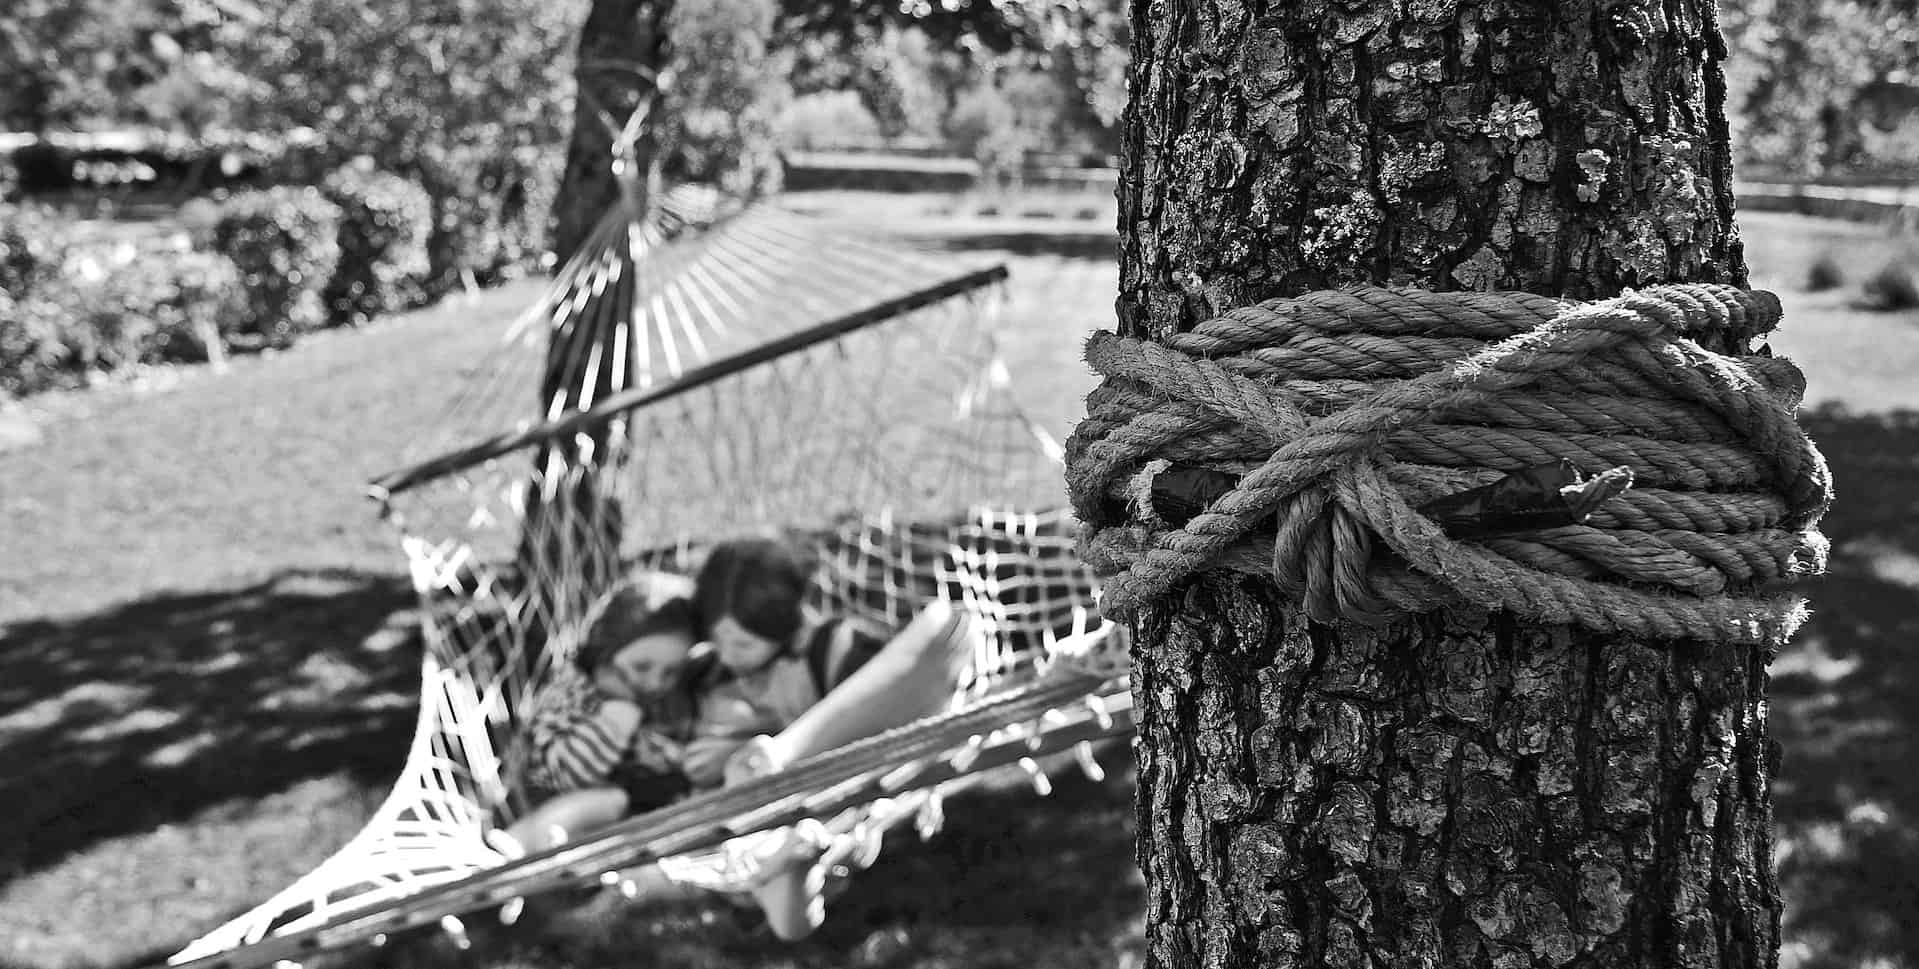
- Wrap rope around the tree or pole serval times
- Form a loop down the tail at the desired clip in height
- Pass end from the bottom up through the loop and behind the rope attached to the tree
- Now you have two loops; pass it through the first and pull, leaving the second loop
- Clip into the remaining loop
You can use this in two ways. First, you do as stated above, leaving the second loop and clipping your hammock in by its carabiner. To see a demonstration, see the video below.
The second is for when you don’t have a carabiner and are tying directly into the hammock. When you do this, you might want to finish off with some hitches to prevent it from coming loose. You can see a full demonstration here:
Taut Line Hitch: Best Adjustable Hammock Knot
The taunt line hitch is excellent when you might want to adjust the hammock throughout your camping trip. It is typically done on only one end of the hammock, not both. However, its most popular use is for securing the rain fly. Thus, it’s helpful regardless if you are camping in a tent or hammock.
The taunt line isn’t technically a knot but a hitch. Knots hold their shape regardless of where there is any tension on them, such as the weight of a bear bag. Hitches need weight, or they undo. The taunt line is a friction hitch and, thus, can slide up and down if required to adjust the length.
- Wrap around the tree three times and leave at least a 2-foot tail
- You should have a “working end” and a tail
- Cross the tail up the working end, towards the tree, and make 2 loops
- Bring the tail to the right, then down, behind the working end
- Bright the tail up on the left, over the working end
- Now there should be a tiny loop on the right
- Bring the tail through it, going down
- Pull the tail
Watch a demonstration here:
Fisherman’s Knot: Best Knot For Joining Two Ropes
The fisherman’s knot is an excellent way to join two ropes of equal diameter. It is primarily used to join two ends of the fishing line together.
It isn’t the ideal way to hang a hammock, as once weight is placed on them, it is a nightmare to untie. However, it can be used if you end up with a rope that is too short to secure it with only one. After all, camping is about the unexpected; thus, it’s a knot to know.
- Take two ropes of equal diameter
- Lay their ends parallel with each other, left on the bottom, right on the top
- Cross the top rope over the bottom, then bring it under and up, like U
- Bring its tail over the standing end to make a loop
- Bring it over and down through the loop to the left and pull
- Now grab the tail of the bottom rope
- Cross it over the top rope, well past the right of your knot
- Go up and under, making an upside-down U
- Bring its tail over the standing end to make a loop
- Pass under the loop and up through the loop to the right and pull
- Now grab the standing ends of both ropes and pull until the two knots meet
Watch a demonstration here:
Double Fisherman’s Knot
Climbers use a double fisherman’s knot rather than a single one. Climbers favor it because it is stronger and more secure; music to a hammock user’s ears. However, it is even harder to untie once it has been used.
It is essentially the same a standard fisherman’s, but you wrap it twice before pulling it through. However, it is often more manageable if you do it by using your hand and thumb to create the loops.
- Take two ropes of equal diameter
- Lay their ends parallel with each other, left on the bottom, right on the top
- Slide your left hand under the bottom rope and hold it in a fist, with your thumb on top
- Bring the tail end of the top rope over the rope and thumb, under, and wrap it over again, making an X
- Slide the thumb out and feet the tail through the X, right to left
- Pull to the left
- To check if you did it correctly, there should be an X on one side of the knot and parallel strands on the other
- Repeat with the other side
- Pick up the top rope with your left hand and thumb on top
- Bring up the tail end of the bottom rope, cross it over the top rope, and thumb, wrapping twice, to make an X
- Now bring it through the X, left to right
- Pull to the right
Watch a demonstration here:
Hammock Straps: The Tree Friendly “Knot” Hang
Using hammock straps is sometimes referred to as the “hammock knot.” Hammock straps are much kinder to trees than most ropes or cords. While you can make hammock straps out of, the nylon webbing straps are wider and less likely to gouge into the bark.
To use, wrap the webbing strap around the tree at the desired height. Next, pass one end of the webbing through the loop of the other and pull it tight. Now you take the carabiner from the hammock and “knot it” to the webbing.
- Hold the carabiner with its top loop facing the tree
- Take the webbing and from the top, pass it down through the carabiner loop
- Grab the end on your right, bring it up and over the carabiner to your left
- Now leave it loose enough at the top that it forms a loop
- Bring hand down the tail, and fold it into a loop
- Pass the loop through the carabiner and through the loop at the top and pull it tight
Watch a demonstration here:
Paracord Into Hammock Straps
You can turn a paracord into hammock straps, and then you just clip in. The method isn’t as tree-friendly, but it is handy if you find you’ve forgotten essential straps or rope. Also, it doesn’t require fancy knots.
- Cut paracord into two strips
- 2 inches from the ends, make an overhand knot 2 (pass over and through, like tying a bread bag)
- Slide down 12 inches, tie again
- Repeat down the entire length of the paracords
- Now you have a paracord with “loops” down its length
- Wrap paracords around the tree, and slip through the loop to hold it tight
- Clip your hammock’s carabiner into the loop of the tail to achieve desired hammock height
Watch a demonstration here:
Built-In Carabiners: The Best Indoor Hammock Hang
Built-in carabiners are the quickest, simplest, and easiest method to “tie” a hammock and take it down. Then, you bolt a hook into the wall and clip in the hammock. Perfect for people using hammocks instead of beds or using them on porches. It also saves space by foregoing a stand.
Some campers do use this method, and most of the time, they are being environmentally destructive. Drilling holes into trees is a don’t. The only exception is if a campground or trail has installed poles or hooks for hammock users. Then, save yourself the hassle and just clip your hammock’s carabiner right in.