There’s nothing as satisfying as returning home after a spectacular fishing trip, still buzzing from breaking in the new rod that’ll serve you for many years to come. You throw it into the garage and forget about it until the next season, only to find that the rod is warped after a year, and the line has a better memory than an elephant. Sound familiar? Below we’ll investigate how to store fishing rods correctly.
How to store fishing rods:
- Clean The Various Rod Components
- Inspect Your Rod For Damages And Wear And Tear
- Separate Your Reel From The Rod
- Decide Where You Would Like To Store Your Rods
- Select A Convenient Method For Storing Your Rods
- Install Your Rod Rack And Then Add Your Rods
- Store Your Tackle In A Practical Place Close To The Rods
- Check On Your Rods From Time To Time
1. Clean The Various Rod Components
Cleaning off the grime, dirt, and (especially) salt residue is essential to the longevity of your fishing rod.
Fishing is not a clean pastime. You’ve got bait, mud, sand, and whatever else was floating in the water, sticking to the various parts of your tackle. If left, these “additives” may corrode, “gunk up,” or damage your rod and reel during storage.
Saltwater is especially problematic, as it builds up a residue, causes rust, and deteriorates rod components (it also makes your monofilament line brittle).
Once you’re finished with the excursion, take some time to wash and rinse your gear using mild soap (like dish soap) in clean water to remove the foreign substances.
Once cleaned, let the rod and other gear dry before packing it. If you store gear while wet, you open up the way for future issues (mildew, rust, delamination, frost damage, etc.).
2. Inspect Your Rod For Damages And Wear And Tear
Fishing rods, like all tools, may break from time to time, particularly when the rod has seen a few seasons of use. Ensuring your rod is clean helps to reduce the wear and tear they incur.
While you clean, you can also closely inspect your rod for any damages. The most common issues to note include the following:
- Lose or broken guides.
- A tip that is breaking.
- Cracks that are forming along the length of the rod.
- Stripped gears in the reel.
- The reel’s handle is jammed (stripped gears, a lodge body inside the mechanism).
Maintenance is paramount to rod longevity. Once cleaned, you can fix any damaged parts or order replacement parts.
For example, guides might become nicked, so you can file/sand them to prevent damaging your line. Additionally, if you find small cracks, you can use some resin to strengthen/fix those areas.
While lubricating your reel will ensure its longevity.
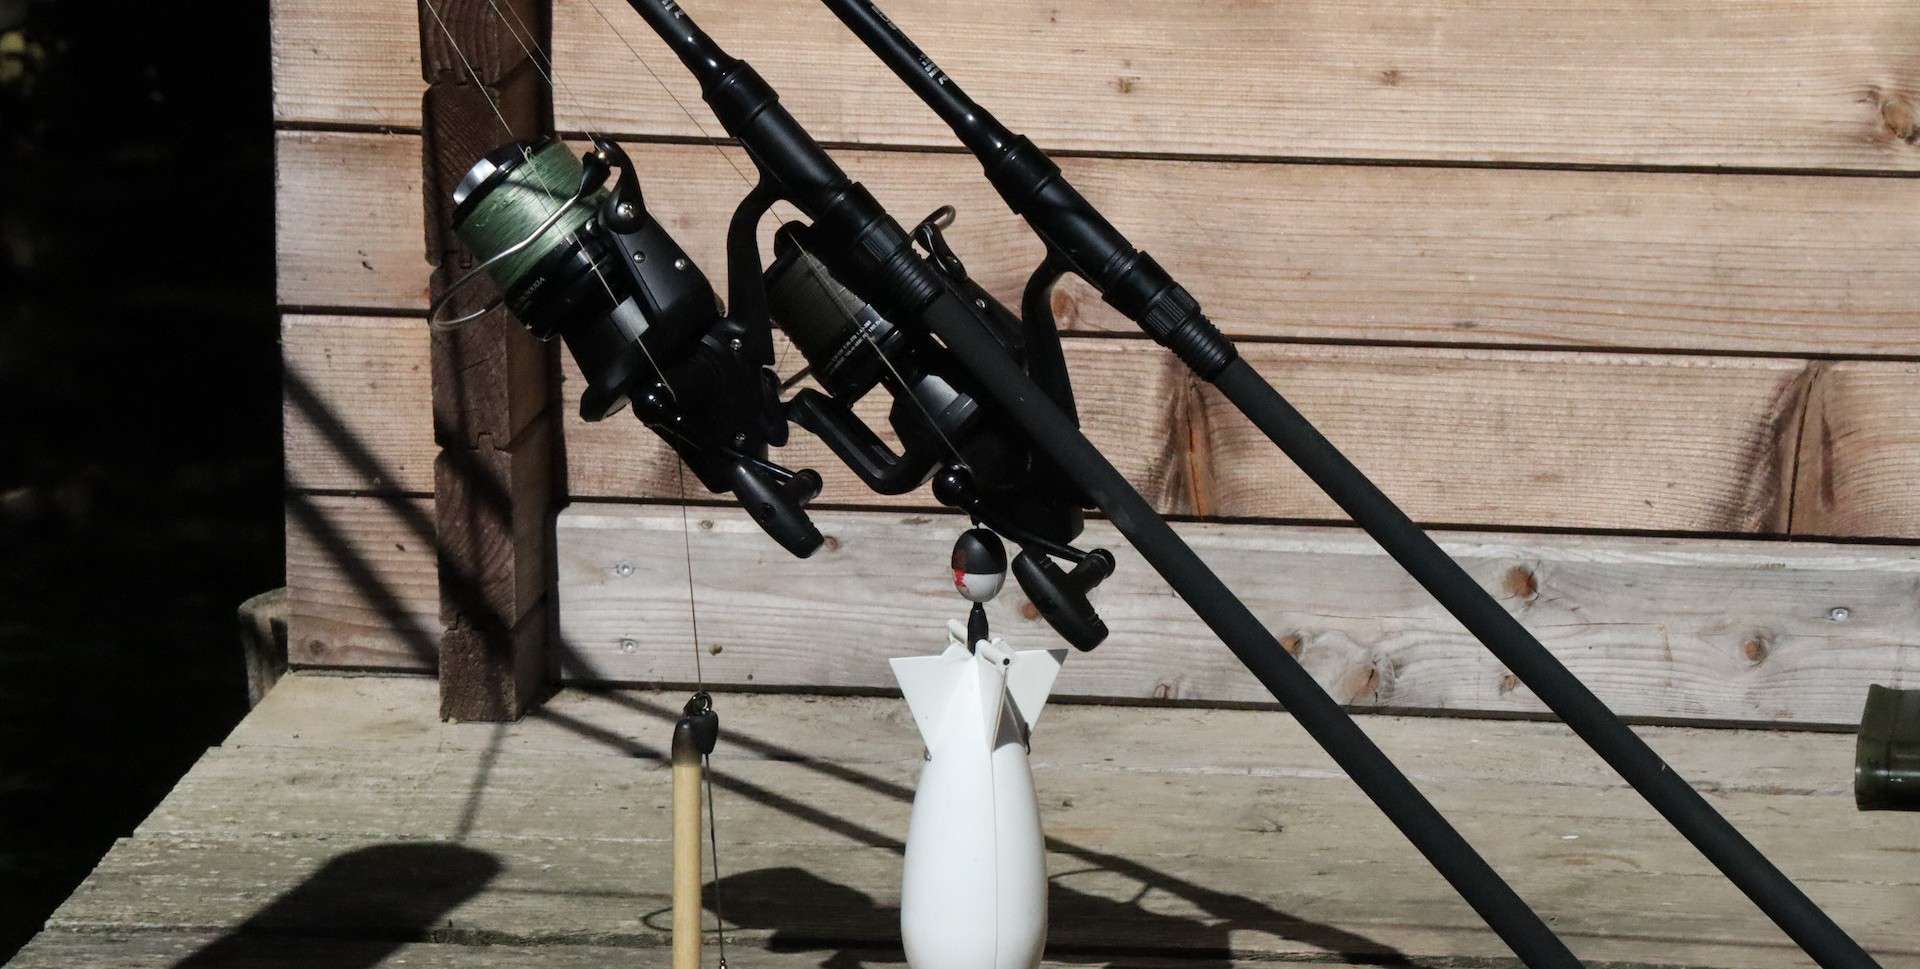
3. Separate Your Reel From The Rod
We strongly recommend dismantling your setup (i.e., removing the reel and line from the rod) before storing it, particularly if you plan on storing your rod for a significant period (like at the end of the fishing season).
Although some people don’t, there are benefits to removing the reel. Disassembling your reel and fishing line from the rod allows you to better clean all the components, especially if you fish in saltwater.
We also recommend removing your line from the reel for storage. Unfortunately, when you leave the fishing line on a reel, it develops a “memory.”
A fishing line is wound onto the reel, but when you cast it, it pulls straight. When a fishing line develops a memory, it retains the coiled shape even after that line section leaves the reel.
Memory reduces line sensitivity and durability. It also makes the fishing line tangle and knot easier as it comes off the reel. Memory is particularly problematic in monofilament fishing lines.
Aside from the line developing a memory, your rod might warp if you store it with the line attached under tension.
4. Decide Where You Would Like To Store Your Rods
Although you might not realize it, deciding where to store your rods is important.
Your rods should ideally be out of traffic so they are not bumped and bashed, chewed by pets/clawed by cats, or played with by children (who, bless them, have a penchant for breaking our best things).
The area you store your rods in needs to be dry, preferably in a temperature-controlled environment (or at least where the rods won’t experience extreme heat or cold). Most essential is that your rods are not left out in the elements (sun and rain), as they will deteriorate quickly.
Most anglers store their rods in a garage or shed (if not inside the house). These are usually far enough out of the way (less traffic), contain similar items, and are enclosed from the elements.
Even if you’ve stored rods previously, it’s always a good idea to evaluate your storage location, particularly if your rods begin to deteriorate during storage.
While deciding on a spot, ensure no nearby objects may fall onto the rod during storage.
5. Select A Convenient Method For Storing Your Rods
The most convenient and practical method for storing multiple rods is on a wooden rack, designed to hold each rod in evenly spaced positions so they don’t touch each other.
There are two types of racks:
- Vertical racks are usually on the floor. These racks hold your rods at a convenient height and are relatively stable. However, they take up space, which, if limited, might be an issue.
- Horizontal racks are great because they save floor space, remove your rods from potential hazards, and help organize space. However, they might hold your rods too high. Most of these racks are wall mounted, which might be an issue if you can’t screw them into the wall.
While often practical, issues may develop with vertical racks if your rod touches the ground. Rods on the ground may begin to rot (from dampness seeping upwards) or develop mildew/mold. To avoid the potential risk, mount the racks roughly 1 foot off the ground.
Aside from the orientation, these racks are either:
- Store-bought– you’ll often get a quality rack, but you might pay slightly more.
- You can build a rack i
- f you’re a DIY person. Although the quality might not be assured, DIY is usually cheaper than store-bought, plus you can customize it.
Alternatively, if you don’t want to use a rack, you could opt for a rod storage container (especially if you have a two or more-piece rod). However, a significant drawback to these containers is that if they trap moisture inside, your rods might deteriorate.
6. Install Your Rod Rack And Then Add Your Rods
Once you’re happy with the location and type of rod holder/rack you want, install the rod holder in the correct place. Make sure that it is convenient and accessible to you but not to anyone you don’t want getting into the rack.
After installing the rod holder, carefully place your rods in the storage compartment and secure them to prevent them from falling out or around and damaging themselves/each other.
7. Store Your Tackle In A Practical Place Close To The Rods
Few things are as annoying as misplacing items, particularly small items like lures, sinkers, or reels (which are expensive).
If you have a tackle box that can accommodate your reels, that’s fantastic. However, ensure that the box is clean (water, saltwater, fish entrails, etc.) to prevent rust and other deterioration.
We also recommended storing reels in a dry cloth to absorb moisture and prevent rust. A designated place for your fishing gear is essential to finding it again at the start of the next season, or you’ll risk wasting valuable fishing time hunting for your gear.
8. Check On Your Rods From Time To Time
While we don’t recommend agonizing over your rods, it is wise to check on them occasionally. Make sure they haven’t shifted or are lying on top of each other/on the ground.
When you check on your rods, ensure that they are dry, not developing mildew, and not delaminating, cracking, in direct sunlight, or too hot/cold.
If you notice any issues, you’re in the best place to act sooner rather than leaving your rods until the next season only to find that they are broken and less effective.