
There’s nothing more disappointing than discovering melted ice cream in your cooler; it is enough to spoil any beach day or family picnic. How can you keep ice cream from melting in your cooler?
6 Steps to keep ice cream frozen in a cooler:
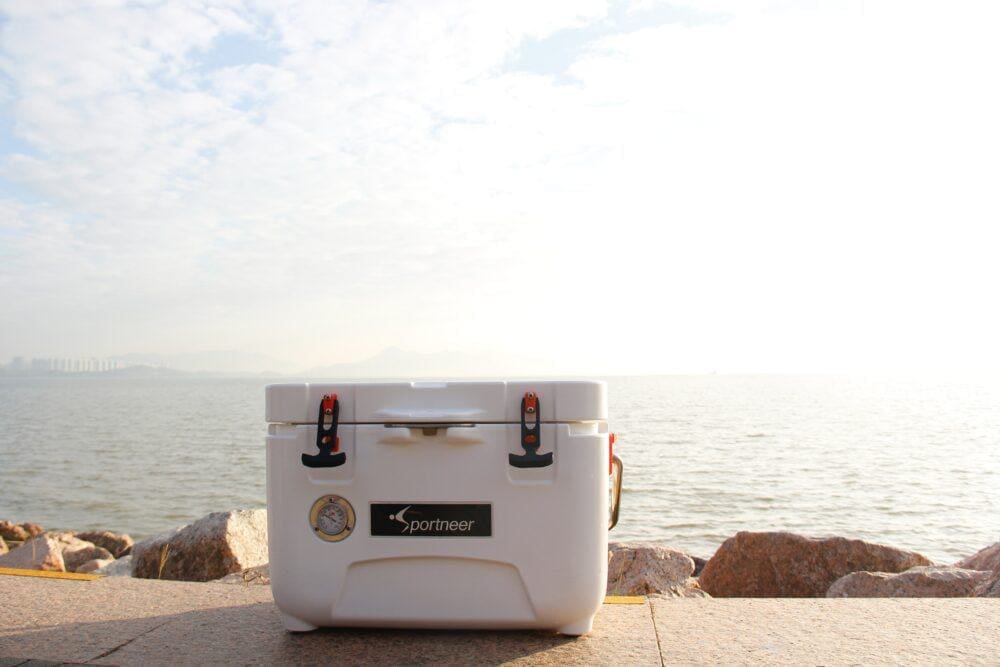
- Use A High-Quality Cooler
- Chill The Cooler Before Placing The Ice Cream Inside
- Place Your Ice Cream At The Bottom Of Your Cooler
- Slow The Melting Process Down
- Fill The Cooler To The Top
- Keep The Cooler Closed And Out Of The Sun
There are two primary methods for keeping ice cream frozen in your cooler. The first approach involves regular ice, and the second involves dry ice. This article will discuss each step you need to take to keep your ice cream frozen in a cooler with regular or dry ice.
So if you’re wondering how to keep ice cream frozen in a cooler, read on!
1. Use A High-Quality Cooler
Some stores may mislead you by saying that every cooler is the same, but that’s not true. The insulating material used during production is a key distinction.
You can keep your ice cream frozen much longer in a higher quality cooler than in a Styrofoam cooler, for example, due to the superior insulation of the former.
Best Coolers To Keep Ice Cream Frozen
Some coolers are more effective in keeping ice cream frozen due to their insulation properties and quality. These include;
YETI Roadie 24 Cooler
YETI Hard Coolers are built to last and come in various sizes to suit any expedition.
The new and updated Roadie 24 Hard Cooler is perfect for long car rides, the YETI V Series Stainless Steel Cooler provides industry-leading thermal performance, and the Tundra series is their iconic, almost indestructible YETI Roadie 24 Cooler.
Each of these strong coolers is built to withstand the rigors of living in the wilderness without losing its ability to hold ice cream frozen for days. This cooler’s features include;
- Fatwall Design – Insulation thicknesses of up to 2″ are supported by the extra-thick walls, providing unrivaled cold retention.
- Permafrost Insulation – The walls and lid are constructed with pressure-injected polyurethane foam, a professional-grade material, to keep your ice frozen solid.
- Rotomolded Framework – It fortifies it to the core, making it nearly impossible to destroy.
Coleman Rolling Cooler | 50 Quart Xtreme 5 Day Cooler
Use the Coleman 50 Quart Xtreme 5-Day Hard Cooler On Wheels for the ultimate insulation and convenience. The rugged wheels make it easy to navigate rough terrain for a trip to the beach or a football match.
Because it can store up to 84 cans, your high-capacity cooler will allow you to cover the ice cream with much more ice to keep it cool even longer. This cooler’s features include;
- Xtreme Technology – Five days of ice retention in temperatures of up to 90 degrees Fahrenheit are made possible by the insulated lid and additional wall insulation.
- Have-a-seat lid – The lid can support up to 250 lbs. when closed, creating a comfortable seat.
- Cup holders – These are integrated into the top to seal beverages and avoid spills.
- Telescoping handle – For compact storage and easy transportation.
- Capacity to spare – You can store approximately 80 to 90 cans within.
- Heavy-duty wheels – Simple gliding across any surface.
ZAKEEP 36 Cans Leakproof Cooler Backpack
The thick PEVA material and the thick layer of waterproof insulation foam in this ZAKEEP 36 Cans Leakproof Cooler Backpack are what keeps everything cool, heated, and fresh for up to 16 hours. This incredible cooler will keep your ice cream frozen for hours. This cooler’s features include;
- Up to 36 cans max capacity – It’s perfect for outdoor activities, including camping, hiking, and barbecuing.
- Additional space – You can fit a picnic blanket in there.
- Waterproof – Rip-stop 600D Oxford fabric is used to construct the ZAKEEP cooler bag, making it sturdy and waterproof.
- Easily Cleaned – The PEVA-lined lining of the bag prevents dirt from getting inside and makes it simple to clean.
2. Chill The Cooler Before Placing The Ice Cream Inside
If you’re going to store ice cream in a cooler for the day, you should do so only if it’s already cold. To ensure the ice cream remains frozen for as long as possible, make the cooler as cold as possible before putting the ice cream inside.
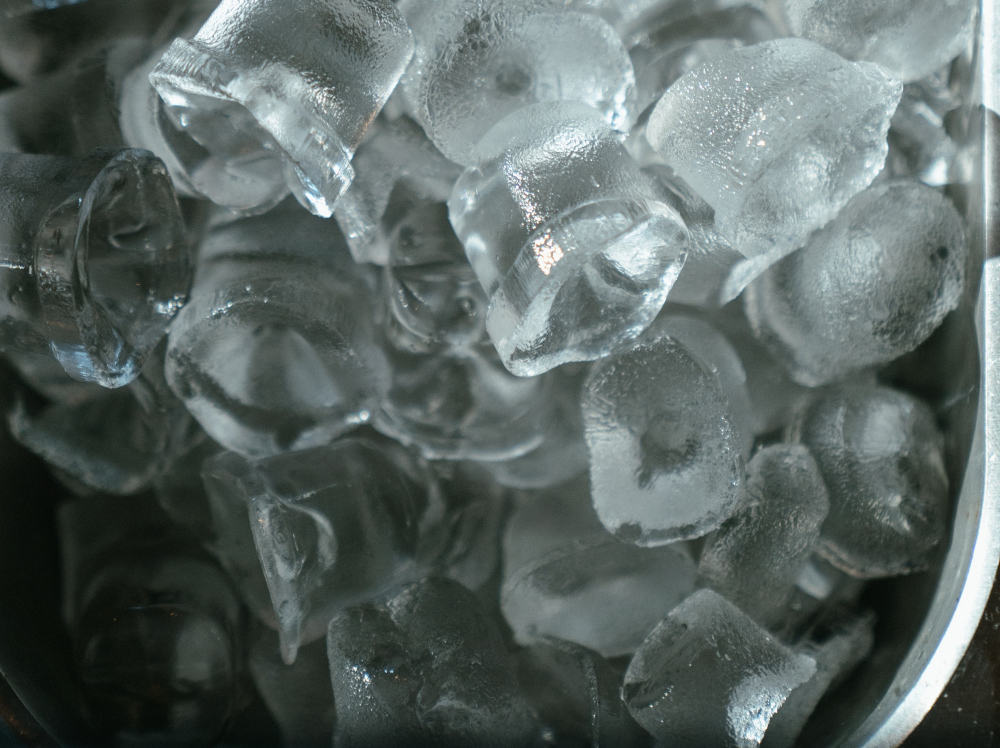
Regular Ice
Get a big chunk of homemade or store-bought ice to pre-chill the cooler. It takes more time for a little block of ice to melt than a large one. They also help your ice cream retain its cold for longer. You may use a huge plastic container or a large freezer bag to make a massive chunk of ice.
Dry Ice
You can purchase dry ice for as little as one dollar at most supermarkets. To add, you’ll need about 10-20 lbs. of dry ice for every 38Lt ice cooler.
The gas emitted by the dry ice might cause pressure to build up within an airtight cooler. Sooner or later, your cooler will explode; therefore, coolers without vents should have their lids propped up slightly to release gas.
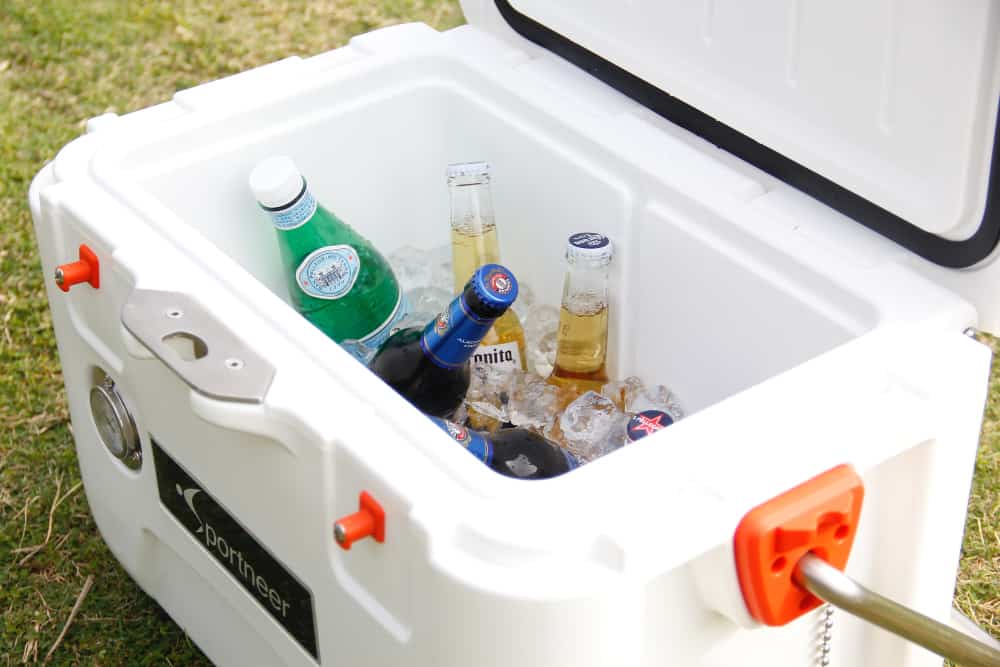
3. Place Your Ice Cream At The Bottom Of Your Cooler
Remove the old ice (regular or dry) that you used to chill the cooler, and add a fresh layer if necessary.
Regular Ice
Keep your ice cream in the bottom of the cooler on top of the layer of fresh ice and cover it with more ice. In addition, you may stack more perishables on top to ensure their safe, cool storage and avoid placing any hot food in the cooler.
Dry Ice
Put your ice cream bowls at the bottom of the cooler, just like you would with the regular ice technique. Your ice cream dishes would function better with dry ice on top of them. Put a bit underneath the ice cream and more on top if you have enough.
However, be careful you cover the dry ice with cloths. It dissolves more quickly when left exposed.
Getting a second cooler to store your beverages and other goods that require regular ice would be best if you’re using dry ice. All objects may be frozen by dry ice. Furthermore, you wouldn’t want to have to wait a long time before you can open the can and drink your beverage.
* When you touch dry ice, it can burn your skin since the temperature is so low that it might result in frostbite. Wear protective gloves to ensure your skin doesn’t come into contact with the ice when loading or unloading the cooler.
4. Slow The Melting Process Down
Rock salt was a component in ice cream manufacturing in the past. It still works well to keep ice cream cool. Sprinkle some rock salt over the top of your sizable slab of ice to prevent it from melting too quickly. You’re attempting to maintain the ice cream’s present temperature.
Additionally, you can add an insulation layer, such as a thermal bag, which is often available in most neighborhood shops. *This step does not apply to dry ice.
5. Fill The Cooler To The Top
Space is one thing you do not want in your cooler. The ice will melt quicker if empty spaces are left in the cooler. You can use towels to fill any gaps if ice cannot completely cover them. Ideally, filling the cooler with more ice would be the best option.
6. Keep The Cooler Closed And Out Of The Sun
Avoid occasionally opening the cooler only to check on your desserts’ condition because doing so can cause warm air to enter, melt the ice, and ultimately melt the ice cream. Additionally, try your best to shield the cooler from direct sunlight.
You may store the cooler in a shaded location, beneath a chair, or under an umbrella if you have your picnic outdoors in the sun.
A Few Crucial Things To Remember If You’re Using Dry Ice
- To keep dry ice from melting in the cooler, wrap it with a towel. The dry ice will maintain its coolness for longer, thanks to this trick. And it will shield the cooler’s contents from the dry ice’s destructive temperatures.
- Keep beverages and snacks cold in a separate, non-freezing cooler. Anything placed on top of dry ice will quickly become frozen. To avoid having your drinks and snacks freeze, you should store them in a different cooler than your ice cream. This should also allow your dry ice to last longer.
- Dry ice will melt faster if there is a lot of open space in the cooler. If you do not have enough food and other items to fill the cooler, you may use conventional ice fillers like crumpled newspapers, towels, or even extra ice cream tubs.
- The trunk is the perfect place to keep your cooler on the road. Dry ice dissipates into the atmosphere as carbon dioxide. Carbon dioxide builds up in a compact environment, like a car, and can make you feel dizzy or faint. If you can’t fit it in the trunk, open the windows or turn on the air conditioner, so the outside air flows through the car.
- Once you’re done using the dry ice, let it melt to room temperature. Cleanup is a breeze when using dry ice. When eating your ice cream, open the cooler and put it somewhere with plenty of airflow. In the presence of oxygen, dry ice will turn into carbon dioxide and disappear into thin air.
- You should never flush dry ice down the toilet or in the sink. If the dry ice expands too rapidly, it can cause the pipes to burst open and possibly even explode.
- It would be best to lay your ice cream down at the bottom of the cooler. Dry ice is most effective when positioned on top of the things it is meant to chill since cold air sinks. If feasible, you should try to stack your dry ice on top of the other things in the cooler.
- Consider a portable cooler that has a ventilated lid. Because dry ice produces vapor, your cooler must provide a way for the gases to escape. The pressure from the vapor might trigger an explosion if the cooler is sealed.
- You may create dry ice at home by spraying a CO2 fire extinguisher straight into a pillowcase for a couple of seconds. If you want to try it, safeguard yourself by wearing gloves and shoes with closed toes. However, since this is a dangerous task, buying your dry ice from the store is better.
FAQs
Below, we’ll answer frequently asked questions about keeping items frozen in a cooler;
Will A Cooler’s Contents Stay Frozen If I Use Dry Ice?
As long as the dry ice has not entirely melted, you can use it to keep perishables frozen inside a cooler. Dry ice is -109 °F (-78.5°C); it is incredibly cold and may keep items frozen for extended periods.
It’s important to remember, though, that the cooler’s seal needs to be very lax to allow the gases within to escape. Sublimation transforms the dry ice from a solid state into a gaseous state, producing gases.
How Long Can Ice Cream Stay Frozen In A Cooler With Dry Ice?
Dry ice often keeps ice cream frozen for 18-24 hours inside a cooler. However, this timeframe will vary based on how frequently you open and close the cooler.
In a cooler containing dry ice, ice cream will stay frozen as long as the dry ice doesn’t soon evaporate or sublime. And when there are extra gaps in the cooler or dry ice comes into touch with liquid, it tends to melt faster.
Can You Keep Popsicles Frozen In A Cooler?
Yes, your popsicles will stay frozen for much longer if you place them in the bottom of your cooler and cover them with ice to the top.
This ensures that they are in the coolest area possible. The popsicles should be completely encased in ice, with the ice reaching up and over the edges and covering the whole surface. You will chill the popsicles evenly and thoroughly in this way.
How Do You Keep Food Cold In Your Cooler While Camping?
Preparing meals ahead of time and freezing them is the most effective way to keep food cold while camping. In addition to keeping your food at a safe temperature of 40 degrees Fahrenheit or lower when camping, this will save you time throughout your trip.