
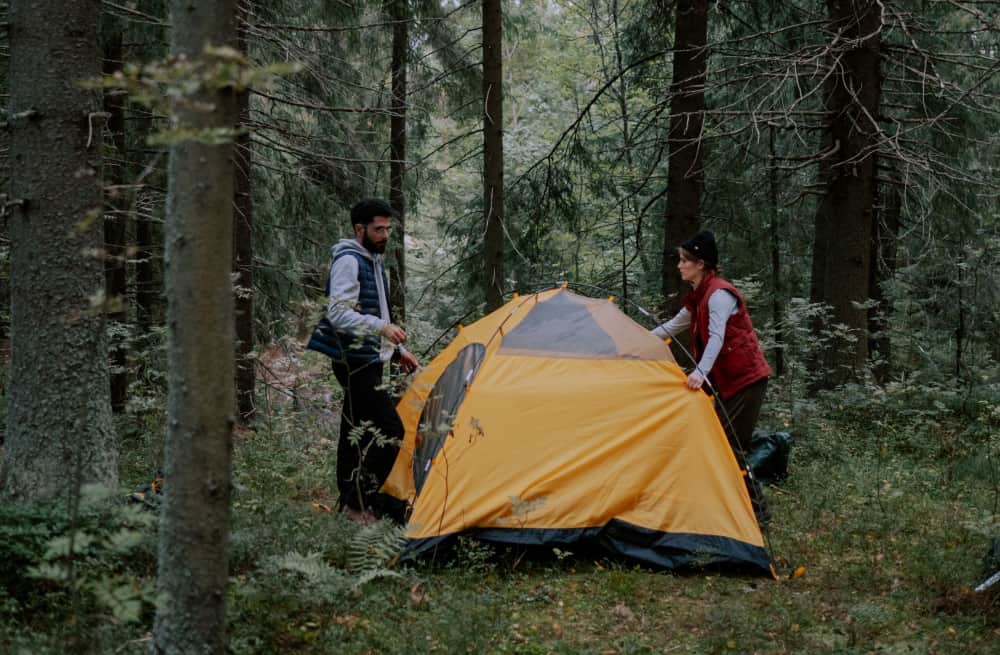
If gambling gives you a rush, pitching a tent without a footprint or tarp is an excellent high-stakes game. However, for the rest of us, footprints and tarps are essential to ensure the longevity of our tent. But what are the key differences between a footprint and a tarp? Is one better than the other?
The battle of a tent footprint vs tarp can be summarized as follows:
Tent footprints and tarps protect the bottom of a tent while providing insulation from moisture and chill. Tent footprints are expensive but shaped for the tent and are lighter to carry. Tarps are heavy and require customizing, but are cheaper, offer greater protection, and are highly durable.
Tents are an expensive investment. Thus, footprints and tarps are an excellent way to protect a tent’s floor from rough ground, rocks, thorns, and sticks. But camping footprints and tarps have their pros and cons. Which is best for you depends on your budget, DIY skills, and camping style.
What Is A Tent Footprint?
A tent footprint is a tarp-like material that is shaped for your tent. Footprints are necessary to protect your tent’s floor. In addition, they prevent tears, punctures, and general wear. Thus, they extend the longevity of your tent.
Footprints are sold in two different ways: with the tent or separately. For example, the North Face provides three options for their Wawona 4-Person:
Pros Of Using A Tent Footprint
Tent footprints are made for a specific tent. This means they fit perfectly, allowing easy and secure pitching, nearly eliminating the chances of the groundcover collecting rain and then funneling it under your tent (water-resistant and waterproof are not the same).
Tent footprints also tend to be made of lighter material than a tarp. This is why we use them when backpacking, as they fold up neatly, without gobbling a lot of packing space, and are typically lighter to haul. When we are traveling incredibly light, we use just our footprint and rainfly as our “tent.”
Thus, the advantage of using a footprint instead of a tarp is:
- It is made specifically for that tent’s floorplan
- Water-resistant
- No DIY customizing required
- Easy to attach to the tent and peg into the ground
- Faster pitching and packing
- No “overhang” to collect rain that will run under your tent
- Tends to lay smoothly under the tent
- Typically fold up smaller and lighter to carry
Cons Of Using A Tent Footprint
However, footprints do come with drawbacks. For starters, as you can see with the Wawona, the footprint significantly increases the cost of the tent. Tarps are usually far cheaper. Also, the lack of extension means they don’t act like much of a “front door matt” to prevent debris from being tracked in.
Footprints are also made to do one job: act as ground cover for your tent. They are not designed to serve as a shade cloth or shelter, nor are they built to withstand flapping in the wind. Tarps are more versatile and durable.
Thus, the disadvantages of footprints are:
- Expensive
- Don’t extend past the tent
- Only built for one job
- Not as durable as a tarp
- Do not provide as much protection against the ground as a tarp
- Are typically water-resistant rather than waterproof
Why Put A Tarp Under Your Tent?
A tarp is used under a tent for the same reasons as a footprint: to protect the bottom of the tent. Many tarps are thick and waterproof. This can be especially useful when pitching on damp ground or icy surfaces, as the pressure of your body against the tent floor will “push” moisture through water-resistant fabrics.
Pros Of Using A Tarp Under Your Tent
Tarps are bulky and heavy, but that is a source of strength. Putting a tarp under your tent provides ultimate protection, making them perfect for rough terrain. In addition, they are thick and generally waterproof, such as this one from the Green Lifestyle Store, offering superior insulation from the cold and damp.
In addition, tarps are relatively inexpensive and incredibly versatile. They can be used for shade protection, construct a temporary shelter, be converted into an emergency stretcher, and used as a blanket. Lastly, people like to extend their tarps past the tent to prevent debris from getting in the tent.
Thus, the pros to using a tarp include:
- Cheaper than a tent footprint
- Durable and often waterproof
- Provide better protection and insulation
- Often extent past the tent, preventing debris from being tracked inside
- Versatile
Cons Of Placing A Tarp Under Your Tent
At first, it seems like tarps are the easy winner over footprints unless you are a backpacker. They are cheaper with superior durability and versatility, making them last longer. But there are other drawbacks to tarps, starting with the cost of your time.
Tarps usually need to be modified before they work under your tent, even if you’ve bought the correct size. It is difficult to peg your tent without alterations, and you’ll have to use rocks and other heavy items to hold the tarp down. Thus, DIY is required to cut them to shape and insert grommets.
Some tarps come as a camping kit or already have eyelets, bungee ties, hooks, or grommets. But modifications will still be required unless your tent fits over them perfectly. This is especially crucial if you camp in areas with chances of rain.
Despite tarps usually being waterproof, your tent probably isn’t. Water-resistant fabric will still allow moisture to soak through if it is “pushed” against the fabric. So if your tarp collects water on top, chances are it will begin to run under your water-resistant tent, and you’ll awaken to a wet back and bum.
Thus, the disadvantages of tarps are:
- Require time-consuming DIY
- Bulky
- Heavier
- Often extend past the tent
- Take longer to pitch and put away your tent
- Will trap water under your tent if they collect moisture
Tarp Alternatives To Use Under Your Tent
The definition of “tarp” is rather expansive. Some are thin, which makes them easier to use for backpacking, but it might mean they are less durable and only water-resistant. Others are tougher, but you might struggle to get them to lie smoothly under the tent and not crackle when you roll over.
There is also the matter of cost. Tarps, in general, are significantly cheaper than a tent footprint. But even within the tarp market, price is greatly differentiated. Obviously, you’ll need to get a tarp of the correct size, which will also impact the cost.
But what counts as a camping tarp goes beyond what might be sold in the tent section of the store. There are alternatives found in DIY stores and those marketed under survival gear. We’ve picked the three camping favorites that fall outside the obvious “tarp” choice.
Using Tyvek As A Tarp Under Your Tent
Tyvek is a material made by DuPont, and it is incredibly popular with backpackers who don’t want to buy a tent footprint. Tyvek is lighter than most tarp materials, water-resistant, anti-bacterial, breathable, and soft. Thus, it is one of the most packable footprint alternatives.
Tyvek isn’t woven. Instead, its uniquely spunbound polyethylene is randomly aid and compressed, reducing the chances of tears or punctures. Moreover, for a material as thin as it is, the stuff is incredibly durable.
People wanting to use Tyvek as a tarp under their tent have a few options. They can buy it in sheets or rolls. Alternatively, look out for fellow campers selling the remainders of their rolls on popular online marketplaces.
Tyvek is so beloved by campers that they’ve started to sell it as a kit with self-adhesive tie-off loops. The material is also chosen by companies who make premade “footprints” such as this one by RELK.
Using An Emergency Blanket As A Tarp Under Your Tent
Emergency blanket material has been a long-favored hack to keep a tent cool. However, this is typically placed over or above the tent, not under it. However, many emergency blankets now come with grommets and a waterproof layer, such as the Arcturus Heavy Duty Survival Blanket.
Nor are they ridiculously heavy; the Arcturus only weighs 1.4lbs. The emergency blanket can act as a picnic blanket, a temporary shelter, and creates an insulating and waterproof barrier under your tent. Plus, if you get into trouble, its reflective layer can be used to signal for help.
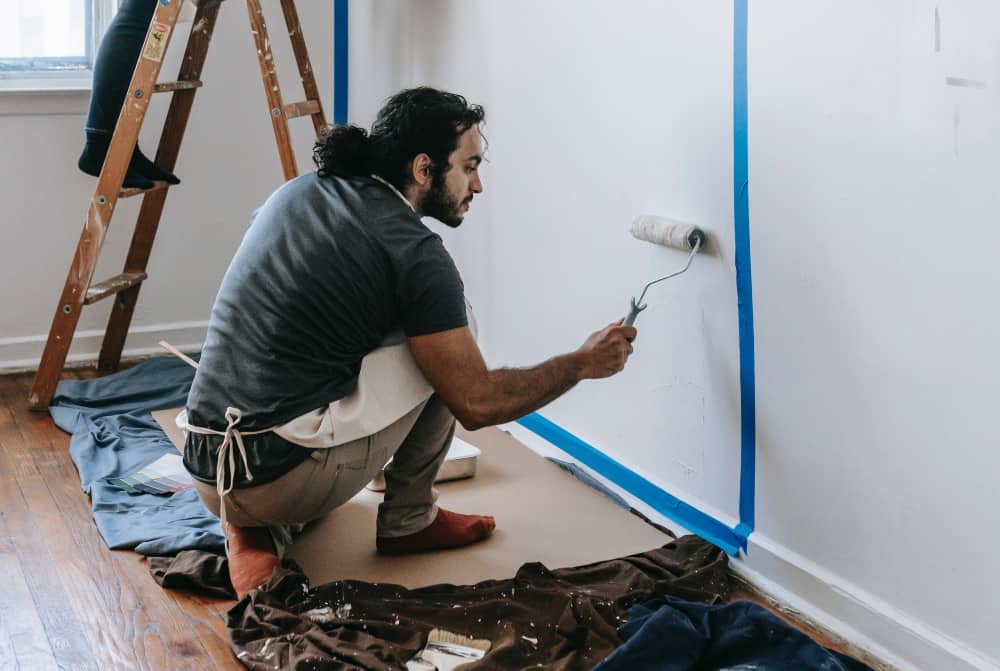
Using Painter’s Dropcloth As A Tarp Under Your Tent
Many people use an old sheet when they paint. However, household bedding, towels, and blankets typically make terrible tarps under a tent. They’re thin and fragile, letting in the cold and wet. But your professional painter is using a drop cloth made out of canvas.
Canvas is one of the best camping tarp materials for those that want to avoid plastic and other synthetics.
There are official, camping-approved tarps made from duck canvas, such as the one by CCS Chicago Canvas & Supply. It already has rust-resistant grommets and is coated in wax to make it stand up to water. However, these can be pricey, even more expensive than a tent footprint.
On the more affordable end of the scale is a proper painter’s drop cloth, such as the ones sold by Trimaco SuperTuff or Kingorigin. These are heavy-duty and made to last. They’ll protect the tent’s floor and provide some cushion. However, they are also made to absorb paint, so they are not great choices for damp-weather camping.