Camping in winter is definitely the least accessible time for most adventurers to head out. There are a range of perils that come with backpacking in the snow and you need to prepare thoroughly if you want to stay safe.
But winter, alongside summer, is actually the most popular season [1] to take camping trips. So what drives some of us out of our cozy homes in winter into the cold, snowy wilderness? What’s the great secret that everyone else is missing out on?
If you’re wondering how to go winter camping, read on!
Why Go Camping In The Winter?
Winter camping has an unfortunate reputation as a brutal masochistic endurance test. And it’s true that if you were to head out to try and camp in the snow without proper preparation it would be miserable.
But if you take the right equipment and follow the advice laid out here then you’ll see that winter camping really offers something unique.
Looking to get outdoors in winter? Make sure to take a well insulated tent – in other words, go for canvas! Find out what the best canvas tents for camping are.
Get active!
Snowboarding and skiing when camping in winter are both popular activities. Winter sports are more common among camping participants [1] than non-campers so why not get out and enjoy some skiing or snowboarding if you can?
Hiking in the snow can be a challenge but is often rewarding. If it’s a still night and you’re confident you can find your way back to your tent, walking through the snow underneath a starry sky can be a remarkable experience.
Tip: If you want to feel like a kid again, build a snowman or have a snowball fight!
There are plenty of cool things you can do when winter camping – take advantage of the snow!
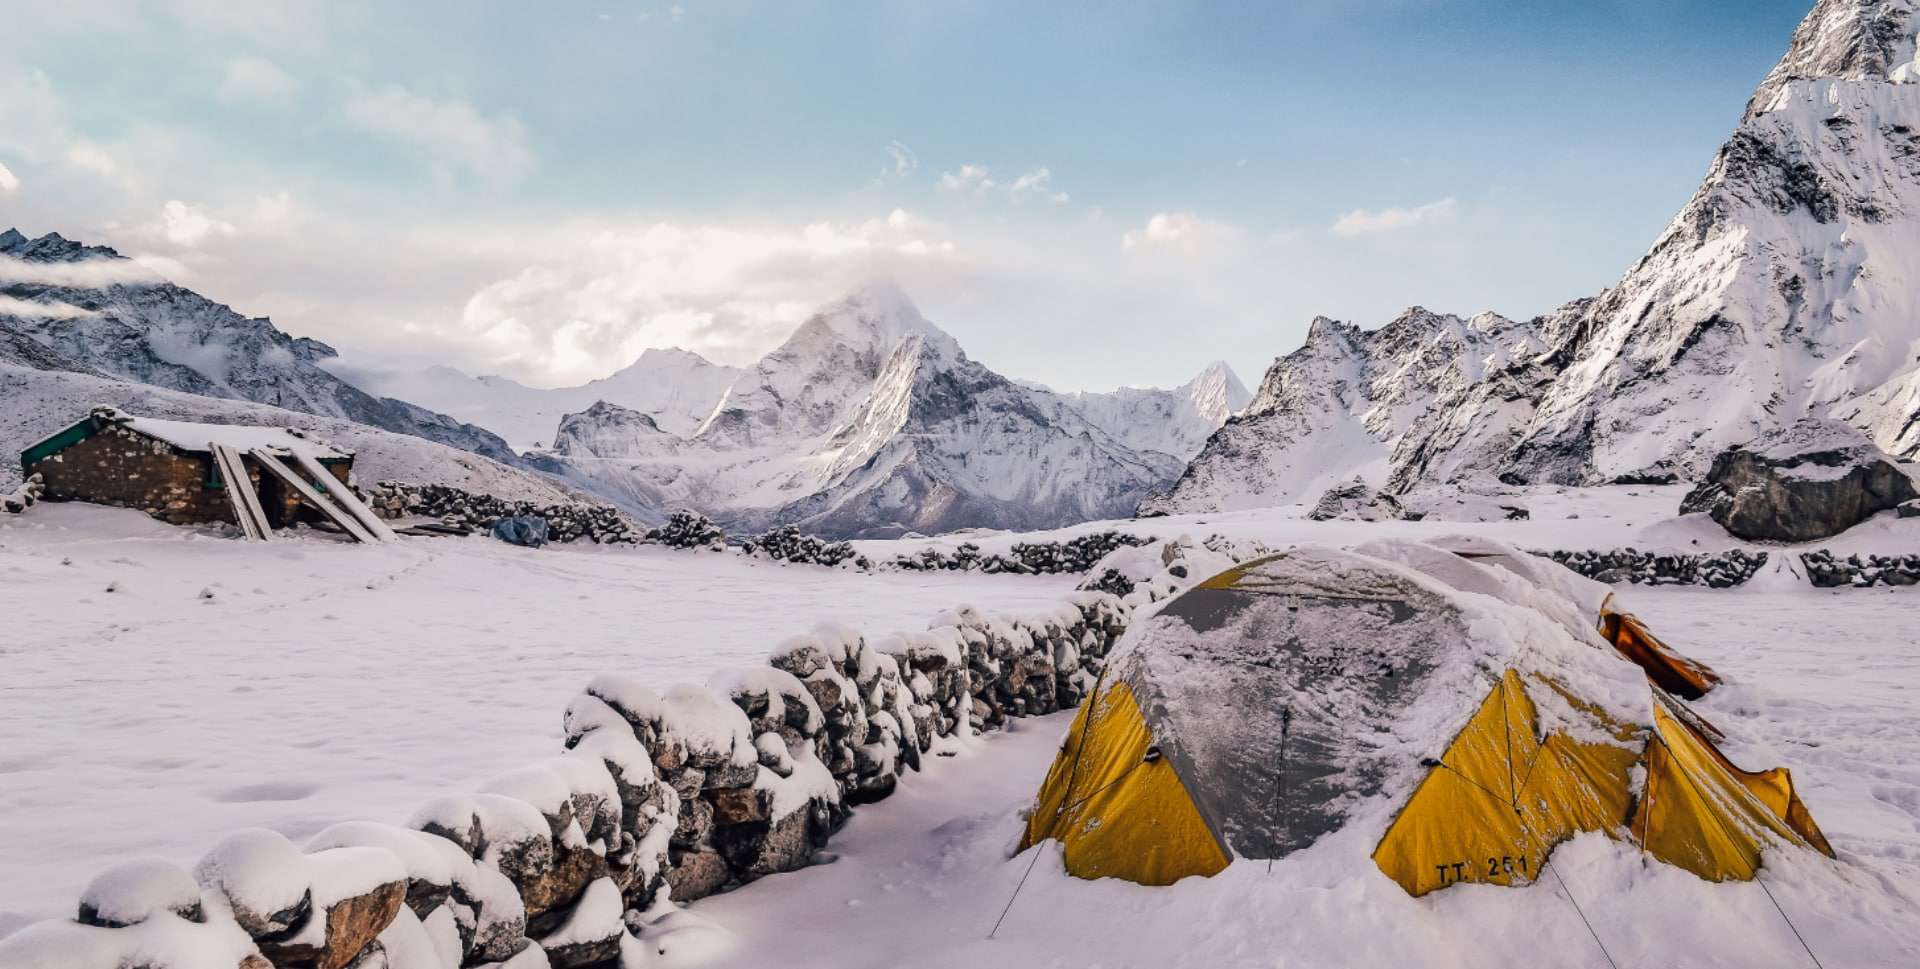
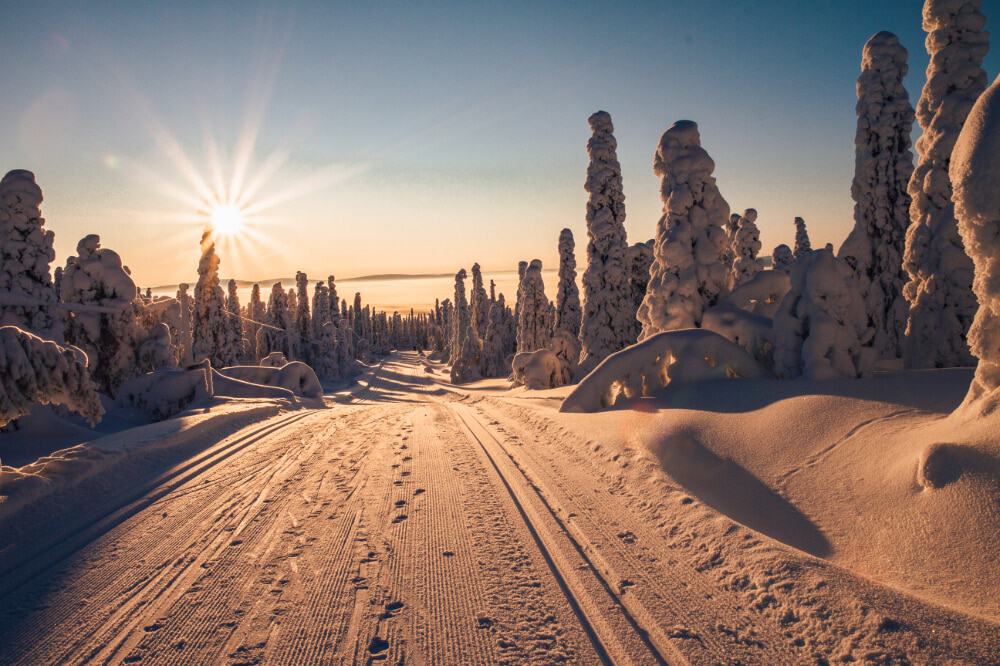
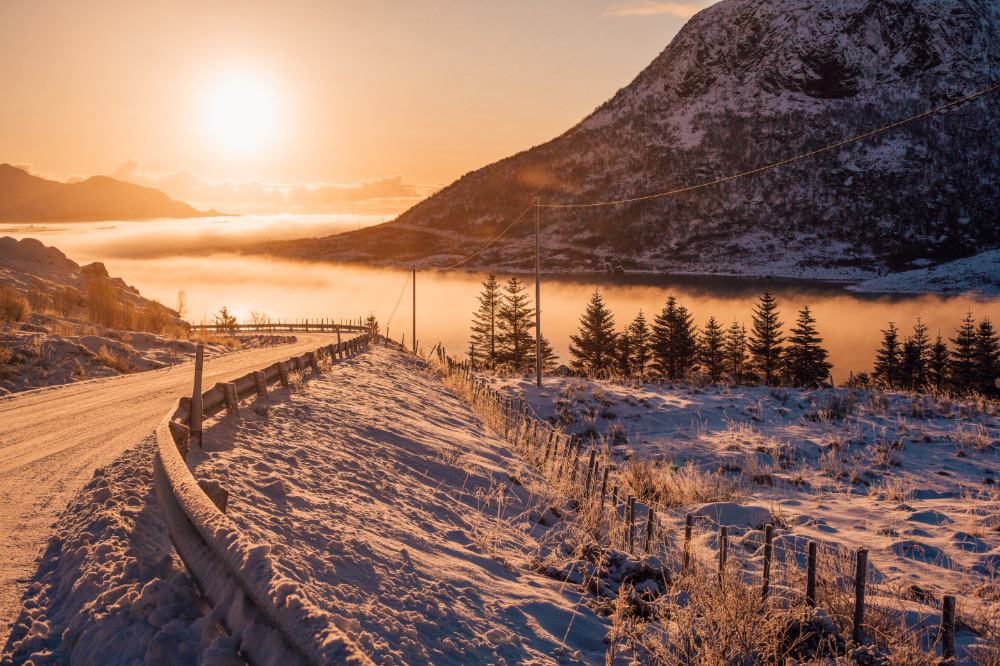
Snow-covered scenery
Camping in the snow during winter also gives you the chance to see incredible landscapes transformed. Whilst it might be cold, it’s undeniable that the views you can enjoy make it worth the challenge.
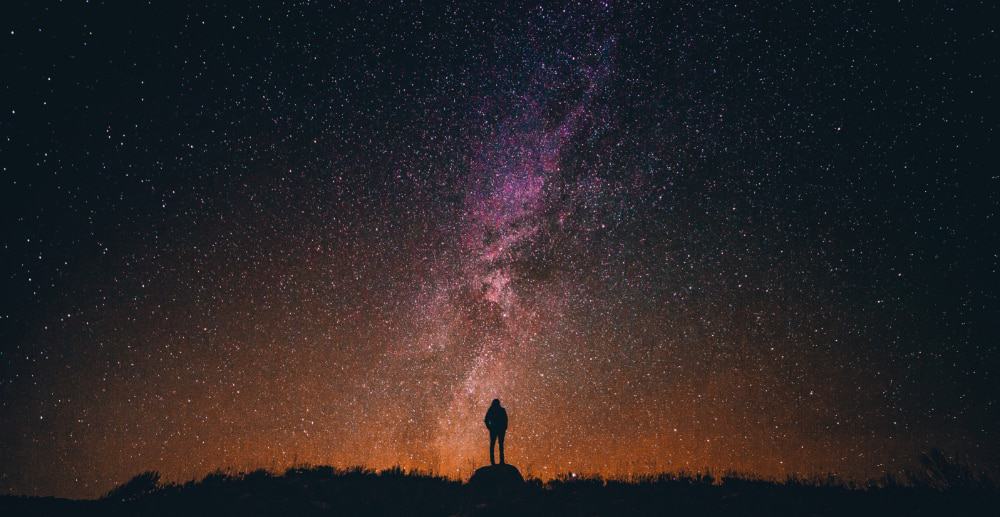
Gazing at the stars
All through December, January and February in the Northern Hemisphere’s winter the stars in the night’s sky appear brighter and clearer. This is because the earth is facing out towards the edge of the galaxy, rather than looking inward to the star dense galaxy which gives the night’s sky a hazy quality.
Tip: Download a stargazing app (like Night Sky or Sky Walk 2) to identify the stars and planets you can see!
If you want to see some spectacular stars, winter is the best time for viewing them and by camping out in the wilderness you can avoid light pollution and truly enjoy them.
Less bugs – and bears!
Chances are if you’re venturing out into snowy landscapes for some winter camping, you won’t have to worry about being eaten alive by bugs.
Mosquitoes hibernate through the winter so you can leave the bug spray at home and look forward to enjoying your meal in peace without becoming one for the bugs.
You also can worry less about other animals in winter. Bears will hibernate in the winter so when setting up your campsite you don’t have to be concerned about bear attacks.
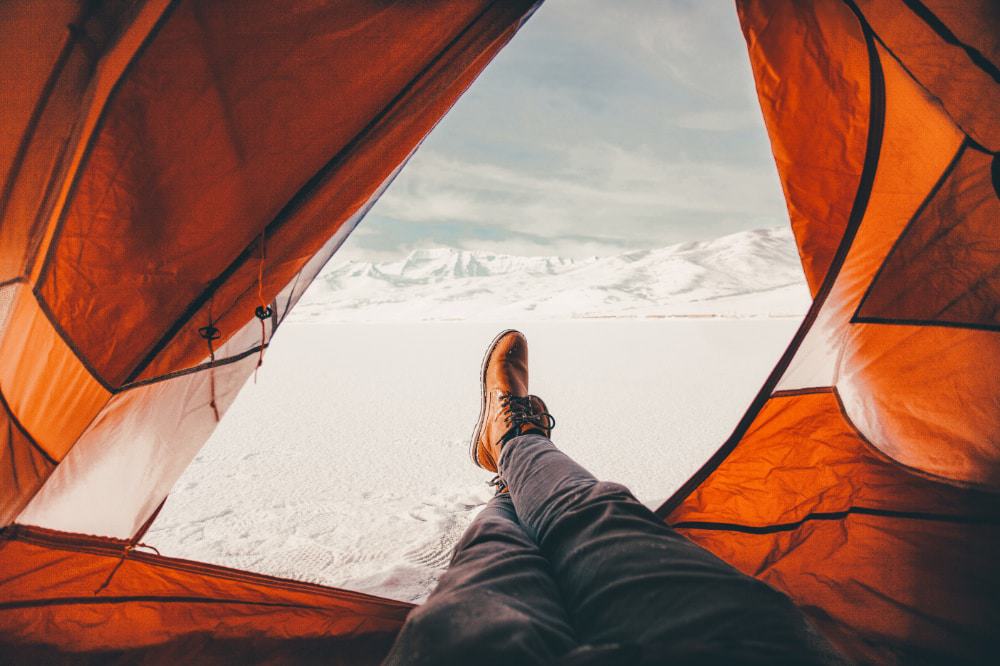
Enjoy the tranquility
Whilst camping in the winter is still popular, you are less likely to encounter casual campers and families when winter camping. Those venturing out into the cold wilderness in the middle of winter are more likely to keep to themselves on their trip.
So enjoy the quiet, stillness of winter and take some time to reflect and relax!
Tip: It’s always safer to go with someone else – it’s also usually easier and more fun as well! For your first attempt at winter camping, you should definitely not venture out alone.
If this sounds appealing then you should consider winter camping. But don’t start too big! Pick somewhere that if things do start to go wrong, you aren’t going to be trapped in the cold.
What To Take
Winter camping is not the time to skimp on your gear! Make sure to take the right stuff with you to get the most of your trip.
A protective tent
Camping in winter is no joke. You might need a shelter that can protect you from sub-zero temperatures.
Usually, a 3-Season tent (designed for use in Spring, Summer and Fall) can work in light snow or mild winter conditions but for more extreme weather investing in a great 4 season tent is a good idea.
4-Season tents are sturdier to withstand high winds and heavy snow. They are designed to take a beating whilst 3-Season tents often prioritize being as light as possible, sacrificing some protection from the elements.
Related: Expecting high winds? Check out our review of the best tent for wind.
They will often weigh more than 3-Season tents averaging between 8 and 16 lbs (compared to between 3 and 6 lbs). This added weight can really be felt trudging through deep snow. Modern, lighter 4-Season tents are available for less than 4 lbs but these tents can often be more expensive.
Whilst empty space in your tent is something you should aim to avoid to keep warm at night, you want your tent to have room for an extra person to store all your gear. Winter camping means you will need to bring a lot of bulky gear so make sure your tent has space to store it.
Tip: Attaching a keyring to the zipper on your tent can make it easier to use with gloves on – keeping your hands warm!
As with all of your gear, you should weigh up the benefits and costs of your tent and decide what your greatest need is. 3-Season tents are great all year provided you aren’t planning to venture too far into the cold and snow. But if you’re serious about winter camping, a sturdier 4-Season tent is a valuable purchase.
Things to looks for when choosing your tent:
- 4-Season: whilst 3-Season tents will be effective most of the year, they will be ineffective in deep snow and harsh cold.
- Lightweight: shaving off a few extra pounds for your trip can really make the difference
- Room for an extra person: even if it’s just you in your tent, you’ll need space for all your equipment
A cozy sleeping bag
Much like tents, sleeping bags work on season ratings as well. Similarly, 3-Season bags are designed as versatile options for most of the year whilst 4-Season bags are intended to withstand more extreme conditions.
A 3-Season bag will be comfortable down to around 20-32F, whilst a 4-Season sleeping bag will be adequate down to about 10-15F.
Sleeping bags also have a comfort rating. This refers to the lowest temperature the bag can get to and still allow you to sleep in a relaxed position. You should probably pay more attention to the comfort rating for winter trips and make sure that it is capable of dealing with weather colder than you anticipate.
Down and synthetic materials are the two categories of sleeping bag insulation. Down has a fantastic warmth-to-weight ratio, being twice as warm as synthetic materials for the same weight.
However, a down bag will lose most of its insulating properties if it gets wet. Synthetic bags absorb less moisture and dry out faster.
Sleeping bag tips:
- Shake your bag!
- Hand warmers/hot water bottle
- Bring a sleeping bag liner – they can extend the temperature rating of a bag by 5-15 Fahrenheit
Size is also a consideration for your sleeping bag – don’t bring one that’s too big or too small. If you’re planning to put stuff in it make sure it doesn’t compress the bag lining.
Tip: Be prepared for some bag time! It’s probably a good idea to bring a torch and a book or some cards in case you’re spending any length of time trying to keep warm inside.
A comfy sleeping pad
Layering underneath and insulating yourself from the ground is just as important as layering on top.
The key feature for deciding your winter camping sleeping pad should be its R-Value. However, be aware that R-Values are not independently verified and may differ from manufacturer to manufacturer. Some brands also don’t use R-Values, opting for temperature ranges instead.
| Temperature | 60F | 40F | 20F | 0F | -20F | -40F |
| R-Value | 0.5 | 1.5 | 2.5 | 3.5 | 4.5 | 5.5 |
Size again is important – make sure to bring a pad that’s a few inches taller than you are so your feet aren’t hanging off the edge.
Closed-cell foam sleeping pads are sometimes seen as the best option for winter trips because they are tough and versatile. Self-inflating or manually inflated sleeping pads can be more comfortable but can be bulkier and more susceptible to tears.
Tip: it can be expensive to purchase all this gear at once so keep an eye out for sales through the year! The best time to buy winter gear is often in summer when last season’s stock gets discounted.
A stove
Bringing a stove is going to be essential for winter camping – you can’t survive on protein bars and sandwiches forever!

Canister stoves come pre-pressurized and pre-measured. They are more convenient and often are lighter options. However, they are more susceptible to being affected by cold weather and less reliable in extreme conditions [2].
Liquid-fuel stoves have refillable canisters which make them more environmentally friendly. They perform better at cold temperatures and high altitudes so are likely to be a better choice for winter camping expeditions. They are a little bit heavier and bulkier than canister stoves.
It is better to overestimate the amount of fuel you will need and have plenty spare rather than run out. A stove without fuel won’t be very much use!
Before using your fuel, try heating it up in a jacket pocket or sticking it under your layers for a while. You can also leave it in water to keep the temperature about freezing.
You should consider bringing a base for the stove to sit on so it doesn’t melt into the snow as you’re cooking. You can buy metal ones that are lightweight and fold up but a piece of plywood cut to size is a cheap alternative that works fine!
Tip: If your stove needs matches to light, make sure to store them in a waterproof container – preferably made of metal
Other equipment
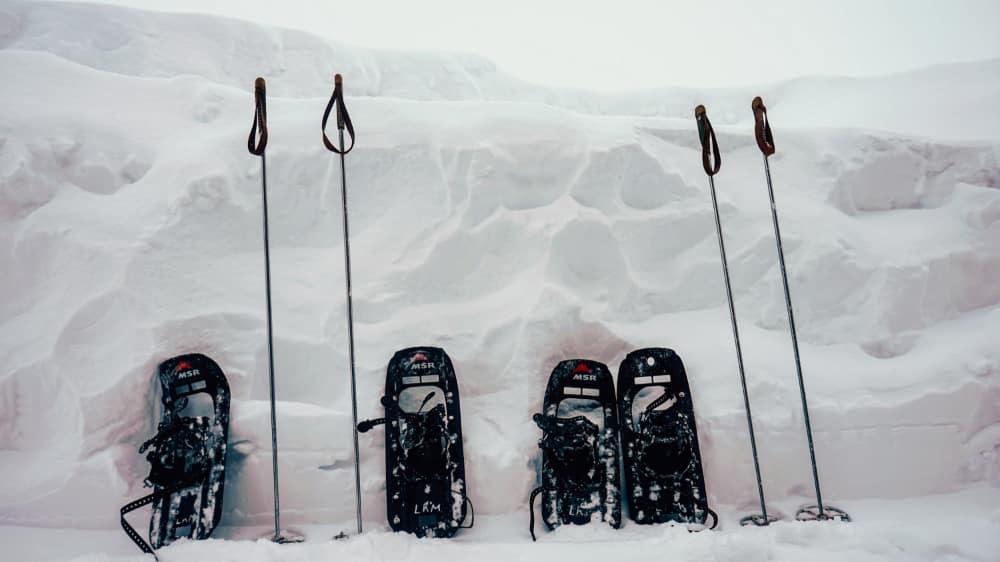
Make sure your backpack has lash points or something to secure larger items like snowshoes if you’re taking them!
If you’re going to be travelling across deep snow for a distance, bringing a sled to carry your equipment can help make things easier for you
A snow shovel is essential when winter camping as it will allow you to prepare your campsite before pitching your tent. It is also an important piece of safety equipment in areas where avalanches are common.
Other avalanche safety equipment to consider bringing would be a transceiver so that others can find you and a probe to poke through the snow to find anyone potentially trapped under the snow.
Duct tape is usually a handy tool to help deal with any rips or damage to the tent or other equipment when you’re camping. But the adhesive isn’t as effective at lower temperatures so consider buying some all-weather tape that can withstand the change in temperature – like All-Weather Gorilla Tape.
Warm Clothes
Layers, layers, layers! The key to packing clothes for any camping trip is layers. The same goes for winter camping. Bring plenty of layers so that you can adjust your body temperature as you go.
Clothing Checklist
- Base layer – this goes next to your skin and should be made of a material that will wick away moisture like wool or polyester. Midweight, long-sleeved tops and thermal underwear are ideal. Some base layers come with ¼ zips which can be good for ventilating if you get too warm.
- Middle layer – to retain body heat, something like a fleece or a puffy jacket can trap pockets of warm air. Most people find middle layer bottoms too much when moving but if you’re a cold person, or expecting it to be cold, fleece pants are a great addition.
- Outer layer – a waterproof and breathable shell that protects against the wet and the wind. Water-resistant clothing isn’t going to cut it in winter – make sure it’s waterproof. Don’t forget to get something for your bottom half as well, like softshell pants or insulated ski pants.
- Hat – your hat should be made of a material like wool and cover your ears to keep you warm. A balaclava is helpful to protect more of your head and face.
- Gloves – make sure they’re waterproof and warm enough!
- Sunglasses – snow can reflect up to 94% of ultraviolet radiation [3] and in areas above sea level the atmosphere is thinner and filters out less UV rays so make sure to bring some eye protection (as well as sunscreen!). Goggles might also be a good idea if there are high winds blowing snow if your face.
- Socks – always bring spares! Avoid cotton as it absorbs moisture and will leave you with damp feet. Make sure that your socks fit your boots – extra-thick socks won’t work if your boots are too tight! A pair of walking gaiters will help keep your feet dry as well!
- Footwear – depending on how much snow there’s going to be will determine what type of footwear you will need. Waterproof, quality hiking boots will be okay for light snow and cold. For deep snow, you might need to consider getting snowshoes or even some cross-country skis. Renting snowshoes is recommended for your first adventure.
Remember to also bring warm clothes for sleeping in and don’t wear all of your clothes to bed. If you prepare your clothes for the next day and keep them in your sleeping bag with you overnight they’ll be nice and warm for changing into in the morning!
You can also bring your boots into your tent overnight to dry them out and give them a few extra degrees of warmth in the morning. You can also take your boot liners (if you have the) and keep them in your sleeping bag overnight to dry them as well.
Be careful applying direct heat to your boots to dry them out though. This can compromise the adhesive and make your boots less waterproof.
Setting Up Your Camp
So you know why you’re going and you’ve taken what you need with you for your trip. Now you need to make sure that you know how to set up your camp in the snow.
Pick the perfect spot
It’s worth the time to find the right spot when you arrive at your campsite for the night. Whilst you are trying to decide on a place to pitch your tent it might be a good idea to start layering up again if you have shed some clothes whilst moving. You want to preserve any heat you generate.
You want to find a spot that has protection from the wind but is not susceptible to avalanches or hazardous trees that might fall in the wind.
It’s a good idea to look for the same features you want from a summer campsite – an accessible drinking source nearby and some privacy (generally campers should follow the 200 feet rule [4]).
Identify landmarks near your campsite which will make it easier to find in case of a storm.
You want your tent to be facing into the sunrise in the morning so you can get the benefit of its heat. Don’t camp in a spot that will be shady in the morning.
Pitching the tent in snow
Once you have found where you want to set up your tent, it’s almost time to start pitching it!
Before getting your tent out though you want to make sure to pack down all the snow that will form the floor underneath your tent. If there is only a small covering of snow it’s a better idea to brush it away if possible to expose the ground underneath.
Packing down the snow is important because loose snow will melt and be uncomfortable through the night. Once it has been packed down you should leave it for ten minutes to let the snow solidify.
Attaching stakes or tent pegs to guy ropes before burying them in the snow is an easy and effective way to secure your tent. Alternative, small branches can work better than trying to use tent pegs directly into the snow.
Emergency foil blankets should be viewed as an essential item for a lot of camping trips and definitely when venturing out in winter. Taking one and placing it underneath the tent before pitching can make a huge difference to the insulation from the ground in the tent.
Once your tent is up, it’s important not to bring any sharp objects near your shelter such as ice axes. I can imagine few feelings worse than arriving at camp, setting up my tent and then ripping a hole in it! Make sure to be careful.
Digging a lower vestibule in the front of your tent will give you more storage area and an easier way to get in and out of your tent. This video shows how to do this pretty well (even if it is an Australian trying to teach you about snow!).
It’s worth watching the full video to get an insight into the whole process.
Staying warm at night
I’ve already written a post about how to stay warm in your tent which is worth checking out but I’ll summarise a few of the main points here:
- Make sure your tent, sleeping bag and sleeping pad are all adequate for a cold winter’s night.
- Get active before getting into bed – do some jumping jacks to raise your body temperature!
- Eat and drink properly throughout the day to keep your body running properly.
- Dress in layers at night but don’t wear all your warm clothes – you want to have something cozy to put on in the morning getting out of your sleeping bag!
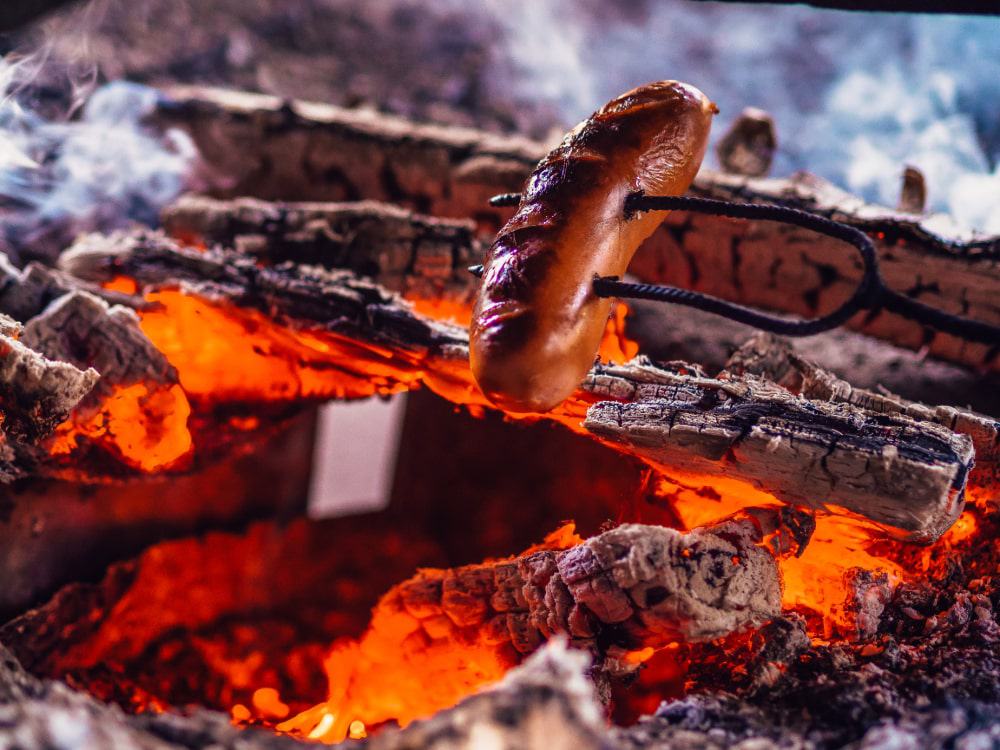
Food and Drink
One of the great things about camping in winter is that because it’s so cold outside, it opens up a new realm of possibilities for your dinner!
It’s important to eat plenty of calories when you’re camping in winter as digestion helps with generating heat. You will also be spending more energy than usual if you are taking more equipment with you to deal with the cold, so refueling is vital!
For winter backpacking, it’s recommended that you aim for about 4,500-5,000 calories a day [5].
Breakfast
You don’t want to make anything too complicated but you want to make sure it’s a filling meal to start your day – instant oatmeal and some fruit, for example, is easy to prepare, can provide warmth and will slowly release energy throughout the morning.
Lunch
There are two ways to approach your lunch if you’re out hiking.
You can stop for a traditional, longer lunch break giving yourself a chance to relax but risking letting the cold seep in through inactivity. You can bring out the stove and make yourself a hot meal.
Alternatively, you can pack yourself a lunch that’s easy to snack on throughout the day as you stop for water breaks and rests. This minimizes the amount of time you’ll be standing around in the cold but doesn’t allow for a proper rest during the day.
Dinner
Start with a cup of soup or something easily prepared in each person’s cup to raise your body temperature as you cook your main meal.
Hot and simple means that can be cooked in one-pot to save on washing up are ideal. Here are some ideas for your next feast outdoors:
- Sausage, bacon and eggs – who doesn’t love breakfast for dinner!? As long as it’s cold enough outside you can keep the meat chilled. But remember to follow usual hygiene practices when dealing with raw meat.
- Bubble & Speak – a British stable that takes cabbage, potatoes and sausage and makes them into a warm and hearty meal. This recipe [6] walks you through how to make it when camping.
- Kebabs – can be prepared before you leave. Bag up some meat, veg and spices and bring some skewers with you. These are better if you have a campfire or BBQ.
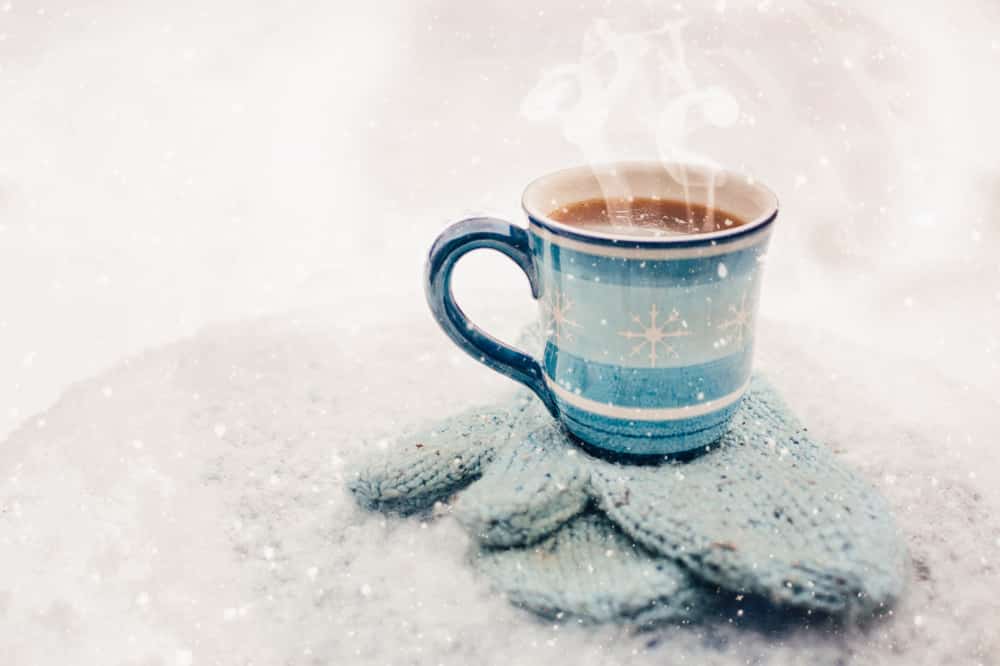
Finally, rounding off your dinner with a hot chocolate is a fantastic way to get some final warmth and calories into your meal. Plus, it’s basically a dessert!
Water
Make sure to stay hydrated. An insulated water bottle is the best container to take with you. Avoid taking hydration reservoirs as these can freeze in cold weather. Store your bottle upside down (when able) as it will freeze from the top down.
If you’re camping in deep snow, any rivers or lakes nearby that would usually provide a water source may be frozen over and inaccessible. Fortunately, you can melt snow over the stove and voila! All the water you can drink.
DO NOT EAT SNOW. Eating snow rather than melting it and drinking it will mean you burn extra calories converting solid to liquid yourself. Let the stove do the work!
Helpful Things You Should Know
Running out of charge
The cold isn’t only draining to humans – it can drain the batteries in your electronics quicker than anticipated as well.
Make sure everything you plan to use is fully charged before you leave and store electronics in jacket pockets or other warm places to help stop this.
Lithium batteries perform well in the cold weather, last longer and weigh less so should be prioritised wherever possible.
Answering the call of nature…
If you’re camping on top of deep snow and need to go number two, you’ll need something to store it in until you get to lower elevations to bury your waste.
Be aware as well that more snow likely means less leaves for wiping. If you’re caught without toilet paper snow can always be used in a pinch.
Don’t hold in your pee! I know facing the cold might not be what you want to do (especially if you’ve just gotten settled in your sleeping bag) but holding it in is a bad idea. Your bladder wastes energy keeping your urine warm so make sure to expel all that liquid whenever you can…
Slather up!
Native communities who live in harsh winter conditions often use animal fat on their exposed skin to help with windburn and frostbite. Vaseline is likely a more popular alternative to animal fat among campers and works just as well!
To Sum Up…
Winter camping might not be for everyone. It can be hard and requires a lot of preparation. But I think a bit of hard work is definitely worth it for the experience you can get camping in the snowy winter.
Bring the right gear, use it properly and most importantly enjoy yourself!
References
[1] https://outdoorindustry.org/wp-content/uploads/2015/03/2017-Camping-Report__FINAL.pdf
[2] https://www.outdoors.org/articles/amc-outdoors/why-do-canister-stoves-fail-in-cold
[3] https://earthobservatory.nasa.gov/features/UVB/uvb_radiation3.php
[4] https://www.wta.org/news/signpost/the-rule-of-200-feet-and-other-campsite-tips
[5] https://www.princeton.edu/~oa/winter/wintcamp.shtml#Food
[6] https://www.thriftyfun.com/tf89251512.tip.html