Tents have one job: to protect campers from the elements. Thus, it seems ridiculous that they sometimes need help to do the exact thing they are designed to do. Alas, crying about it won’t help, it just adds water. Sometimes you really do have to waterproof your tent to keep the rain out.
If you’re wondering how to waterproof a tent, waterproofing a tent is easy. It just takes a bit of time and DIY. To waterproof a tent, gather a few simple supplies and do seven steps:
- Select A Dry Day For Waterproofing Your Tent
- Clean Your Tent First
- Seal The Tent’s Seams
- Apply A Urethane Coating To Waterproof The Floor And Rainfly
- Apply A Durable Water Repellent To The Outside Of The Tent Walls
- Dry Out The Tent Fully Before Putting It Away
- Use A Tarp To Double Your Waterproofing
Tents are an expensive investment. Thus, it is much cheaper to waterproof a tent than toss it when it begins to let the rain inside. Also, repairing gear rather than buying new ones is better for the environment. After all, if we love camping in the great outdoors, we should do our bit to protect it.
7 Steps To Waterproofing A Tent
Nobody looks at the weather report and says, “Ah yes, I’d love to camp during this period of heavy rain.” But rain is nearly impossible to avoid if you live in places such as Oregon or Washington State. Even if the prediction is for clear skies, it’s probably a lie.
Sure, you should look into buying a top-of-the-line waterproof tent for heavy rain if you camp in such areas. But even the best rain-proof tents can require some TLC after dedicated use.
1. Select A Dry Day For Waterproofing Your Tent
Waterproofing a tent indoors is difficult and messy. Thus, do it outdoors on a dry and, preferably, warm day. This advice might seem obvious unless you are my father. To be fair to him, in his part of Oregon, a day that isn’t dumping with rain is “nice.” However, damp fog is not dry enough.
2. Clean Your Tent First
Waterproofing a tent goes badly if the tent is not as clean as possible. The new coatings and sealants will adhere to the dust and grime instead of the tent’s fabric. Thus, you will need to brush that tent to ensure all bits of dirt and grass blades are gone.
If you are having difficulties, consider using a lint roller to help you out. It will pick up all the stray hairs and animal fluff that might be eluding your attempts to cast them out.
When you are done, you want to place your tent on a clean tarp(s), drop cloth(s), or sheet(s), so you do not pick up any new grass blades or dust while you work. It works best if you don’t use your tent footprint, as it is built for the tent’s size. You’ll want something bigger for added workspace.
3. Seal The Tent’s Seams
The number one soggy tent culprit is the seams of the tent. The tape that keeps them from allowing the elements in can become worn by friction and exposure to said elements.
First, inspect your seams, ideally in bright sunlight. Any peeling bits should be gently removed without disturbing the surrounding sealant.
Next, clean the exposed seam with rubbing alcohol using a (clean) rag. Do this gently so as not to damage the seam any further.
Once the seam is clean and dry, you can apply the seam sealer. If all your seams look suspect, you might want to reseal the whole tent.
3 Quality Seam Sealants For Waterproofing A Tent
- Gear Aid Seam Grip WP Waterproof Sealant has extra flexibility. Thus, it is excellent for seams that endure stretch or bend. However, the toothpaste-like tube and separate application brush can be fiddly to use.
- Coleman Seam Sealer is budget-friendly, offering almost twice as much product at a similar price to its competitors. It also dries fast, in a single hour. However, it is water-based. This is excellent for the environment but means its strength is limited. If your seam has an actual hole in it, avoid this one.
- Gear Aid Seam Grip FC Fast Cure is quick: drying in 2 hours. It also has a handy and easy-to-use applicator. In addition, it does the job without peeling or cracking. An excellent product.
- GEAR AID Seam Grip SIL Silicone Sealant is similar to the first product but has silicon, which is perfect for some tents.
4. Apply A Urethane Coating To Waterproof The Floor And Rainfly
If the inside of your rainfly or tent floor is flaking, you need to apply a fresh urethane coating. This will waterproof the rainfly and tent floor. Unlike fixing the seams, it is best to start all over again.
Thus, your first step is to try to remove as much of the original coating as possible. So grab your rubbing alcohol, but instead of a rag, you’ll need a sponge with an abrasive side. Using the rubbing alcohol and sponge, clean the surface of the floor and rainfly, but avoid rubbing the seams.
Next, you take your urethane coating and apply a thin layer to the inside of the rainfly or the entire tent floor. Note that it takes 24 hours for the coating to fully dry, so ensure you do this on a day when it will remain rain-free for the entire drying process.
Two Quality Coatings For Waterproofing A Tent
The best urethane coating for your tent must be compatible with your tent’s fabric. Check if your tent is silicone-treated or polyurethane-coated before buying a urethane product. If you can’t find the information on your tent, look up the manufacturer’s information on the internet.
- Gear Aid Fabric Sealer is hands down the best polyurethane coating for your tent floor. It is water-based, which is ideal, and the nearly invisible layer it leaves behind is flexible, so it can move with your tent without cracking.
- Sof Sole is a great silicone waterproofer. It is popular for boots and shoes, but it can be used on silicone-treated tents. Application is easy, as it is spray-on. However, the drawback to a spray is you can miss spots, so you might need to do this twice.
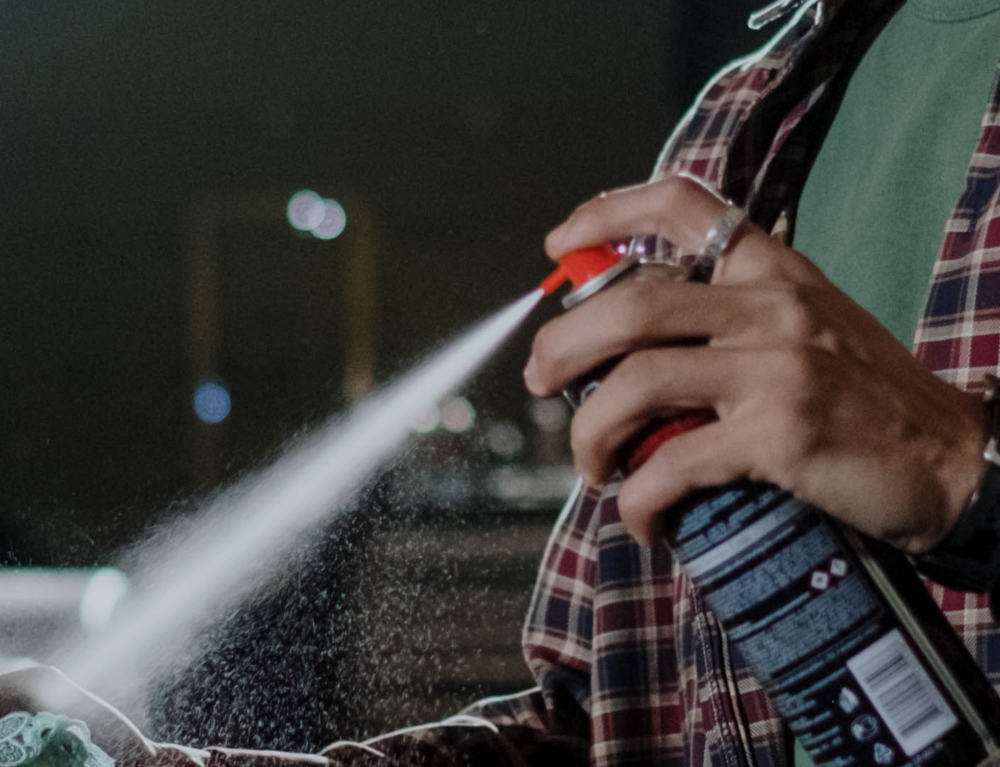
5. Apply A Durable Water Repellent To The Outside Of The Tent Walls
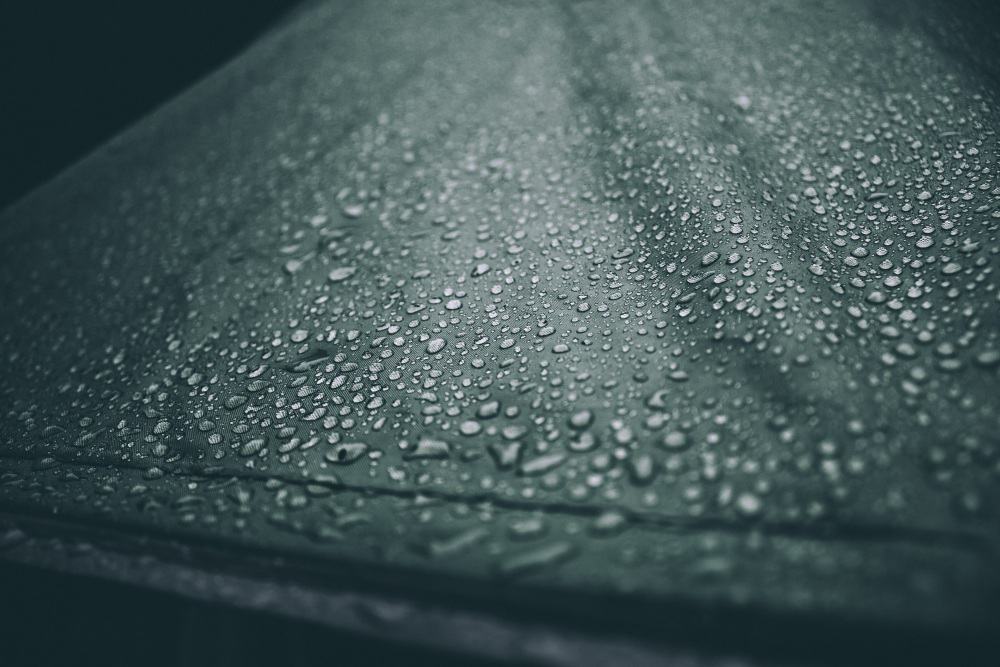
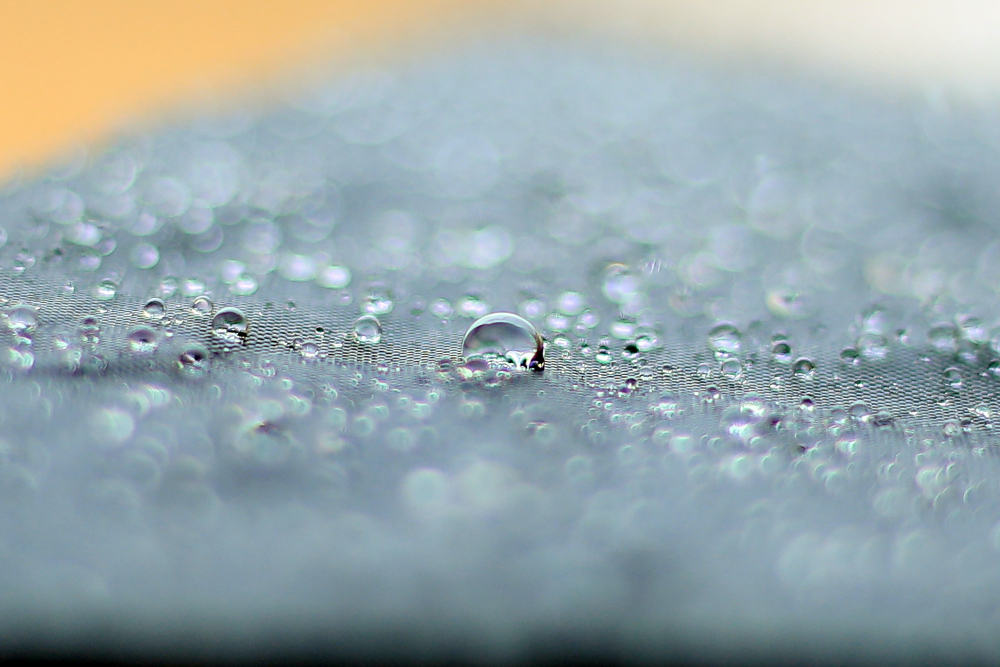
If you notice that raindrops no longer bead up on the outside of your tent and rainfly, your tent needs a respray of a durable water repellent (DWR). This is easier to do than the other waterproofing steps because it doesn’t matter if your tent is wet.
Thus, to clean the outside of your tent, you can use a damp rag or throw caution to the wind and just spray it down. Then you take your bottle of DWR and liberally spray it all over the outside of the tent and rainfly.
Once you’ve finished, have a cup of coffee. By the time you are done, your tent will be ready for you to wipe it down with a damp cloth, ridding it of any excess spray. After that’s finished, let the tent dry and pack it away. Easy.
Four Quality DWR Waterproofing Sprays
Durable Water Repellents can over various extras, such as UV protection (never a bad idea) and even double up as a cleaner. Some rely on silicon to create the beading; others favor wax. What you should choose depends on your tent fabric and personal preferences.
- Nikwax Tent And Gear Clearing, Waterproofing, And UV Protection is a big fan favorite. It’s less of a chemical cocktail than some others, being water-based, biodegradable, and doesn’t have VOCs or PFCs. But this does mean it isn’t as robust as some other DWRs.
Thus, due to its kinder nature, many prefer to use this on the underside of the rainfly and the tent floor as an alternative to a PU coating. Then they use a more robust DWR. It makes sense since you inhale what’s on the inside of the fabric and are impacted less by what’s on the outside.
However, others have fantastic success with it on the outside of the tent. It might depend on the type of rain your deal with. Soft and light is a different animal to horizontal downpours. Also, the proper application of Nikwax is essential.
- Kiwi Camp Dry Heavy Duty is a silicon-based water repellant. People love this one because it works, and it’s so easy to apply even a child could do it. (Don’t let a child do it, they might spray the dog, their little sister, or their own hair. Not good.)
- GEAR AID Revivex Durable Water Repellent is another excellent choice. It’s a trigger spray, not aerosol, requiring a bit more attention in the application. But it is great for those looking for a DWR that is free of silicone, PFOS, and PFOA.
- Scotchgard Heavy Duty Water Shield Repellent might sound like a product from the 80s. But this stuff does exactly what it claims and is easy to use. It works on various fabrics, too, including cotton, nylon, polyester, polypropylene, suede, and leather. Thus, you can use it on your boots, too.
6. Dry Out The Tent Fully Before Putting It Away
It seems like a no-brainer to let everything dry after waterproofing before you pack your tent away. But sometimes, we haven’t had enough coffee, and our children (whom we love dearly) have deprived us of sleep for the past 18 months.
Hence, our friendly reminder to:
Let. The. Tent. Dry. Before. Packing. It. Away.
7. Use A Tarp To Double Your Waterproofing
Waterproofing a tent is all well and good, but sometimes we forget to do DIY before taking that vacation. Sometimes we forget to pack the rainfly. Worse, we sometimes don’t realize the tent needs a waterproofing redo until it rains. Whatever the reason, a quick fix is putting up a tarp.
3 Best Tarps For Waterproofing A Tent
Tarps range from expensive, lightweight camping wonders to cheap, heavy-duty items that do exactly what you desire: keep the rain out.
- B-Air Grizzly Multi-Purpose Waterproof Tarp is not backpacker friendly. But it’s cheap and effective.
- Eno is an ultralight design made for hammock campers. However, it also works for small, backpacker-friendly tents. It isn’t cheap, but it packs up nice and small.
- Whiteduck Canvas Tarp is perfect for campers trying to cut back on synthetics. It’s a breathable material that keeps the rain out. However, it isn’t backpacker-friendly.
How To Waterproof A Canvas Tent
A quality canvas tent is an excellent investment, keeping you warm in winter and cool in the summer. But while the canvas is treated before being sold, over time, the canvas might also require a waterproofing touch-up.
Before redoing its waterproofing, it needs to be clean. Be sure to do this by hand. Do not use your washing machine even if you have a tiny canvas tent.
Once your canvas tent is nice and clean, you need to use a waterproofing treatment that is suitable for canvas, such as a wax-based formula. Waterproofing for canvas comes in sprays, brush-on, or roll-on.
4 Best Waterproofing Products For A Canvas A Tent
Canvas water proofers tend to require a lot of participation by the applier. In short, they’re typically a workout to use.
- Scotchgard Heavy Duty Water Shield Repellent has been mentioned before, but it really does work well on canvas. It’s also a spray, making it easier than almost any other product you can find.
- Nikwax Cotton Proof Waterproofing is an excellent environmentally kind choice. The product doesn’t clog the breathability of the canvas while still helping repel water. However, you have to wash the canvas in this stuff. Great when you are cleaning anyway; otherwise, it’s a pain.
- Otter Wax is made in Portland, Oregon, and is made from all-natural beeswax. You rub it into the fabric and then allow it to cure for 24-48 hours. Many users find heating the wax slightly in advance with a hairdryer helps application.
- Canvak comes in a large gallon container and can be brushed or sprayed on. However, you’ll have to provide the sprayer or brush. But if you have a large tent, this is a lot faster than trying to work in a bar(s) of wax.