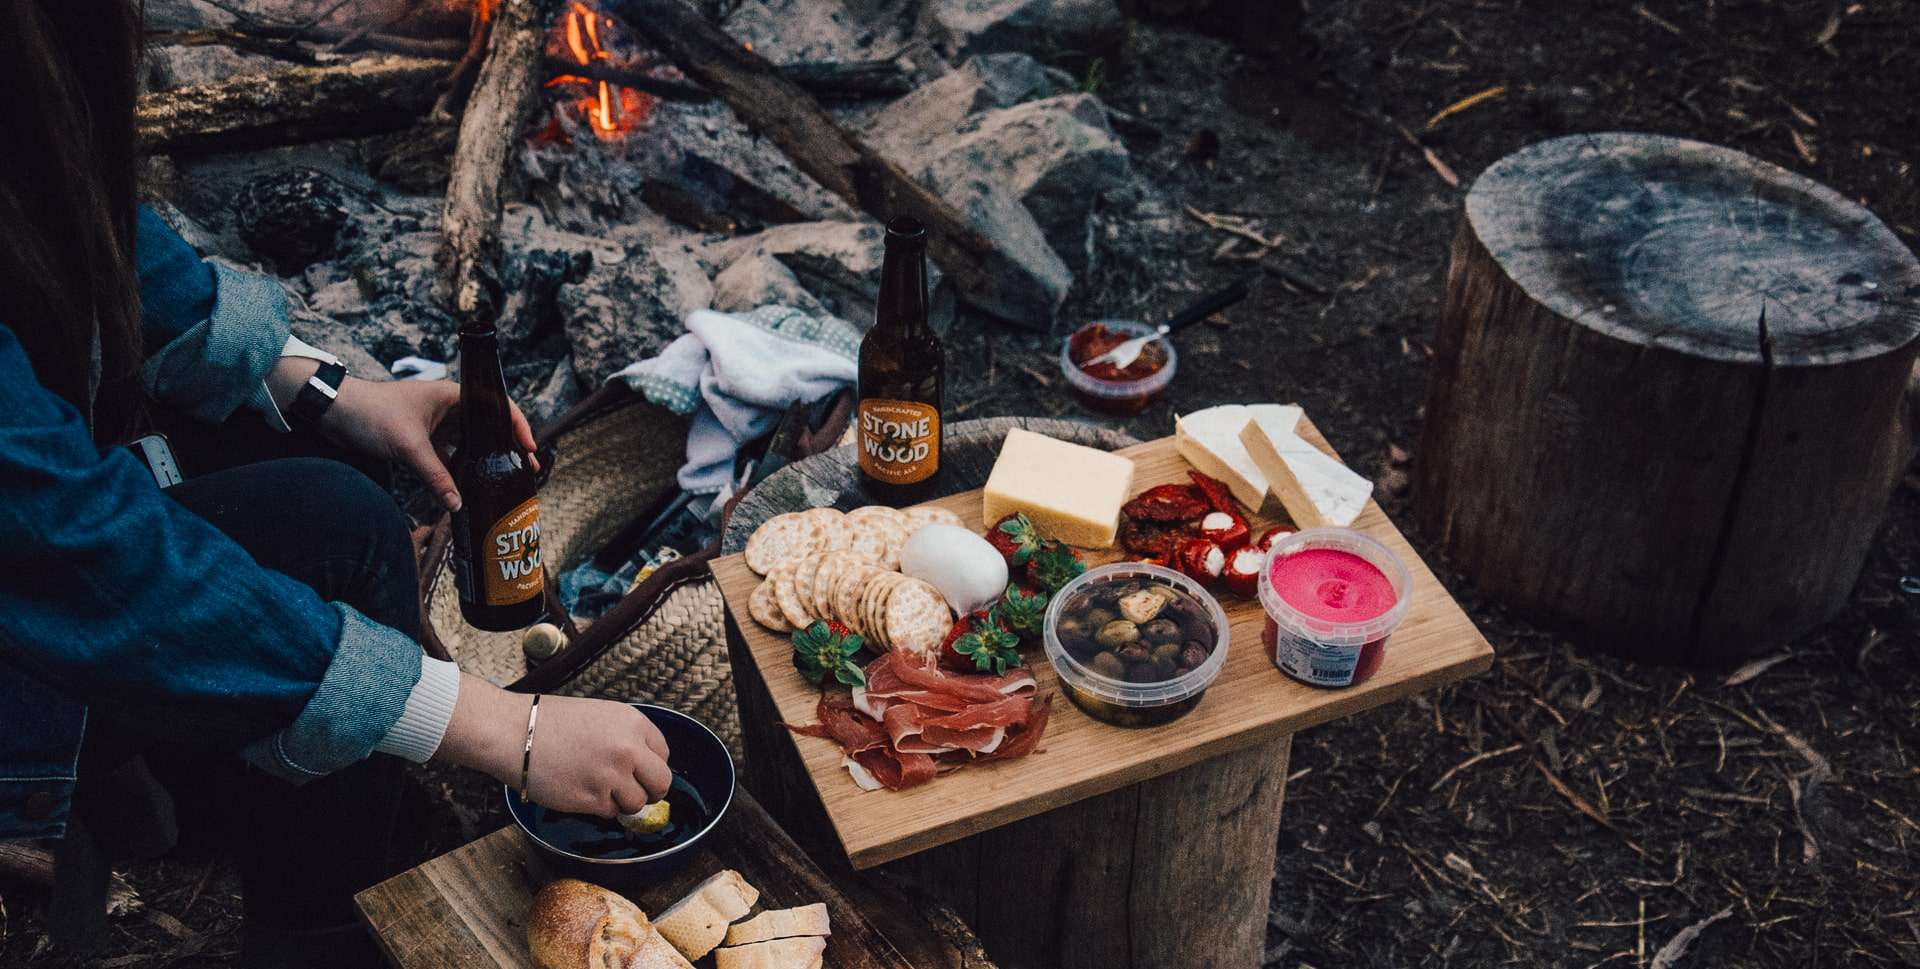
There’s nothing better than sitting by a campfire with the wonderful smells of a meal cooking.
But many avid campers wonder how to keep food cold while on a camping trip. After all, the idea of getting food poisoning while being stuck in the middle of nowhere is enough to put anyone off.
In this guide, I’ll run you step by step through the surefire way to keep your food cold on camping trips and some key tips to keep in mind.
The seven steps to keeping your food cold while camping are:
- Freeze or cool the food items before leaving
- Pick up some ice packs (or make your own)
- Pre-chill your cooler
- Properly pack the food into your cooler
- Pack your cooler tightly
- Open the cooler as little as possible
- Keep cooler out of the sun
Related: Fancy an outdoors picnic? Check out our review of the best screen house tent – an excellent cover to keep the bugs away!
Want to find out more about how to keep food cold while camping? Read on!
1. Freeze or cool the food before leaving
If you want to remove much of the stress, cook your meals before you go on your camping trip. This can save you a lot of worry, especially if your food contains meat.
Food and drinks should then either be frozen or chilled before leaving as this will keep the cooler cool for much longer. And to save some time you can always pick up some already frozen food from your local grocery store or gas station.
You’ll want to pack all your food in freezer bags. You wouldn’t want the food to defrost and contaminate everything else in the cooler. Extra care should be taken in sealing raw meat as any contamination can be dangerous.
2. Pick up some ice packs (or make your own)
It’s important to use the right type of ice for camping.
It’s perfectly fine to use a bag of loose ice cubes that you’ve picked up at the store for chilling your cooler before you leave.
But this type of ice is far from ideal for keeping food cold once you leave. The small cubes mean that plenty of air gets in and the ice will melt quickly. On top of this, a torn bag or loose ice can mean water gets everywhere.
Instead of cubes, you should use a large ice block. Block ice stays cold for a long time and is a much better option.
A thermal ice pack is ideal for this and can be frozen and reused as much as possible. The fact that the ice is packed also helps keep food from getting wet in the cooler. Of course, non-toxic packs should be used just in case of spills.
Want to make your own ice blocks? Just throw some cold water in a freezer bag and add a bit of salt. When the water mixes with the salt it reduces the melting point of water and speeds up the process. Finally, squeeze out all the air and stick the bag in the freezer. Some people have also had success in adding a bit of dish soap to the mix which can make the ice packs more flexible.
I definitely recommend using freezer bags for this. The last thing you want to find is a cooler full of ice water. But if you would prefer another container you can reuse a milk jug instead. Milk jugs can also produce a really large block of ice.
Should I use dry ice?
Dry ice is made from carbon dioxide rather than water and it is very, very cold. Some campers like to use dry ice packs to keep their cooler ultra cold. However, we don’t recommend you use dry ice packs as standard because special care needs to be taken with them.
If you do choose to use it, make sure to wear insulated gloves (yes, it is THAT cold!).
Also, be aware that when dry ice melts, it turns into carbon dioxide rather than water. It should therefore be kept well away from humans and pets.
Finally, as the dry ice melts and releases the gas, the pressure in the cooler increases. If you’re using a considerable amount of dry ice then you will need to open the lid once every while to ensure that it doesn’t burst open. Generally, 10 pounds of dry ice lasts 24 hours.
3. Pre-chill your cooler
If you’re looking to take perishable food with you then packing a cooler is a must.
But you wouldn’t want your room temperature cooler to heat up all your chilled and frozen meals.
If you’re wondering how to keep a cooler cold then simply throw in some ice a few hours before packing the food. The basic ice cubes that you pick up at your local gas station work perfectly well for this, although they shouldn’t be used when packing the food.
And if you’re lucky enough to have a large chest freezer then one of the best ways to get it super cold is by putting the whole cooler in.
4. Properly pack food into your cooler
Packing a cooler for a camping trip should follow one simple rule – the food that needs to stay the coldest should go closest to the bottom of the cooler.
This means any meat or frozen food items should go at the bottom with the leash perishable food items (and more delicate) going at the top of the cooler.
For meats or other food where there is a serious concern over cross-contamination, make sure to double pack these in freezer bags (what if a freezer bag tears?) and cover in aluminum foil.
Need to defrost meat? Move it up to the top layer!
Layering the food items with ice cubes or an ice pack will help in keeping your food cold. Stick a layer of ice at the bottom, another layer of ice above the meats and a layer of ice on top.
Tip: Avoid packing the cooler with too much food as you’ll need plenty of space for the ice packs.

5. Pack your cooler tightly for extra chilling
The less space in the cooler, the longer the food will stay cold.
If you end up with a bit of extra space try filling this with more ice cubes, ice packs, or more food.
6. Open the cooler as little as possible to keep food cold
Keeping the cold environment inside the cooler undisturbed is essential to keep food cold. Every time the lid is pulled back, warm air rushes in to replace the cold.
You should keep your cooler closed as much as possible.
7. Keep your cooler out of the sun
The one quick tip to guarantee the ice will melt and the food will spoil? Leave it in the sun!
Try as much as possible to keep the cooler in the shade to keep the food cold when camping. Some of the best ways to find shade include:
- Trees
- Rocks
- Cars
- Tents
- Set up your own tarp
- Storage spaces in campsites
Be careful about the shade moving as the day goes on and the sun moves in the sky.
Pro tips for the cooler
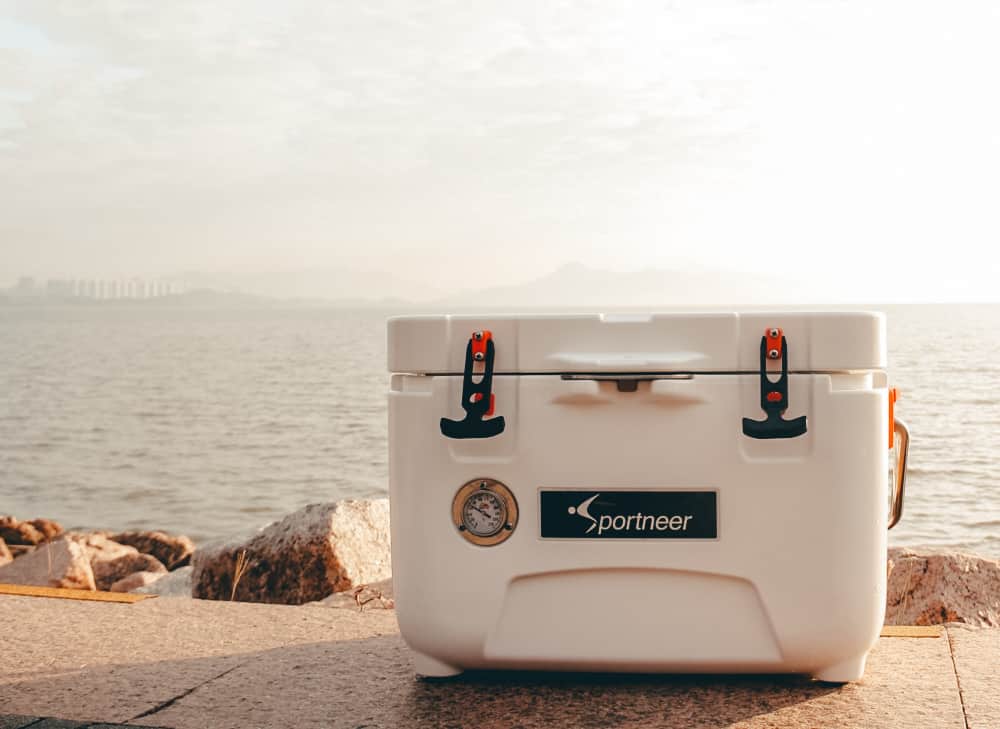
How to choose the right cooler to keep food cold
For those going who like a good cook up while camping, a cooler is an essential part of your camping gear. Quality coolers have thicker walls, better insulation and better latches to keep the cold air in and the hot air out.
Because of this, a high end cooler can keep everything frozen (including ice cream!) for days.
For instance, this 54 quart Coleman cooler is well insulated and can keep food cold for 4 days in temperatures as high as 90 degrees Fahrenheit. Some users have reported that it can last longer than this in cooler climates.
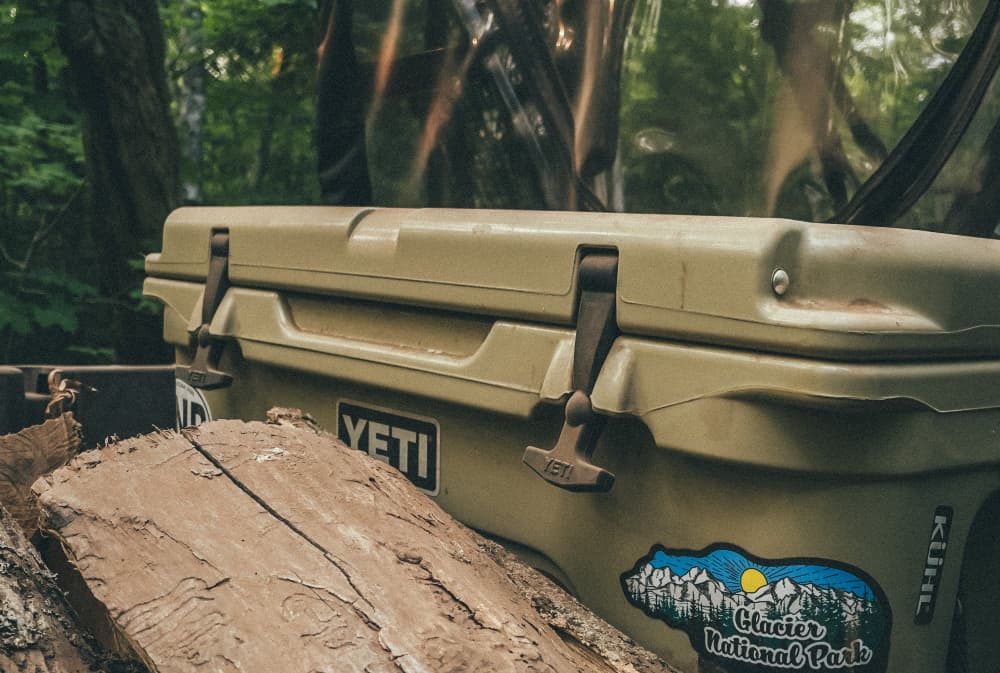
This Yeti Tundra cooler also comes with a formidable reputation as an excellent cooler for keeping food cold when camping, and high ratings to boot.
Generally, you should always check to see how many days the cooler is rated for ice retention (i.e. how long it will stay cold). I would also recommend avoiding styrofoam coolers as they have fairly poor performance by today’s standards. A more modern cooler will keep things colder for much longer.
Wondering how to keep the cooler chilled without ice? If you’re staying at a campsite then you may want to consider an electric cooler or if you’re bringing the car then you can use a car fridge. If not then consider our tip above for making homemade ice packs.
Bring two camping coolers to make the food last longer
An important part of keeping the cooler chilled is to avoid opening it as much as possible.
The main problem? Drinks. Every time you open it up to grab another drink the cool air escapes and is replaced by a rush of warm air. This is especially problematic for those who are more active and need a large amount of drinking water.
If you have space then you should consider bringing two coolers, one for the food items and one as a drink cooler. This should help make the food last longer.
Tip: Ensure the two coolers are easily identifiable, so you don’t keep dipping into the wrong cooler. Attaching a piece of colored tape or string can help identify which cooler is for drinks and which is for keeping food cold.
How to keep food cold while camping without a cooler?
While a cooler is certainly the most effective way to keep your food cold when camping, there are alternatives that can be used at a pinch.
Thermal bags can help keep your food cooler when packed with ice.
And if you’re wondering how to keep your food cold while backpacking but don’t want to have to lug a cooler around then the Ice Mule is an imaginative solution. It’s basically an insulated backpack that provides many of the benefits of a cooler but provides the versatility needed for getting out and about.
Finally, if you are car camping you can consider bringing a car fridge. A car fridge can run off the car battery and therefore skip the need for ice.
Freezing water bottles
Bringing lots of drinking water with you on your camping trip? Consider freezing a good portion of it.
The ice bottles can act as large blocks of ice which can help coolers stay cold for some time. On the flip side, this can mean they take a while to freeze in the first place and should be placed in the freezer at least 48 hours before leaving.
Just remember not to freeze all your water though, as you may need it in a pinch and frozen water bottles can take a while to defrost.
Frozen food safety guidelines when on a camping trip
When you’re cooking outdoors, it’s often easy to forget some of the basic food safety tips that we do at home without thinking. Cold camping food isn’t enough for ensuring the safety of you and your loved ones. There’s a few useful tips to keep in mind for your travel experience.
It’s important to remember to wash your hands before and after handling food. Bottled water can be used for this, or a nearby stream if the water is safe.
Cross-contamination should be avoided. Anything you use for meat should not be used for other foods. This includes chopping boards, utensils and so on.
Food should be properly cooked through. This can be especially tough to know when camping as you won’t be using your usual cooking appliance.
A food thermometer is especially helpful for knowing when the food is safe to eat. Remember that ground beef and poultry should be cooked through to 165 degrees Fahrenheit. No one wants to end up on a camping trip with food poisoning!
Finally, make sure the cooler temperature remains below 40 degrees Fahrenheit to ensure that bacterial growth is slowed. Use a non-food thermometer inside the cooler to check this.
Bring alternative options for keeping food cool
It’s always sound advice to plan for the worst and hope for the best.
What if the cooler breaks and the food spoils? Or the bag holding the raw meat breaks and contaminates the rest of the food?
The last thing you want to happen is to find yourself stuck without food on your camping trip. Always bring alternatives to the perishable foods and keep these in a separate location. A water filter can also be a valuable addition to your camping gear.
Food that doesn’t need a cooler
Rather than worrying about keeping your food cold camping, consider different food types. Non-perishable camping food includes snacks like beef jerky (good as a protein fix!), ramen noodles, dried fruit, trail mix and nuts. You can also consider meats, such as a summer sausage that don’t require refrigeration.
Tip: If you’re desperate to bring cheese, avoid soft cheeses like brie and consider bringing firm cheeses like cheddar or gouda.
How to keep food cold? Over to you!
Do you have any tips on how to keep food cold when camping? Let me know in the comments below!
Next up: Looking to pull together a set of great camping meals but don’t know where to start? Check out our camping food packing list.