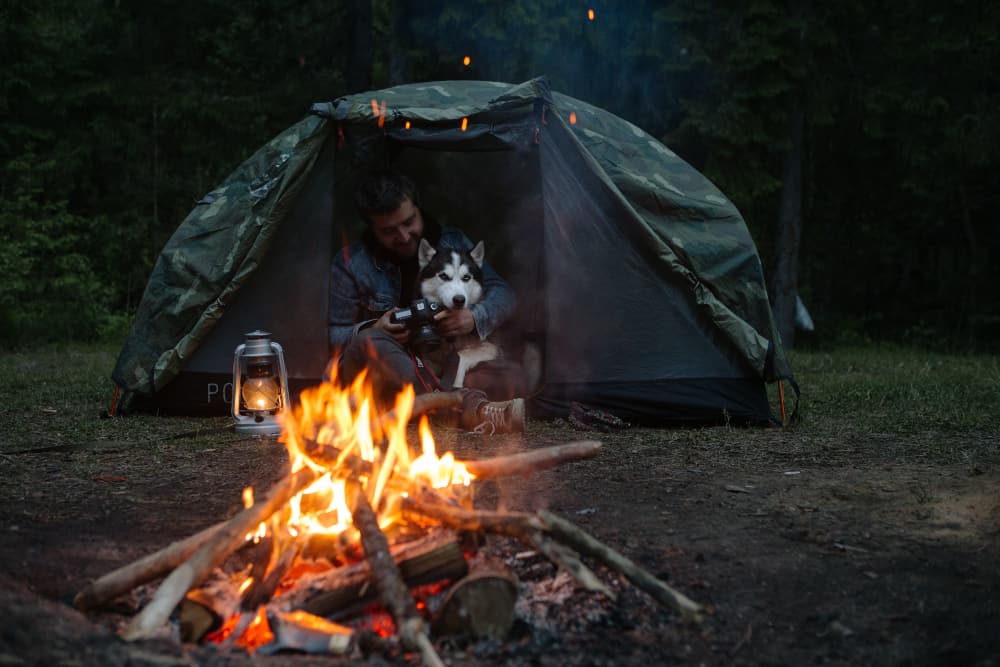
The joy of planning your next camping trip is an experience many have enjoyed numerous times over the years, and excitement mounts as the departure day approaches.
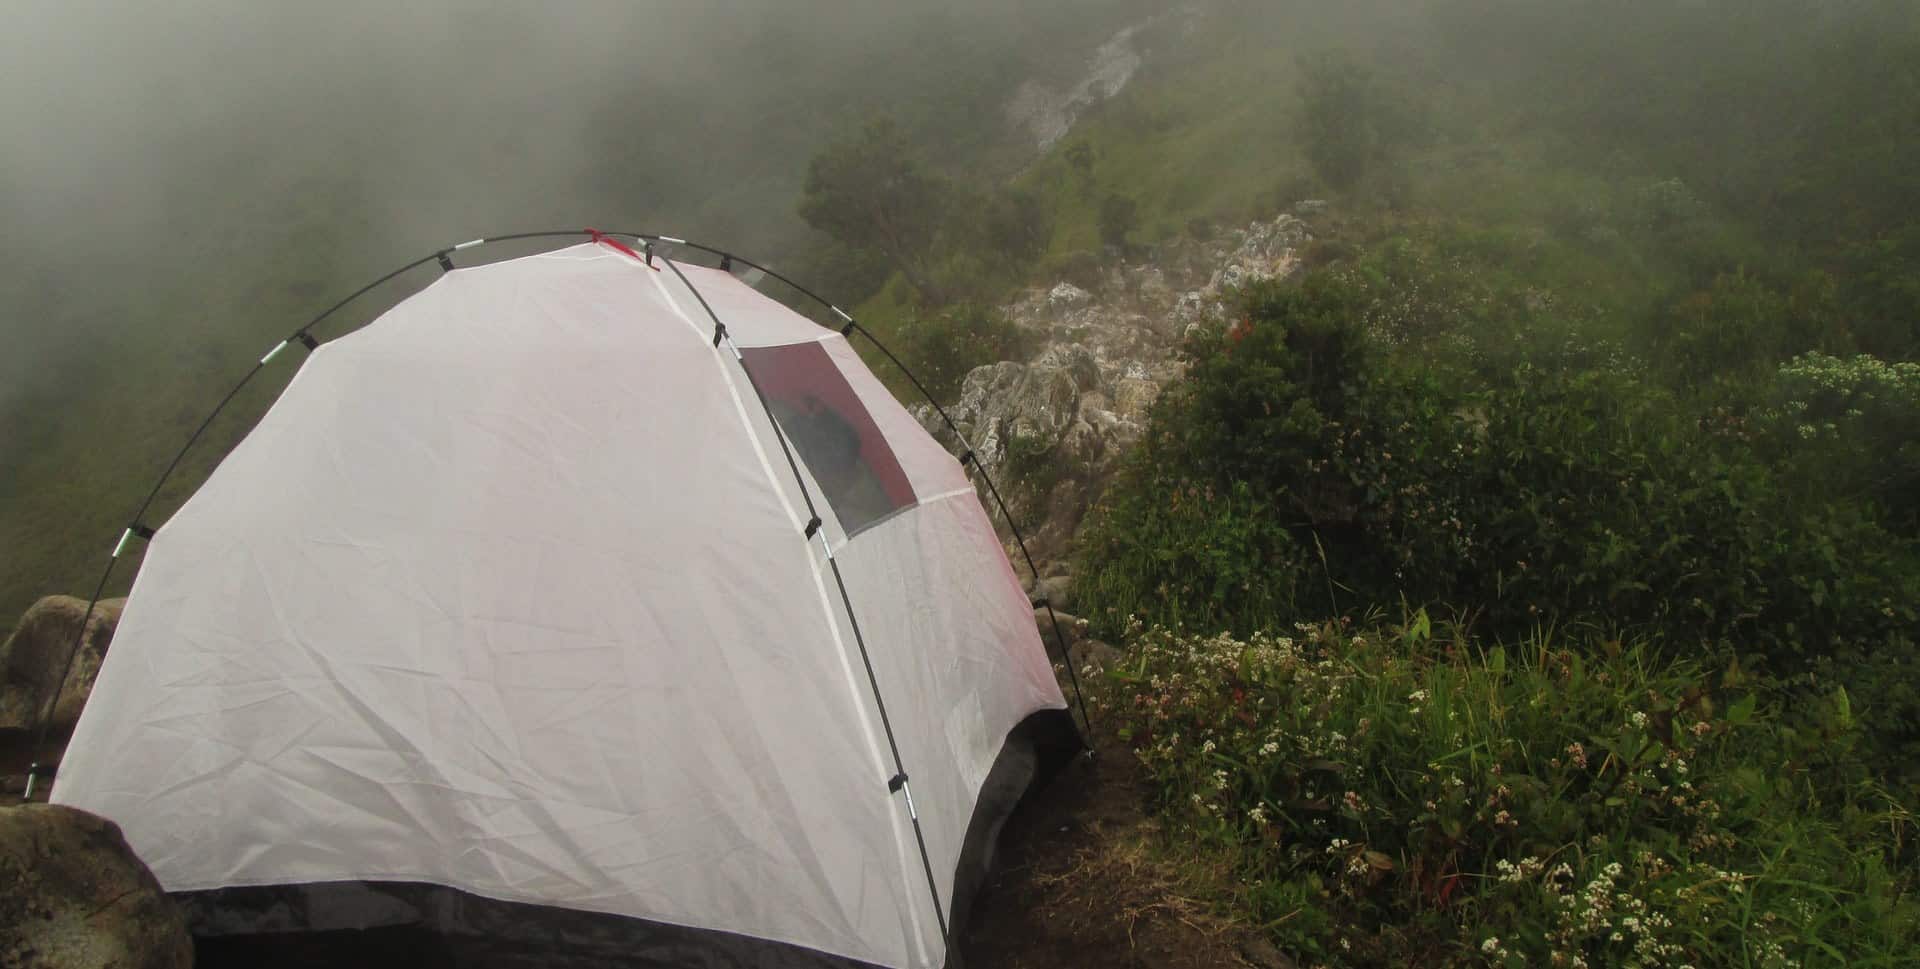
However, one sure mood-killer to any bubbly conversation is the advent of rain as you near your site, and happy chatter invariably turns to groans. However, it takes just 16 easy steps to set up a tent in the rain.
Here’s how to set up a tent in the rain:
- Choose a suitable, flat site.
- Keep your rain jacket and gloves on, and work calmly
- Stake your footprint to the ground
- Prepare the tent poles
- Stake the poles to the footprint’s grommets
- Remove the rainfly from your backpack
- Attach the rainfly over the poles’ skeleton to the footprint’s grommets
- Stake the tent firmly
- Stake Out the vestibules so you can store your pack while you continue setup
- Stake and tighten all guy lines
- Step Into the shelter and close the zipper
- Remove jacket and place in vestibule
- Dry the footprint
- Secure the rain fly to the skeleton
- Place the tent on the footprint
- Clip the vents open
I started camping and hiking many years ago, and thankfully technological improvements in all the merchandise required makes wet conditions far less of a problem today. Boots have always repelled water, but now they are a fraction of the weight; backpacks are also lighter and almost completely waterproof, and tents can go up in a snap – even in a downpour.
Before you even consider camping in wet weather, I strongly suggest you prepare properly. You will need to have the correct gear in good working order to ensure your time in the backcountry does not devolve into a weekend from hell.
Preparing To Camp In The Rain
This may seem ludicrous to new or non-campers, but yes, hikers do plan to camp in the rain, and for excellent reason. If you do much of your camping in Canada, mainland USA or Europe, your chances of never having to pitch a tent in the rain are rather slim. Rather be prepared than disappointed – see our checklist for camping in the rain.

Setup will depend on whether your rainfly comes separate
Modern fabrics are water-resistant at least, and the better brands use the finest lightweight materials that are almost 100% waterproof.
The tents come in two main guises:
- Single wall – A tent made from a single wall of fabric, used mainly for mountaineering by tradition, but more and more by backpackers. There is no separate tent with a breathable top and a rainproof fly shell, as the tent is all one unit.
- Double-wall – The traditional setup of rainfly separated from but working just above the porous tent
Both options have pros and cons: The single wall is quicker to set up and break down and is particularly advantageous in the rain, where speed is vital to staying dry. The double-wall option is usually drier once set up, as any condensation passes through the tent ceiling to the rainfly, where gravity will eventually take over.
The basic setup of single and double-wall tents in the rain is the same, with minor differences, and I recommend that you practice at home before setting out on the trip.
How To Set Up A Tent In The Rain
Having prepared for your trip by getting the correct gear before leaving home, you need to prepare yourself mentally as you approach the site where you have decided to camp. Your equipment should already be stored in the optimal order in your backpack – you don’t want to hunt in the rain.

Setting Up A Double Wall Tent In The Rain Using Fast Fly Setup
Many double wall tents provide a “fast fly setup” where you can setup the rainfly first before pitching the inner tent. Some people may also know this as “outer pitch first” or “europitch” given how commonly European tents come with this feature.
Many big brand US backpacking tents also come with this feature, such as the excellent Big Agnes Copper Spur tent (see my review here).
For double wall tents that don’t come with this feature, the steps are similar but you’ll need to pitch the inner tent first. And yes – it may get a little damp in the process.
1. Prepare Mentally As You Approach The Site
Hiking in wet weather is not a barrel of laughs, and setting up a tent in the rain is a low point in an exasperating day. Be alert to a good site as you approach the camping area to speed up the process.
Choose a site as level and flat as possible to prevent water from pooling against the tent or flowing through it during the night. A low-impact area will give improved insulation against the cold, damp ground and stones and roots, and you will have less mud splashing up against the tent walls.
2. Keep Your Rain Jacket And Gloves On, And Work Calmly
I suggest you don’t shrug your rain jacket and gloves off before pitching the tent. This does not always speed up the process. It usually leads to stiff fingers that are difficult to work with and always gets your shirt soaked.
Keep warm and dry, and work calmly and smoothly. This will limit any errors in setup and prevent you from getting damp with sweat under your clothing. Rushing now may mean having to redo the job or move the tent later, which is unnecessary and frustrating.
3. Stake Your Footprint To The Ground
If you are using a tent footprint stake it to the ground in your chosen spot. This will provide extra insulation against cold, wet ground and hard objects like stones and roots that may be present. This is particularly true in areas without lichen, moss, pine needles, or leaves.
Ensure you have good tent pegs, and a small, but functional mallet in case the ground is hard. Redcamp have a lightweight mallet with a feature that will also allow you to remove the tent pegs in the morning (when your fingers lose interest in the task).
4. Prepare The Tent Poles
In some tents – like the Big Agnes Copper Spur – the poles are color-coded to the fly, tent, and footprint. This helps speed up the process somewhat, but overall, it’s easy to pop the various segments of each pole into its neighboring piece. (This will take less than a minute)
5. Stake The Poles To The Footprint’s Grommets
Place the end of each pole into one of the grommets in the footprint. (Those metal rings)
As noted, some tents have them color-coded, but even without coding, it’s an easy matter to see which end goes where.
6. Remove The Rainfly From Your Backpack
Now you have the skeleton in place, remove the rainfly from your pack, leaving the inner tent inside the backpack until the last minute so it stays as dry as possible. This is imperative, as removal now will negate everything you are trying to do.
7. Attach The Rainfly Over The Poles’ Skeleton To The Footprint’s Grommets
Attach the fly via the (also color-coded) clips to the base of the poles where the footprint is met. This is where your practice at home will be a real benefit, particularly if there is wind as well as rain. Fasten each clip in turn.
8. Stake the tent firmly
Now that the rainfly is covering the poles, take the tent pegs and stake the tent at each staking point. (This is usually a rubber or elasticated loop) Do the sides first, and then the ends.
9. Stake Out The Vestibules So You Can Store Your Pack While You Continue Setup
The vestibules are open areas at the tent door where you can store a backpack or cook a meal out of the rain, but outside the inner tent. Once staked, place your gear into a vestibule.
10. Stake and tighten all guy lines
Wind and rain can play havoc with your night’s sleep, and while the rain fly will deal with the rain, the guy lines will take care of the wind, so tighten them firmly. I suggest a brightly colored parachute cord, so toilet visits in the dark don’t become toilet tumbles!
11. Step Into The Shelter And Close The Zipper
Step into the structure and close the door to keep out both rain and wind. Take a breather to collect your thoughts, so there is no wasted movement. This is an excellent time for a bite of chocolate as you count your blessings!
12. Remove Jacket And Place In Vestibule
I usually remove my rain jacket at this point unless it’s freezing. This prevents unnecessary condensation build-up inside from sweat released during the task.
13. Dry The Footprint
Many campers don’t bother, but others prefer to dry the footprint before erecting the inner, so do this now if you wish.
14. Secure The Rain Fly To The Skeleton
Once inside the rain fly and out of the elements, you should secure the fly to the tent pole skeleton. This might be via clips, Velcro, or ties already attached to the fly. This will prevent the fly from bobbing up and down in the wind, and while that might seem innocuous, it can be irritating at night.
15. Place The Tent On The Footprint
Place your tent (the inner part) on top of the footprint and push the tent poles through the grommets at each corner. The poles are now through the grommets in the tent and those in the footprint, securing everything nicely.
Secure the tent to the poles using whatever fastening method is provided. Like the fly, it will have fasteners sewn onto it in position, so you just attach it to the skeleton in the place closest.
Clip, tie or Velcro the tent to the skeleton starting at the position furthest from you and work your way towards yourself.
16. Clip The Vents Open
At this point, you can clip up the vents that your specific tent might have. Decent tents all have vents, sometimes permanently open, sometimes requiring opening. I recommend you always open your vents to allow airflow and prevent condensation to some degree.
Working alone in the rain, the entire process should take 10-15 minutes to accomplish.

Setting Up A Single Wall Tent In The Rain
As with a double-walled tent, don’t waste any time on arrival and choose a sensible site as you approach if possible. Choose a low-impact location so you have some insulation and don’t have mud splattering on the tent.
1. Stake Your Footprint In Your Chosen Spot
If you’re hiking with a single-wall tent, you will be very conscious of weight and will probably not be carrying a footprint, but if you do have one, stake it now.
2. Stake The Tent On Top Of The Footprint.
This type of tent has a single wall, a combined tent/rainfly, so it’s much quicker to erect and drop than a double-walled tent.
3. Place The Poles In Place
Once staked, place the poles in place while still standing outside the tent. Some tents employ hiking poles for this purpose, which is neat.
4. Stake & Tighten
Once the tent is standing, stake the guy ropes and tighten up the stakes on the tent itself.
5. Stake The Vestibule/s And Place Your Pack Inside.
Once the vestibule is staked and your pack stowed, you’re done – good job!
Breaking A Tent Down In The Rain
Nice and easy to do; just do everything in reverse, and remember to close the single wall tent’s zippers before folding up. Something I learned the hard way!
Choosing The Correct Tent
Your tent is all that separates you from the elements, so get the best you can afford. You will want one that is the correct size with extra room for gear, a tent that is lightweight if you are carrying it to the campsite, and a tent that is waterproof.
A good place to start is our guide to the best waterproof camping and backpacking tents.
Some Practical Tips For Rainy Weather Camping
- If you expect rain at the end of your day’s hike, stow your tent in the most accessible part of your pack – usually the top.
- Carry extra socks – I prefer wool as they remain warm even when wet.
- To sleep dry in a tent, you must have airflow, or condensation will win.
The more you know about wet weather camping, the better prepared you can be.
Can I Prevent Condensation In My Tent?
Condensation can be an issue when it rains. You can limit condensation in the tent, but total prevention has always escaped me, other than on a hot night where I don’t even attach the rain fly. This allows heat from any source in the tent to rise through the porous ceiling and dissipate.
Some Suggestions To Limit Condensation
- Always leave opposing flaps slightly open to allow airflow
- Avoid cooking in the tent
- Leave damp or wet items in the vestibule
- Avoid heaters – get down sleeping bags instead.
Does A Good Tent Require Waterproofing?
Some people say that a good tent requires no waterproofing, but I go over zippers and seams with a waterproofing compound every two years, regardless of whether or not I’ve used the tent. This is possibly not strictly necessary, but I have great peace of mind doing this.
How I Dry Wet Clothing In Rainy Weather When Camping:
There is no way to dry your wet garments in a tent on the trail. I generally make sure that my sleeping garments never get wet, so I get dressed and undressed inside the tent where it is dry. My day’s hiking clothing is not brought into the tent but folded up inside a waterproof stuff sack and left in my backpack inside the vestibule.
This prevents any possibility of ice forming on and freezing the clothing and my boots. Unfortunately, this also means that I have damp clothing to put on in the morning, but this will usually dry out as I hike, either in the sun or wind or because of body heat. This is not ideal, but it beats getting all of your changes of clothing wet and having no dry clothes to sleep in, though many campers with great sleeping bags refuse to wear clothing in bed in any weather.