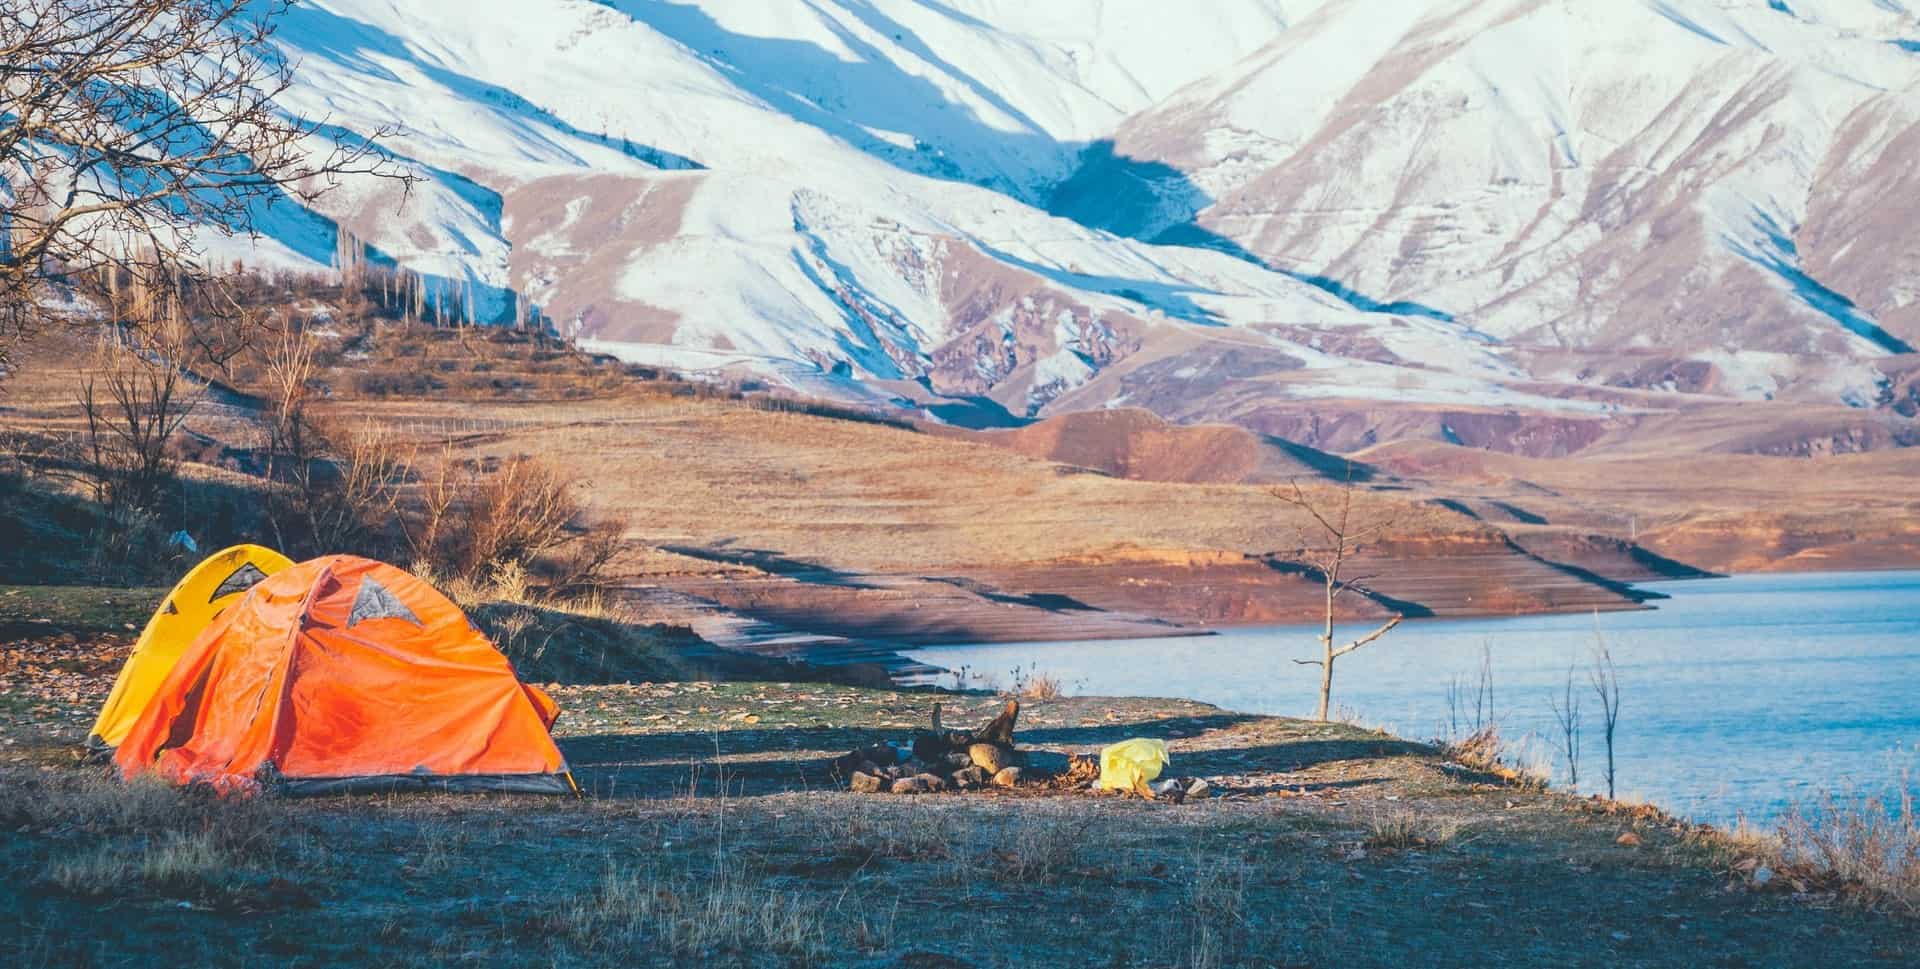
Unpacking your tent and finding it infested with mold or mildew is awful, but thankfully the problem can be solved! Before you reach for your bottle of Chlorox, keep in mind that harsh chemicals can damage the tent fabric. It is crucial to clean your tent the right way to ensure its longevity.
Wondering how to clean a tent with mold or mildew? The six steps to clean a tent with mold are:
- Choose the right product for cleaning the tent.
- Set the tent up outside.
- Apply mold cleaner and, depending on the cleaning product, rinse.
- Allow the tent to dry thoroughly in the sun.
- Apply a water-proofing treatment.
- Store the tent properly to prevent future mold.
Mold and mildew thrive in wet conditions, so it is important never to pack your tent away while it is damp! Here, we cover the steps to take to get rid of mold or mildew on a nylon or canvas tent. We also suggest the best cleaning products for a tent with mold.

1. Choose A Product To Use For Cleaning Your Moldy Tent
There are a few different products that one can use to clean a moldy tent. However, bleach-based disinfectants are not recommended. Chlorine bleach damages the fabric and stitching of the tent, and it causes the waterproof coating on the fly sheet to degrade.
To clean a tent with mold safely and effectively, you need to use one or more of the following:
- Soapy water. In minor cases, where you only see a few spots of mold and the tent has a slight odor, the issue can be fixed by scrubbing with soapy water and a sponge. Use a mild soap, like Dr. Bronner’s Pure Castile Liquid Soap, that will not damage the tent fabric.
- Vinegar, lemon juice, and salt. For a tent with a minor to moderate amount of mold, you can use natural products like vinegar or lemon juice to get rid of the mold. Vinegar and lemon juice are both acidic, so they kill mold and its spores.
- Bleach-free disinfectant. Products, like Lysol, are great for dealing with moderate to severe cases of mold in a tent. One must dilute the concentrate to soak the tent or use a product that comes in a spray bottle.
- Commercial mold cleaner. The best mold cleaner to use for canvas tents is Concrobium Mold Stain Eraser. It is great for removing deeply embedded mold and mildew spots. Concrobium can be used on canvas and nylon tents.
- Specialist gear cleaner. If you are dealing with a severe case of mold in your tent, consider using a specialist tent and gear cleaning product. Gear Aid Revivex Odor Eliminator and Nikwax Tent & Gear Solarwash are both great options, and they are readily available online. Gear Aid Revivex Pro Cleaner is a product that is particularly good for getting rid of mildew in a tent.
The severity of the mold in the tent will determine the exact method you should use to clean it. If the problem is bad, go straight for a chemical-based cleaner or specialist gear cleaner. If your tent only has a bit of mold, try a natural product or soap and water first.
2. Set The Tent Up Before You Clean It
Cleaning a moldy tent is definitely not as straightforward as throwing it in the washing machine! Washing machines can damage the tent fabric and seams, so it is best to clean a mold-ridden tent by hand.
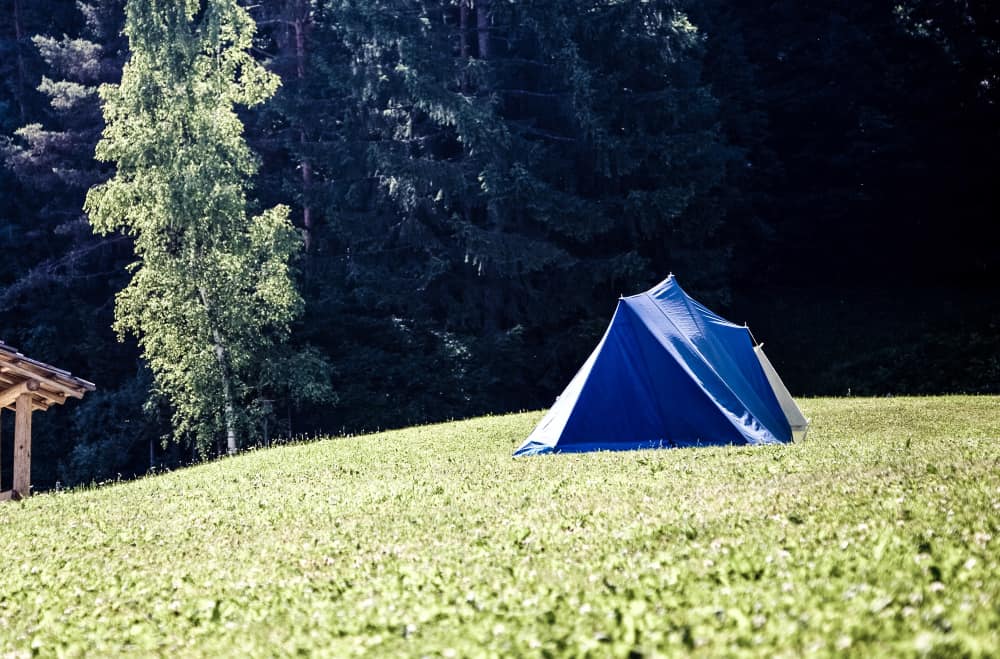
It is much easier to clean the fabric if the tent is already set up. The fabric should be stretched taught, so stake the tent out properly before you begin the cleaning process.
The first step to cleaning a moldy tent is to deactivate the mold spores. Do this by setting up your tent in a hot, sunny spot. Leaving it in the sun for the day will kill the mold, but it will not get rid of the stains or the odor.
3. Apply The Mold Cleaner
The method you use to apply the mold cleaner depends on the product you are using to clean the tent. Note that depending on the product you use to clean the tent, you may or may not have to rinse it before drying.
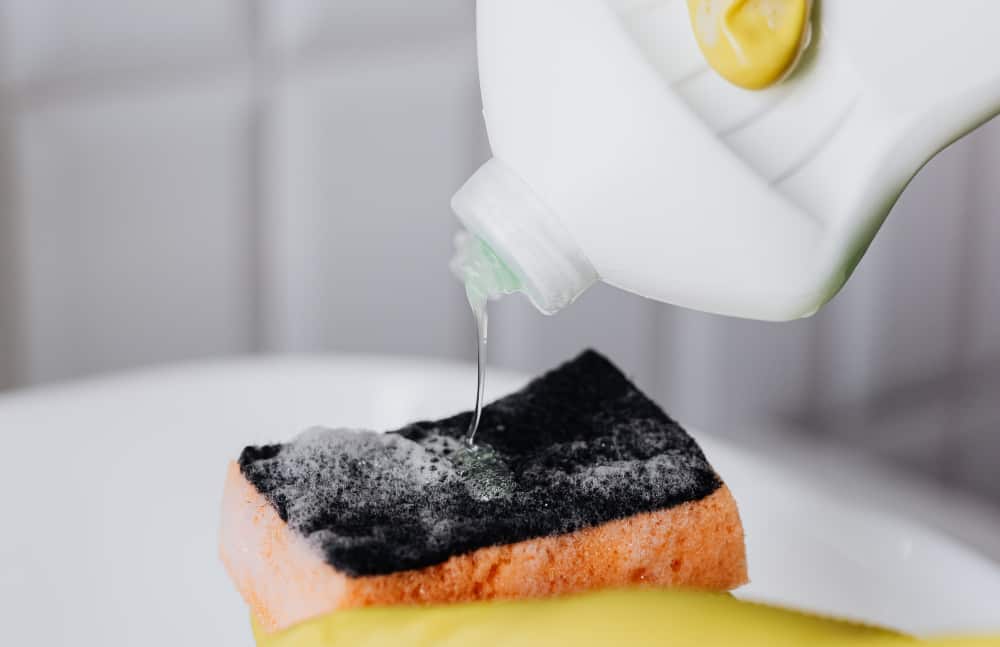
Soapy Water
To handwash a tent in soapy water, fill a tub with warm water and add the liquid soap. Use a sponge to gently scrub the tent fabric, especially in spots where mold is visible. Rinse the tent fabric thoroughly so that no soap residue remains.
Vinegar, Lemon Juice, And Salt
You can use a sponge to wipe down the tent with vinegar while it is set up, but a more effective method is to take down the tent and soak the fabric in a tub of pure distilled vinegar. Leave it to soak for about 20 minutes.
Remove the tent from the vinegar and without rinsing it hang it up for a while until it is dry enough to assemble in a sunny spot. Leave the tent in the sun to dry and air out (leave the tent doors and flaps open). If you leave the tent to dry for a few days, the vinegar smell will go away.
For a canvas tent, vinegar, lemon juice, and salt can also be used to clean mold naturally. Add distilled white vinegar to a trigger spray bottle and use it to spray the entire tent. Allow the vinegar to dry on the tent without rinsing.
To scrub away ugly mold stains, mix one cup of lemon juice with one cup of salt and add this to a gallon of hot water. Using a soft brush, use the lemon and salt solution to scrub the tent fabric, focusing on the areas with mold stains.
Chemical Disinfectant Product
In a tub, mix a solution of one cup of Lysol for every gallon of warm water (how much water you need depends on the size of your tent).
Soak the tent in the Lysol solution for 30 minutes to an hour. Drain the water and fill the tub with fresh water. Let the tent soak in clean water for 10 minutes, then drain the water. Do this a few times to rinse the tent fabric well.
Specialist Gear Cleaner
Revivex Odor Eliminator and Nikwax Tent and Gear Solarwash are excellent products that are designed specifically for disinfecting and cleaning nylon tents and outdoor gear. They both work well for removing mold spots and odor from tents.
Revivex Odor Eliminator is a liquid concentrate that you dilute and soak a tent in. Depending on the severity of the mold problem, let the tent soak for 30 minutes to a few hours. After soaking, you rinse the tent fabric thoroughly.
Nikwax Tent & Gear Solarwash comes in a trigger spray bottle, making application a bit easier. You can lay the tent flat on the ground or erect it to apply the spray. Use a cloth to rub the spray into the fabric. Leave it on for half an hour, then rinse the spray off.
Mold And Mildew Cleaner
Mildew is a type of mold that forms clusters of little black or brown spots. These stain tent fabric and leave marks even after the spores have been killed.
The best way to clean a nylon tent with mildew is to use a specialized tent cleaner, like Gear Aid Revivex Pro Cleaner. The product is designed to get rid of mildew spots and odor in a tent.
Revivex Pro Cleaner can be used to spot-clean small, isolated patches of mildew, or if the whole tent is affected, it can be used to soak and handwash the tent.
Cleaning mold and mildew out of the fabric of a canvas tent is difficult. Because of the dense nature of the canvas fibers, once mold spores get in, it is nearly impossible to get rid of them. The best you can do is treat the tent to deactivate the mold spores and prevent the mold from spreading.
Canvas tents, like nylon tents, have a water-repellent coating. One must avoid using harsh chemical detergents on canvas tents, as it reduces the tent’s water repellence.
Concrobium Mold Stain Remover is a powerful mold treatment that can get rid of deeply embedded mold and mildew stains. The liquid concentrate is diluted in a spray bottle and applied to the tent fabric. The spray is left to dry on the fabric.
4. Leave the Tent In The Sun To Dry Thoroughly
The primary reason that mold and mildew grows on tents is packing the tent away while it is still damp. To prevent mold from recolonizing the tent after you have cleaned it, you must make sure that the tent properly dries before you pack it away.
Check the weather forecast. The best time to clean a tent is when there are a few consecutive sunny days, so you can leave your tent out to dry for 2 or 3 days. Remember to bring it back inside overnight so that dew does not re-wet it!
Open all the zips, unroll all the flaps, and let the tent stand in a sunny area with a gentle breeze blowing through.
5. Re-apply A Waterproofing Treatment
After your tent has dried in the sun, you will need to reapply a water-repellent treatment. Scotchgard Outdoor Water Shield is a reliable product that can be used on both nylon and canvas tents.
Spray the entire exterior surface of the tent and allow it to dry for 12 hours. Pack the tent away once the water-repellent treatment has dried fully.
Applying a product like Scotchgard Outdoor Water Shield keeps water out of a tent while you are using it, and it also helps to prevent mold and mildew while the tent is in storage.
Reapply a water-repellent treatment seasonally (at least once a year) to keep the tent safe while in storage.
6. Prevent Mold Or Mildew By Storing Your Tent Properly
If you pack a tent up while it is still slightly damp, there is a huge risk of mold or mildew developing while the tent is in storage. After camping trips, you should set your tent up at home, vacuum away dirt, give it a wash if necessary, and allow it to dry properly.
The best way to prevent mold or mildew is to store the tent in a cool, dry, well-ventilated place – anywhere that it cannot get wet. Mold and mildew flourish in warm, humid environments, like attics and basements. Storing a tent in a garage is a good idea.
If you use your tent very infrequently, you should still take it out of storage every 6 months to check that it is not growing mold.